Utah Wild Clay: A Realistic Workflow
Digging clay out of a Cache Valley hillside is the easy part. Everything after that is drying, screening, slaking and testing, and most of it fails.
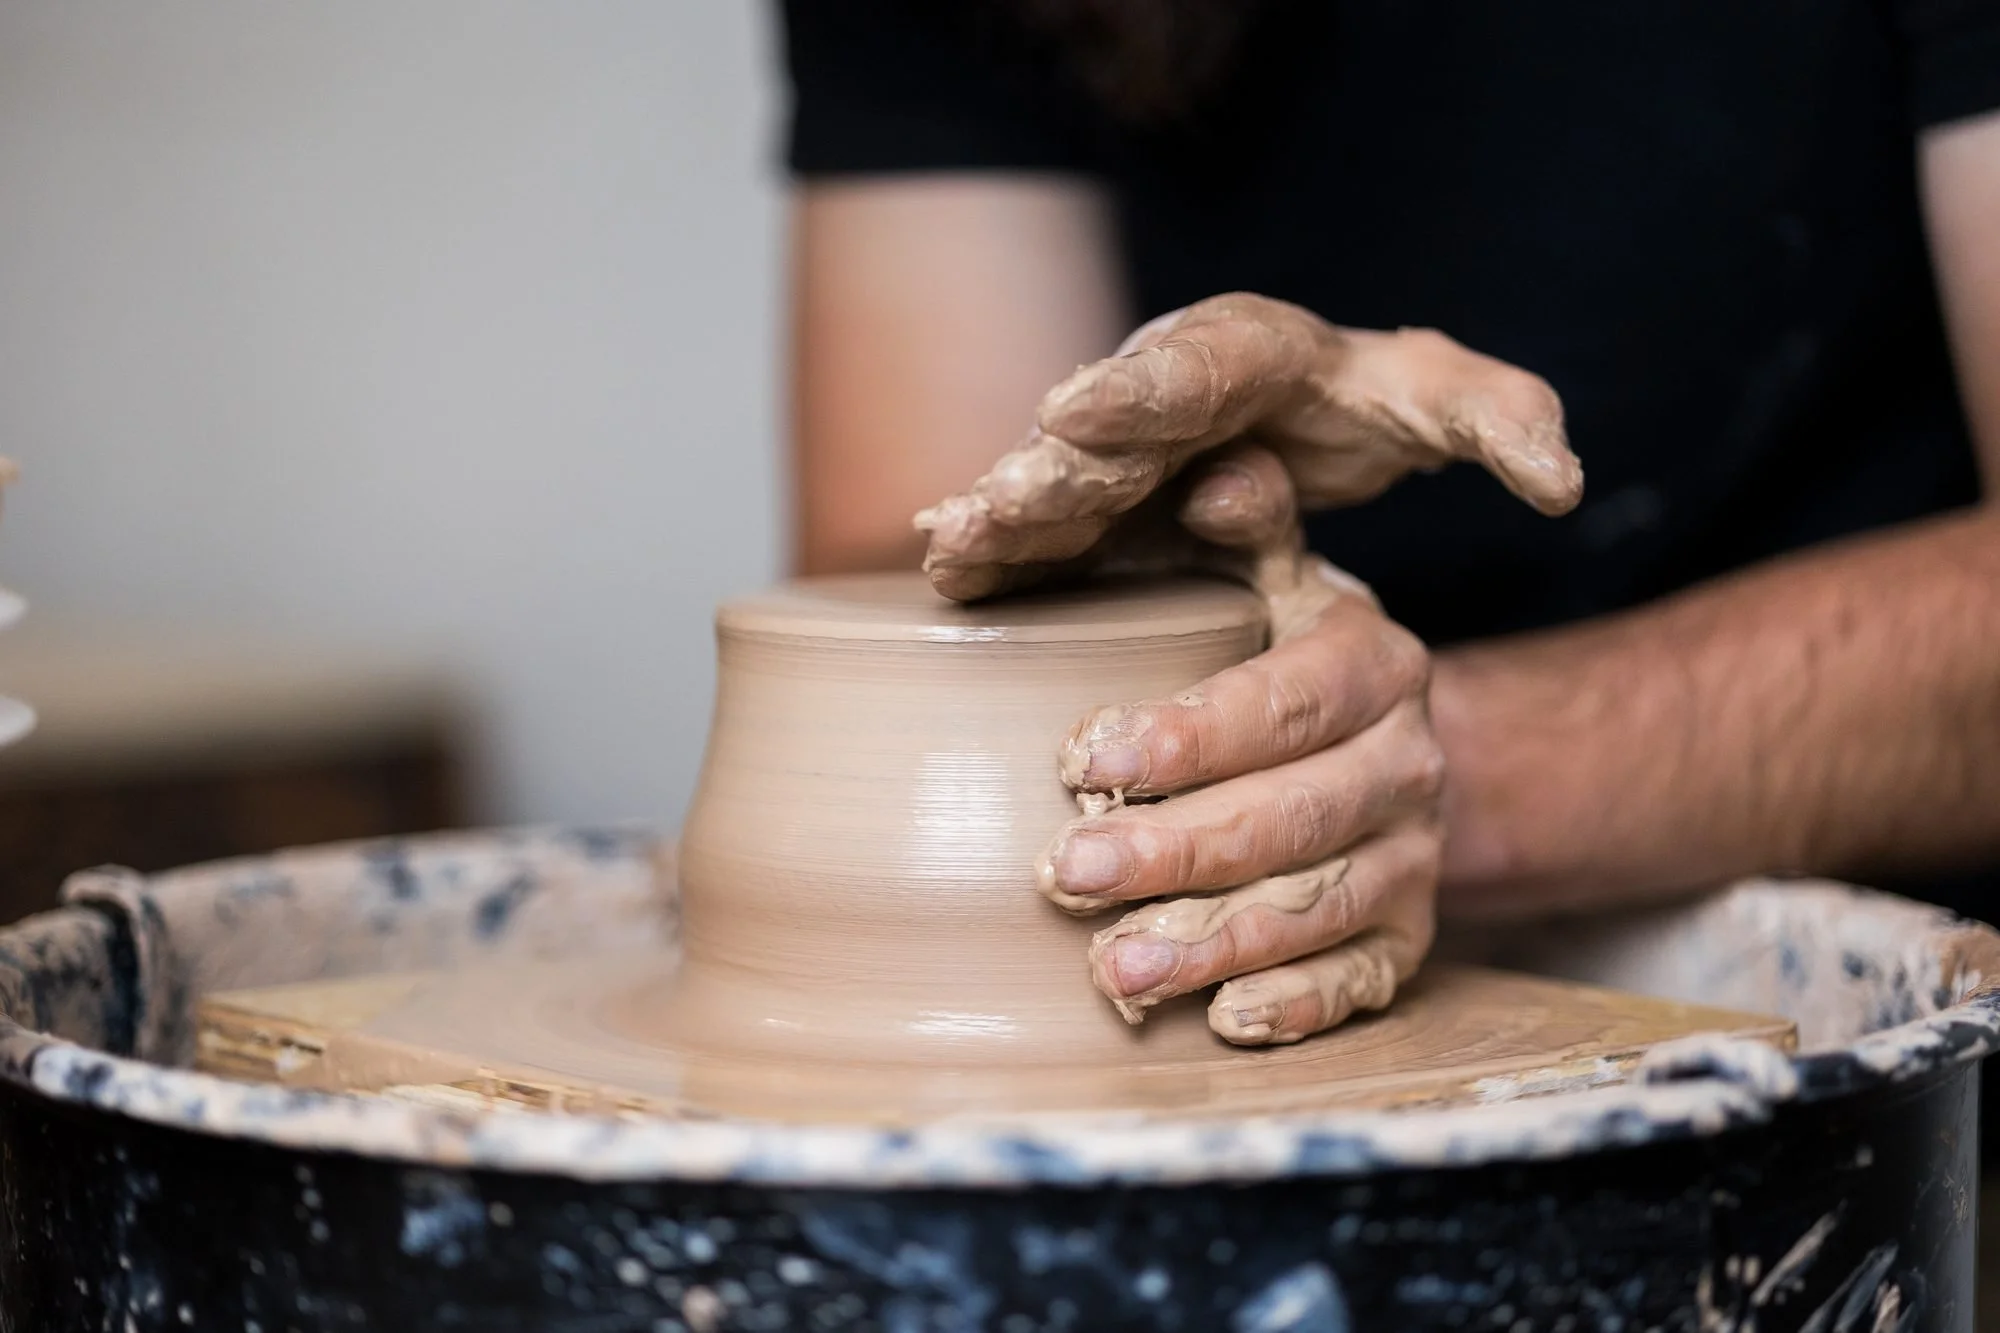
Wild clay is not a shortcut to finished mugs. Every deposit I find in northern Utah gets dried, broken down, screened, slaked, dewatered and wedged, then tested at cone 10 before I trust it with a single form.
- Dry it completely first, then break it down and screen out roots, pebbles and organic matter
- Slake it into slurry, let impurities settle, and dewater it slowly on plaster
- Make measured test bars before any pot, and expect most deposits to fail
Wild clay sounds romantic. Dig it out of the ground, throw it on the wheel, fire it, done. That is not how it works, at least not if you care about durability, cone 10 maturity and results you can repeat.
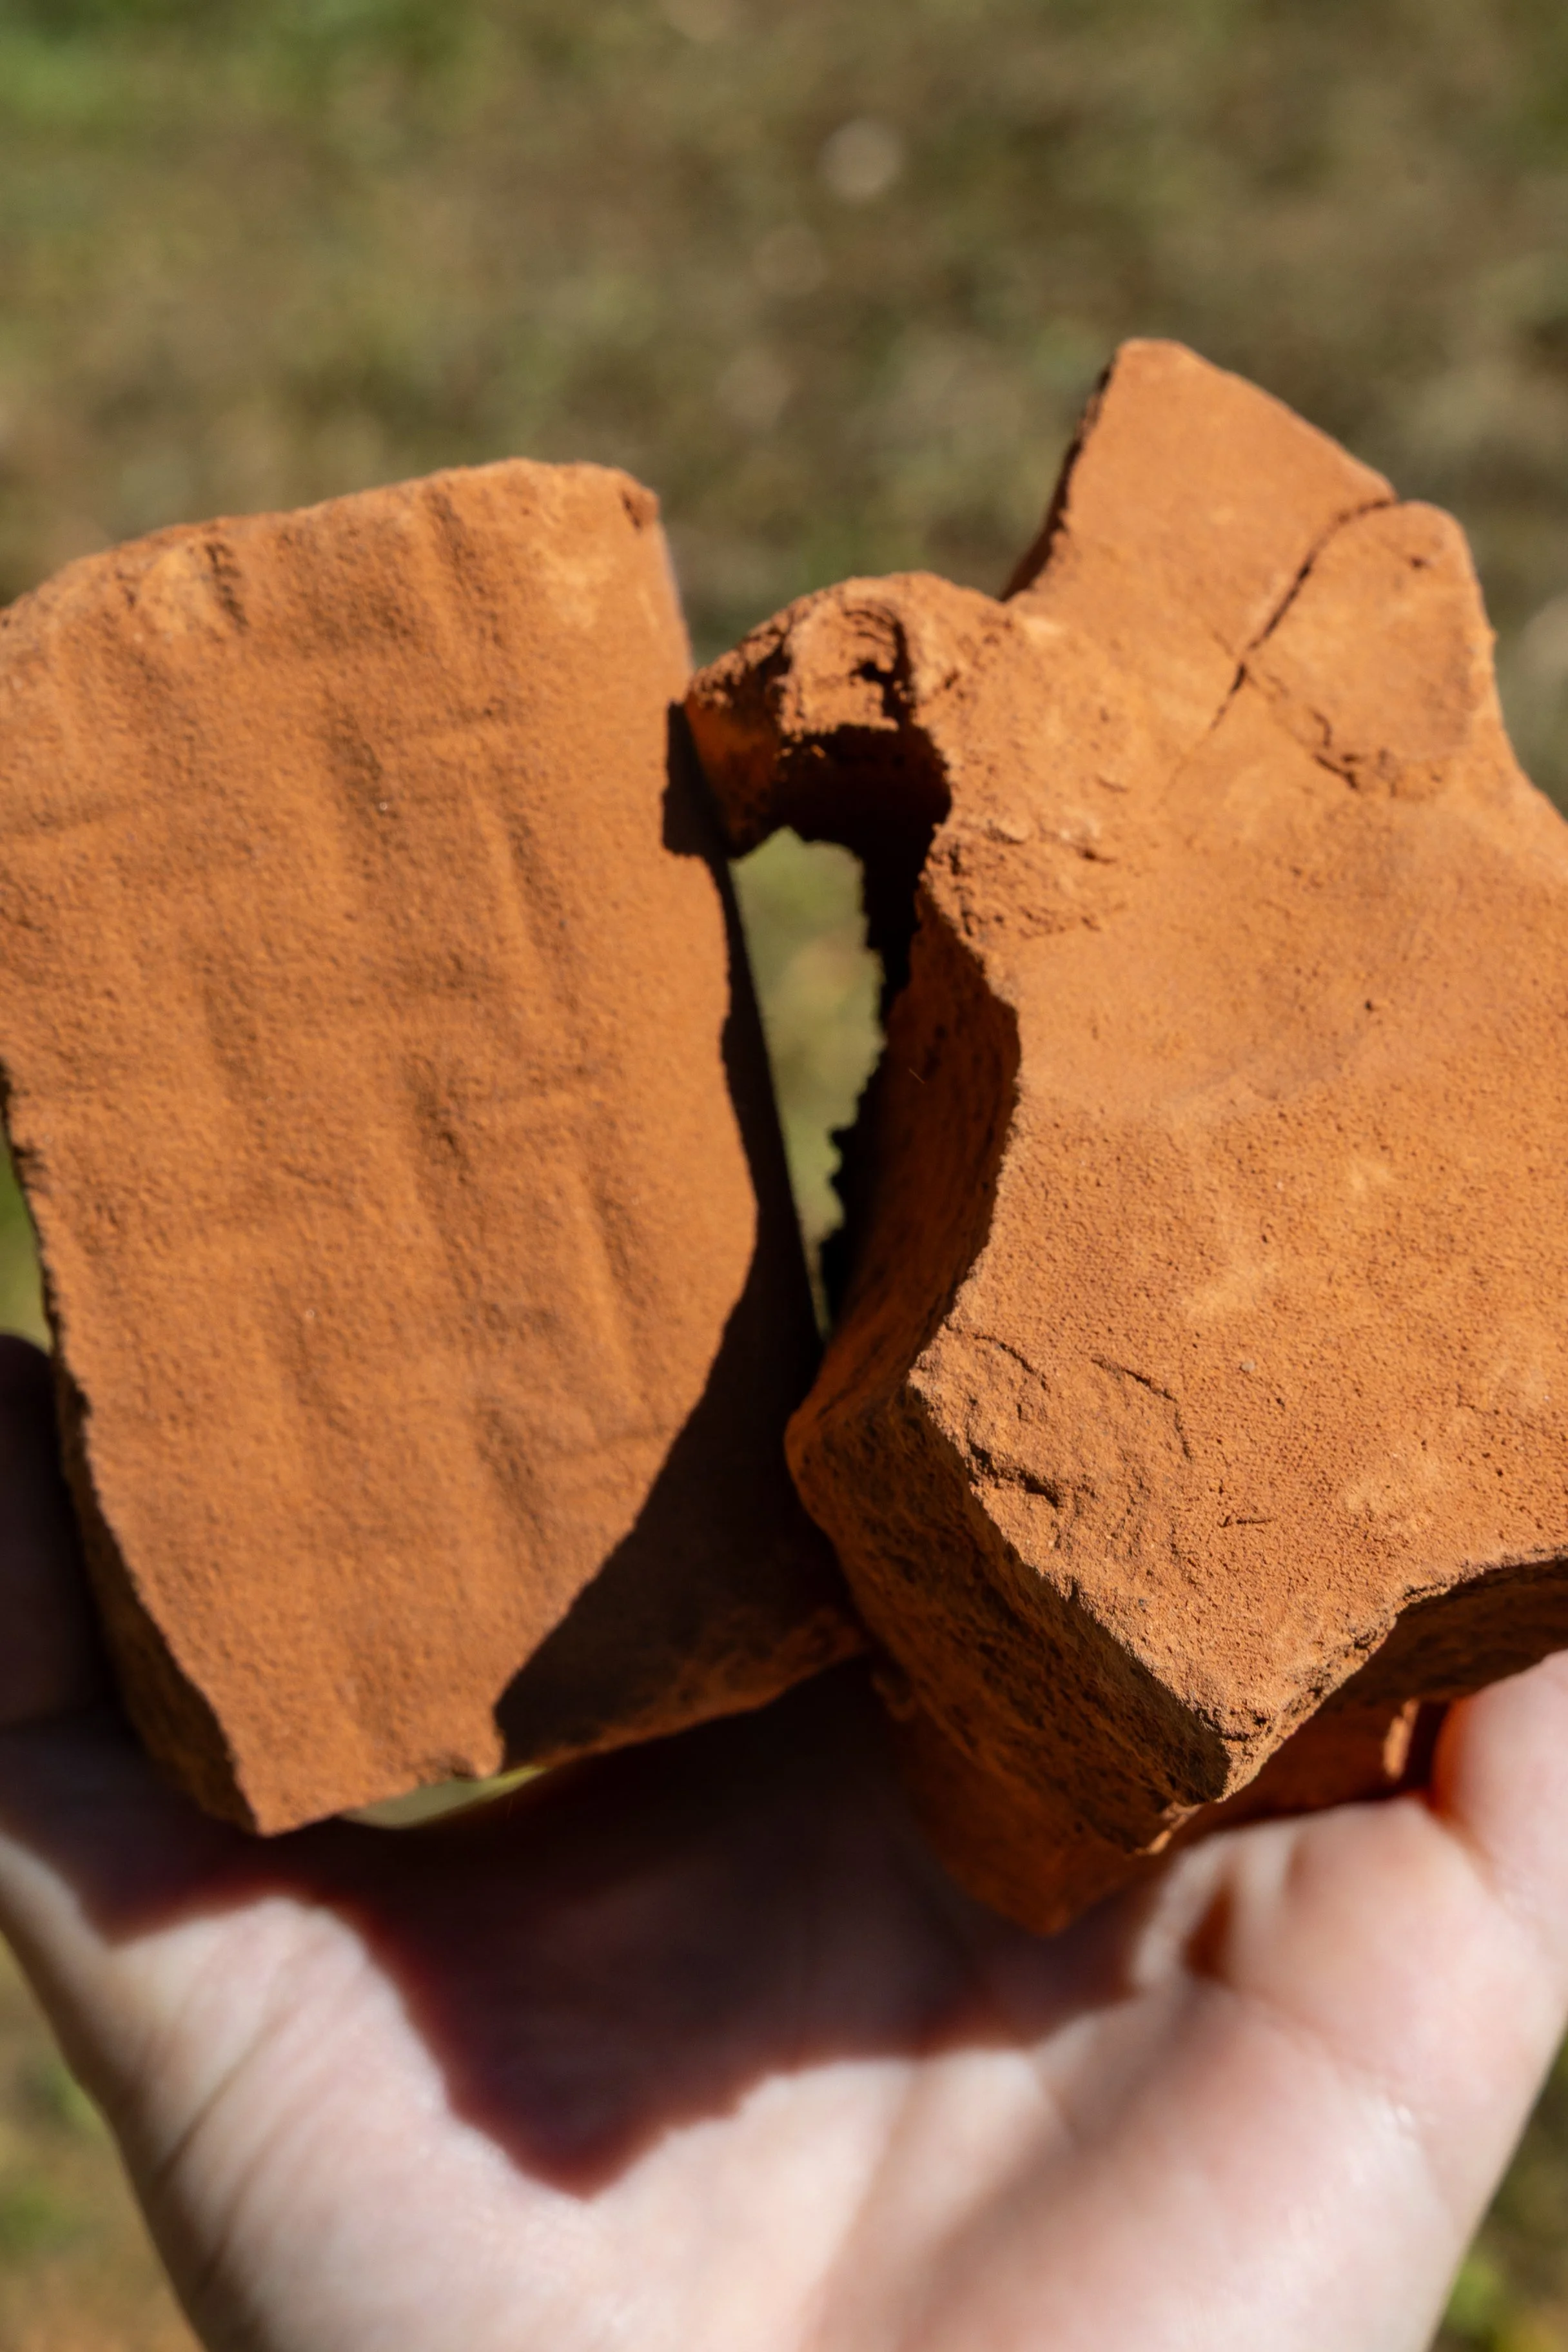
When I find a clay deposit here in northern Utah, I do not picture finished mugs. I think about processing time, contamination, shrinkage, iron content, and whether the clay will survive high fire without bloating or cracking.
Step one: dry it all the way
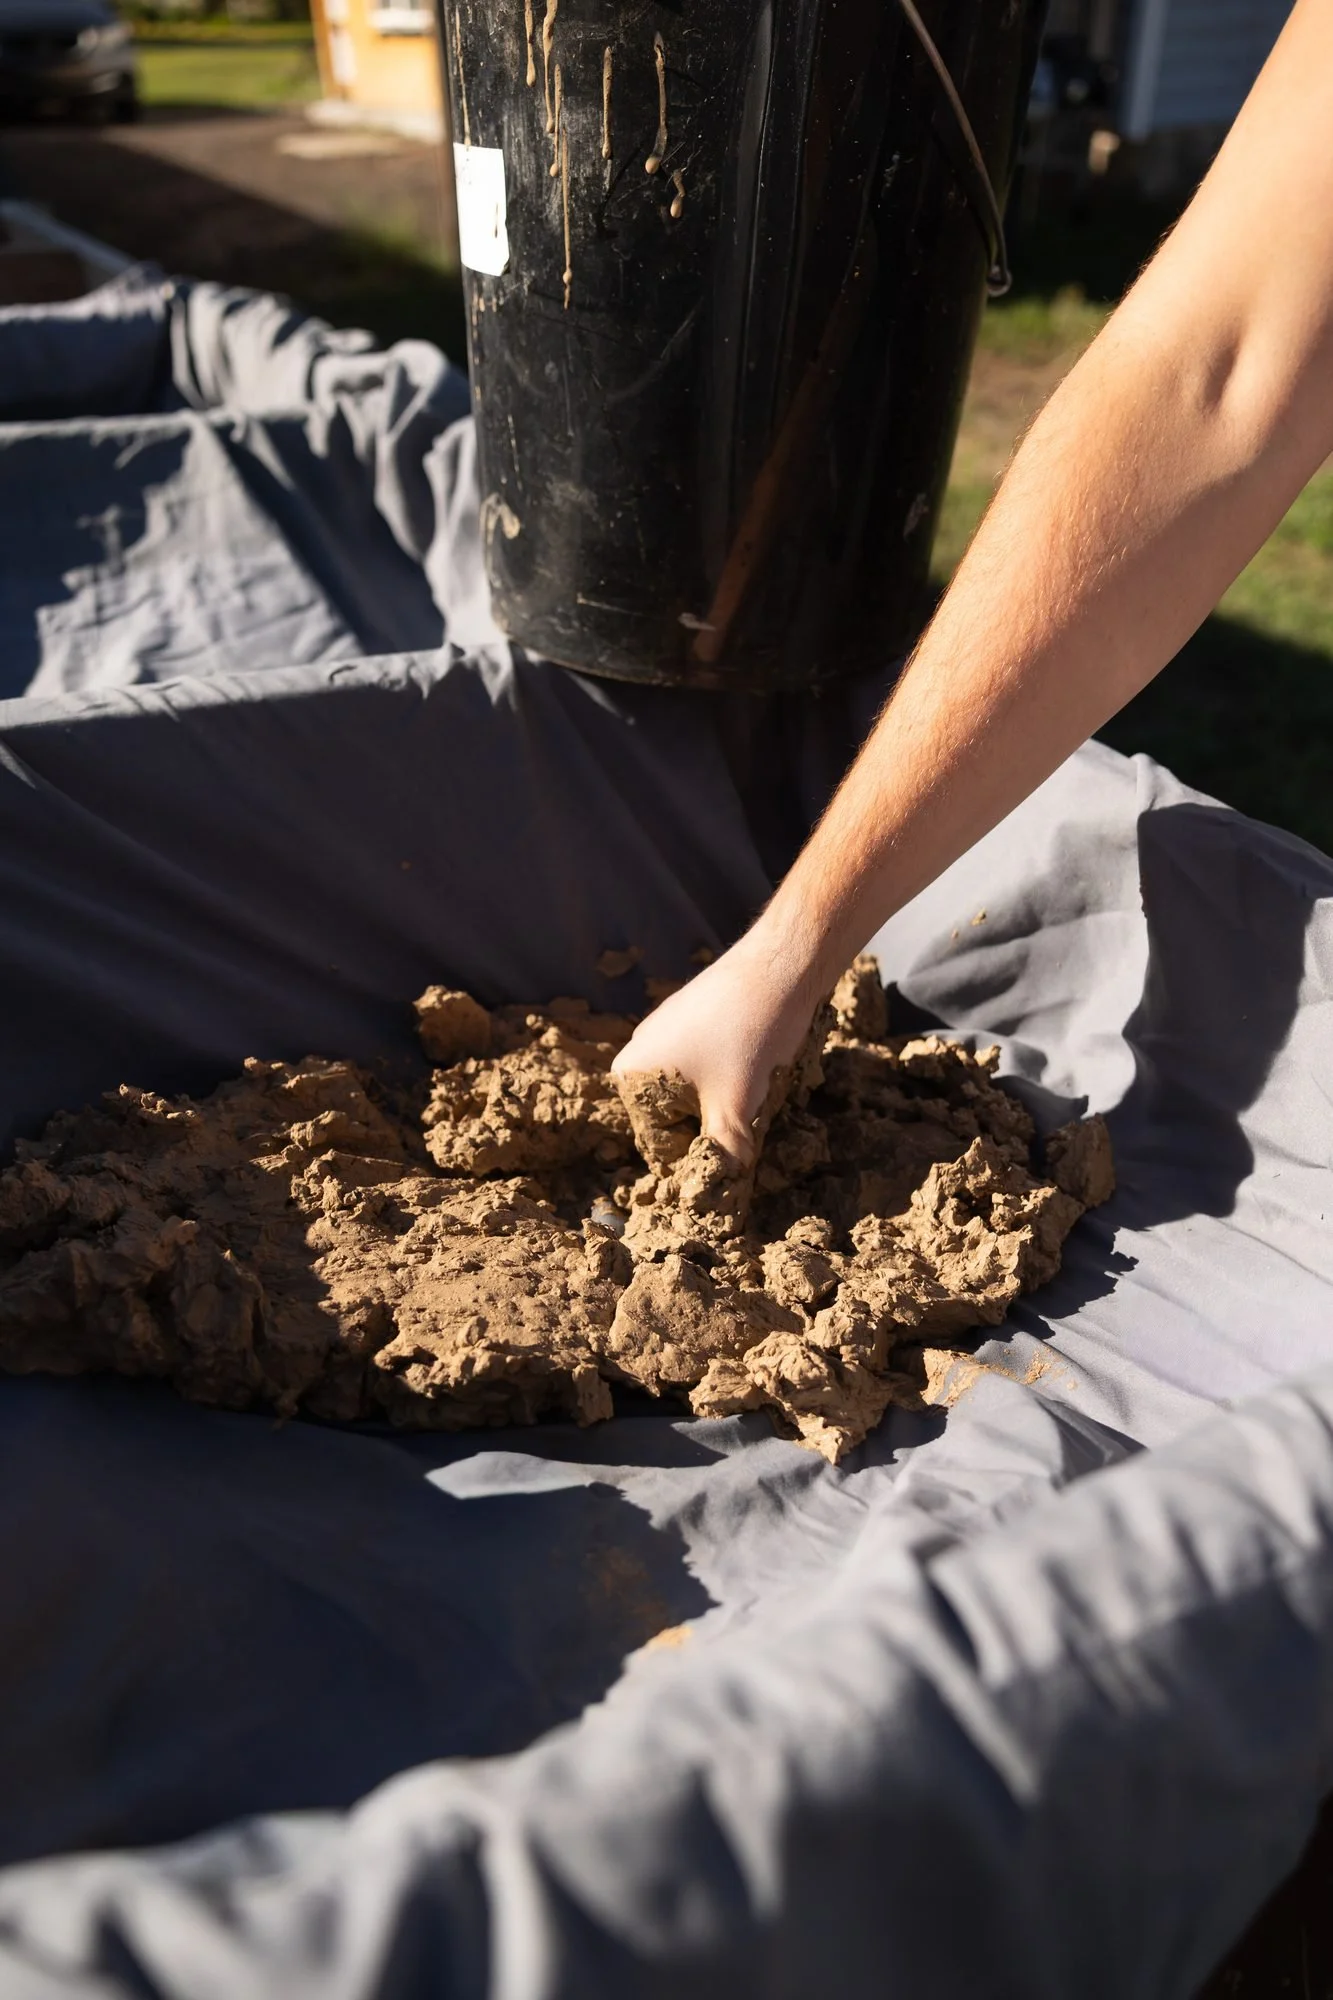
Freshly dug clay holds moisture unevenly. I spread it out and let it dry hard, with no shortcuts. Once it is fully dry I break it into smaller pieces. At this point it still holds roots, pebbles and organic matter, everything the ground put into it.
Step two: screen and slake
Right now screening means running the dry clay through a flour sifter to pull out larger particles before slaking. It is not glamorous, but it works. Anything oversized gets thrown out, and what passes through is finer and easier to manage.
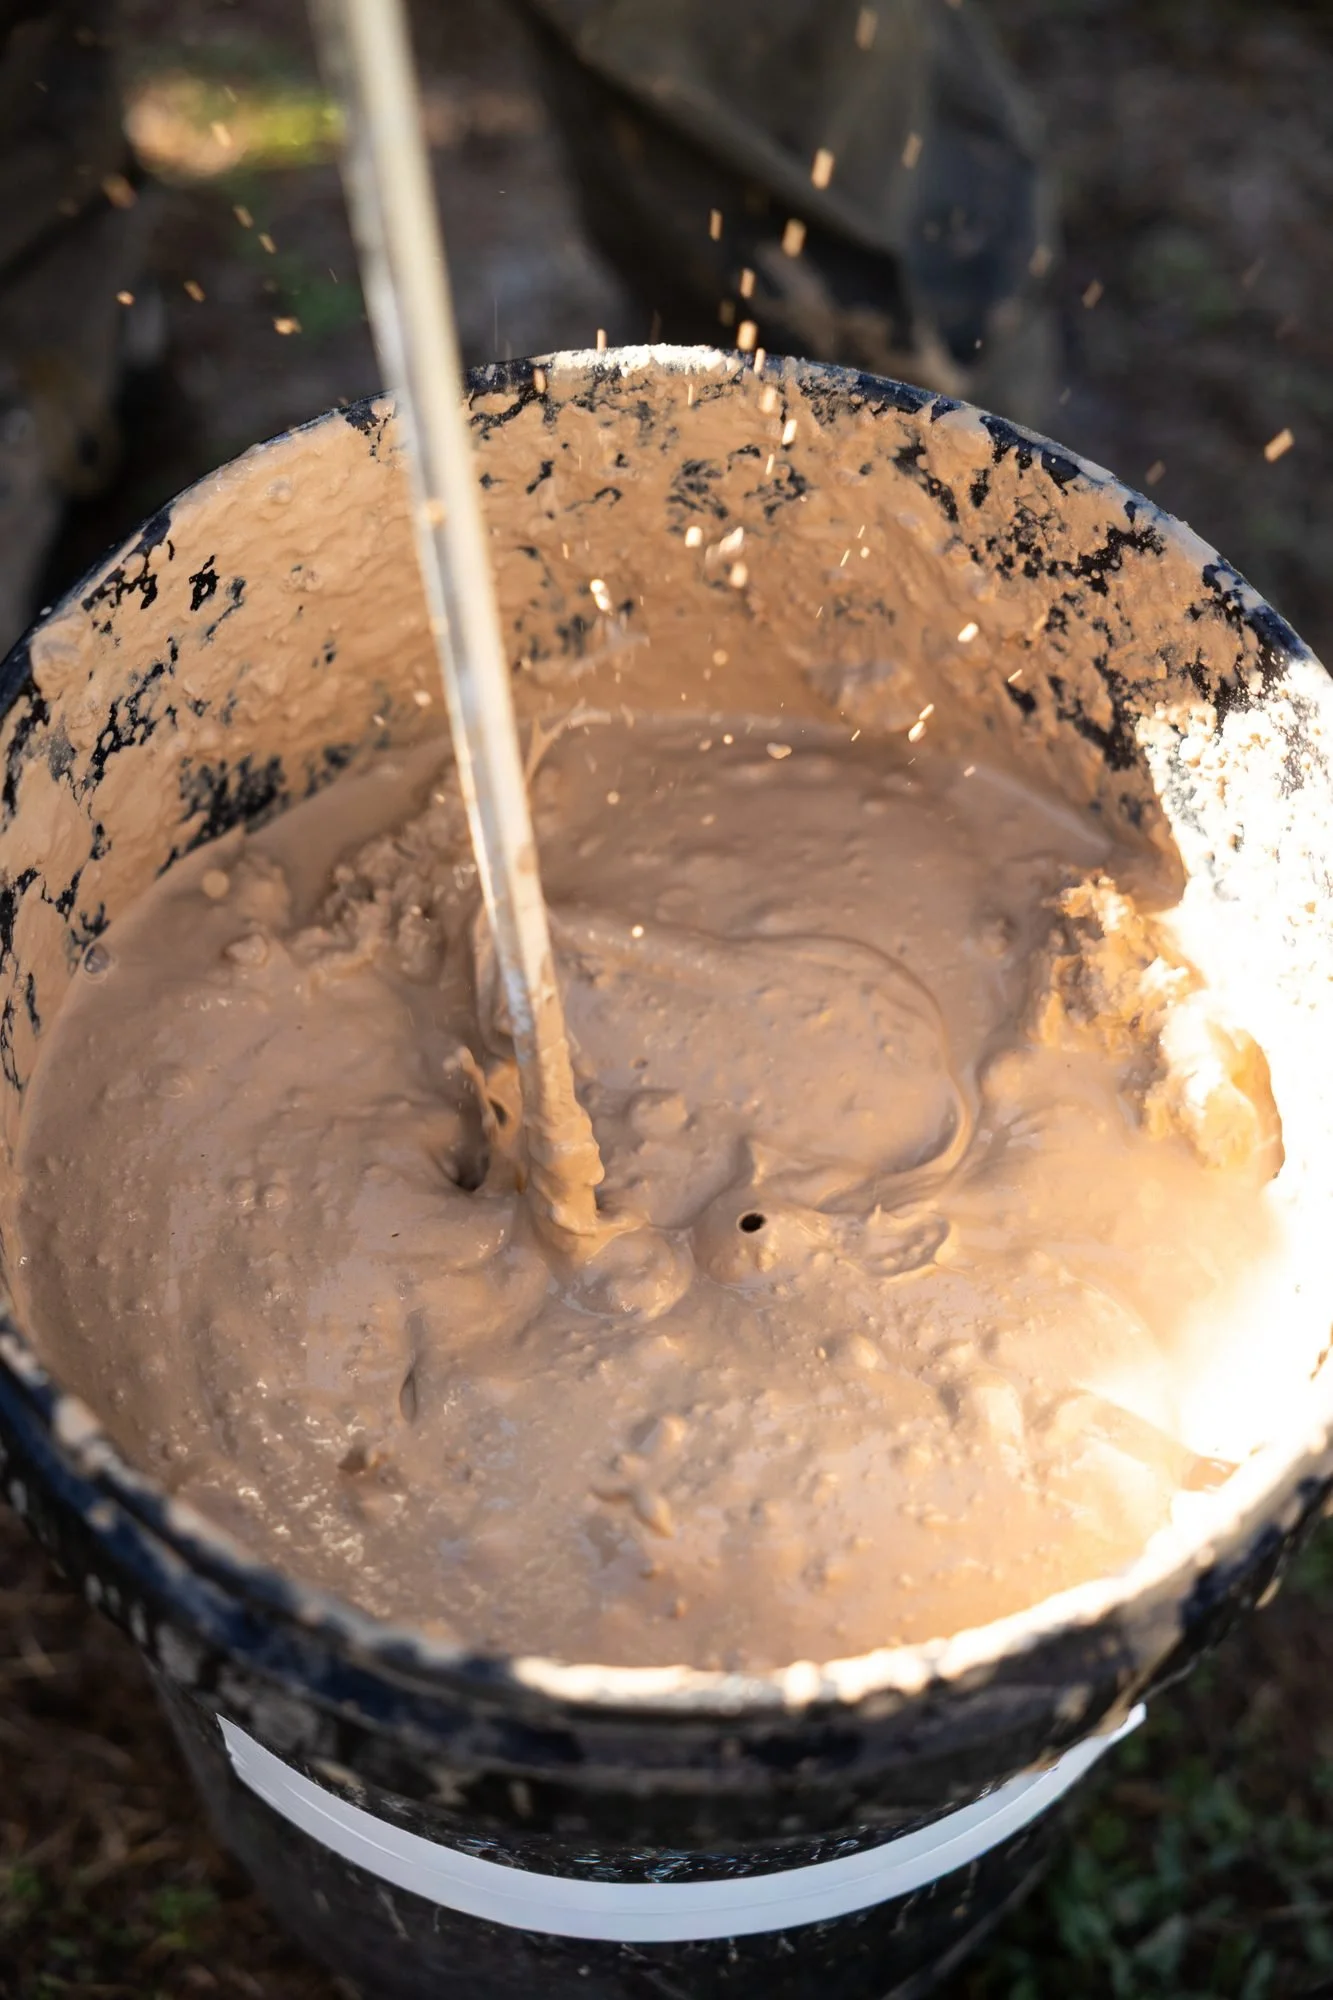
Then I slake it in water. The clay dissolves into a slurry, and heavier impurities settle differently than the fine particles. Depending on the deposit, I may decant off unwanted material or let the slurry sit before pouring it onto plaster.
Step three: let plaster do the slow work
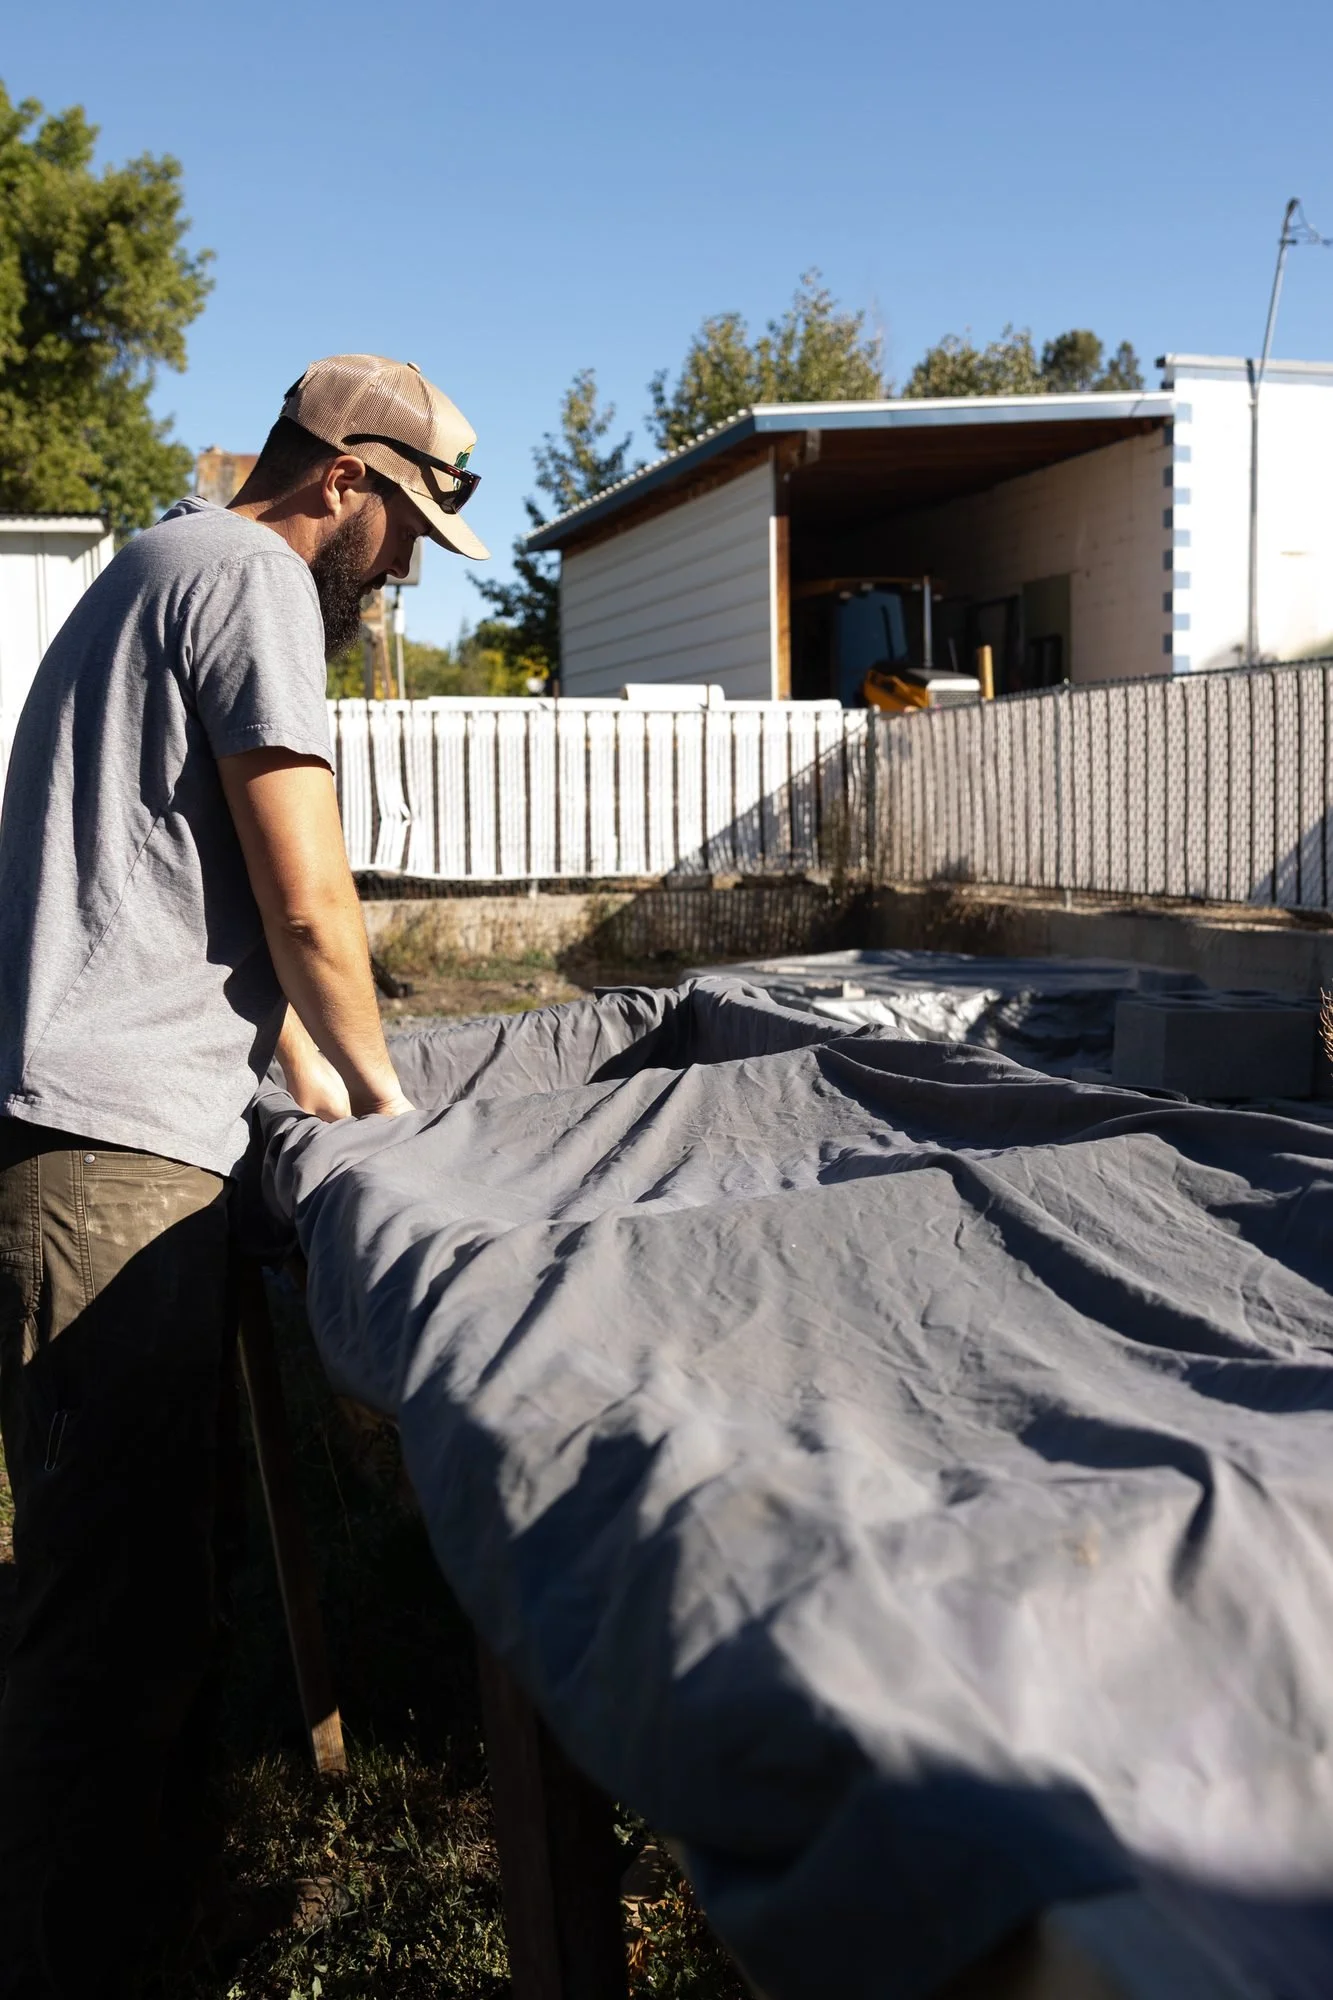
Plaster pulls moisture evenly out of the slurry until the clay reaches a workable consistency. That stage takes patience. Rush it and you get uneven moisture and weak spots. Once the clay is workable I wedge it thoroughly. Even then, it is not production clay. It is testing clay.
Step four: test bars before pots
Before I throw a single form, I make test bars: straight, consistent, measured, dried carefully and fired to cone 10. I record shrinkage, check absorption, and look for cracking, bloating and heavy warping.
Most wild clay fails here. Some cracks while drying. Some warps hard. Some overfires and bloats before it ever reaches maturity. That is normal. Wild clay is not automatically better because it is local. It is just less processed.
Small forms, then blending
If a clay survives drying and firing, I move to small forms: cups and bowls, nothing large. I watch how it behaves on the wheel. Does it take compression? Does it tear easily? Does it feel short or plastic? Only after that do I think about blending. A wild clay often works better as a percentage of a larger body than on its own, because blending can balance shrinkage, improve workability and lower the risk.
There is nothing mystical about any of this. It is controlled experimentation. Utah wild clay interests me because of place, because material from the ground here ties the work to this valley in a way you can hold. But I am not interested in forcing it. If it cannot survive cone 10 and daily use, it does not belong in functional ware.
Label every bucket the day you dig it: where it came from, the date, and what it looked like wet. Three months later, when one test bar comes out beautiful, you will want to know exactly which hillside to go back to.
Wild clay is not romantic. It is work, and the testing never really stops. I share what holds up, and what does not, as it happens.
