How to wedge clay (and why it isn't kneading)
Bread dough wants air in it. Clay wants every bit of air out. Same table, opposite job.
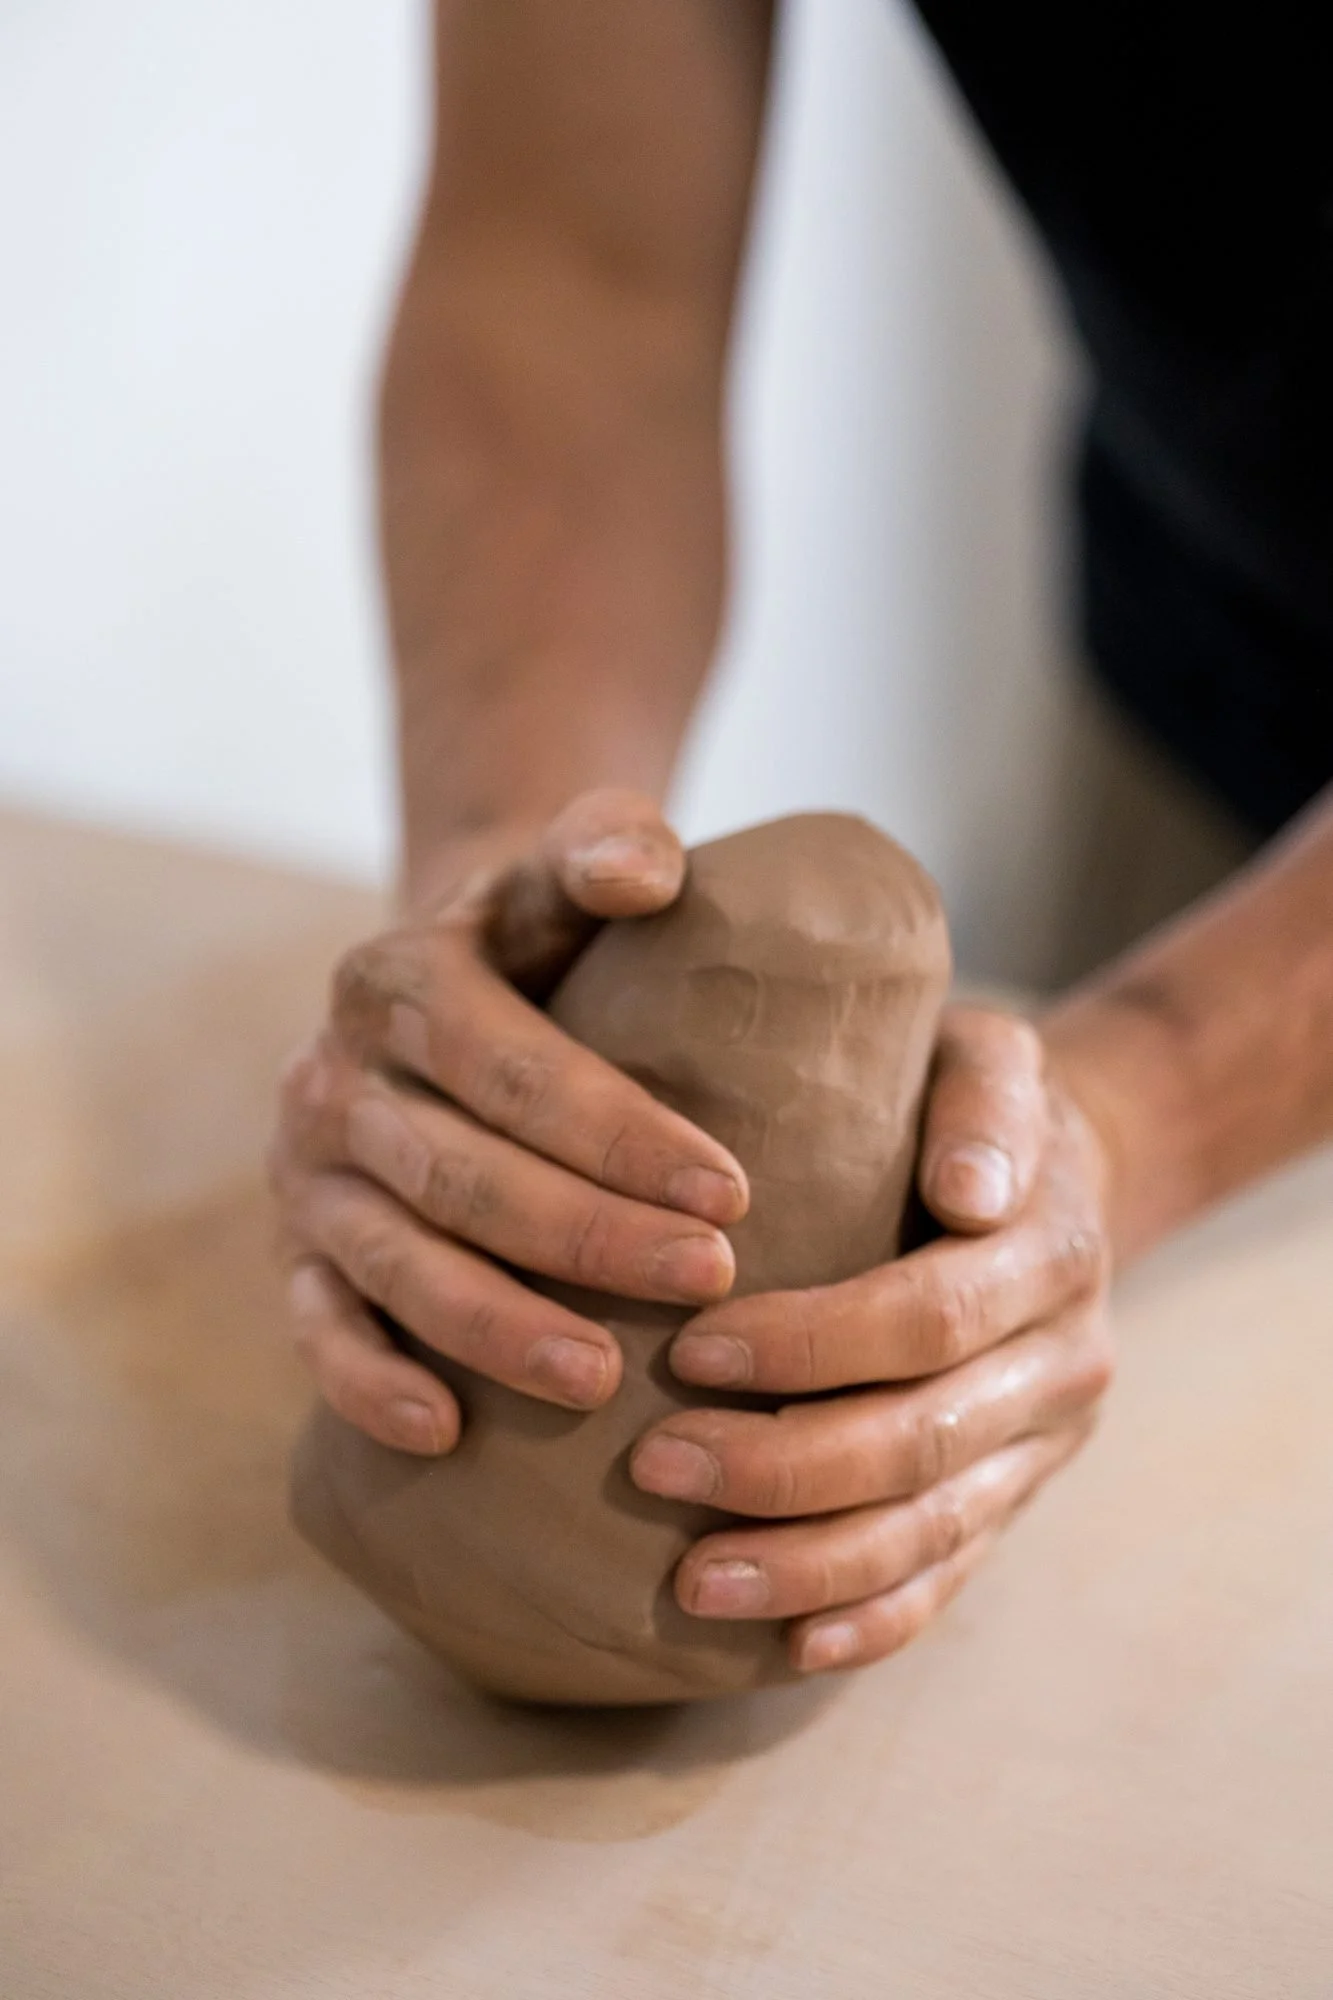
Wedging is how you press air out of clay and mix it to one even consistency before throwing. You push the lump down and away from you with the heels of your hands, roll it back toward you, turn it slightly, and repeat, thirty to fifty times. Kneading folds air into dough on purpose; wedging does the reverse, so you never fold clay over on itself.
- Push and roll, never fold. A fold traps a pocket of air inside the lump
- Two methods do the job: the ram's head for beginners, the spiral once your hands know the rhythm
- Cut the finished lump in half with a wire. If you see holes or streaks, wedge it again
Most people who walk into my studio in Logan and see me wedging say the same thing: "Oh, like kneading bread." I understand why. The posture is the same. The table is the same. The clay even looks a little like dough. But the two jobs are pulling in opposite directions, and if you wedge clay the way you knead bread, you will fill it with the exact thing you were trying to get rid of.
Why air in clay is a problem
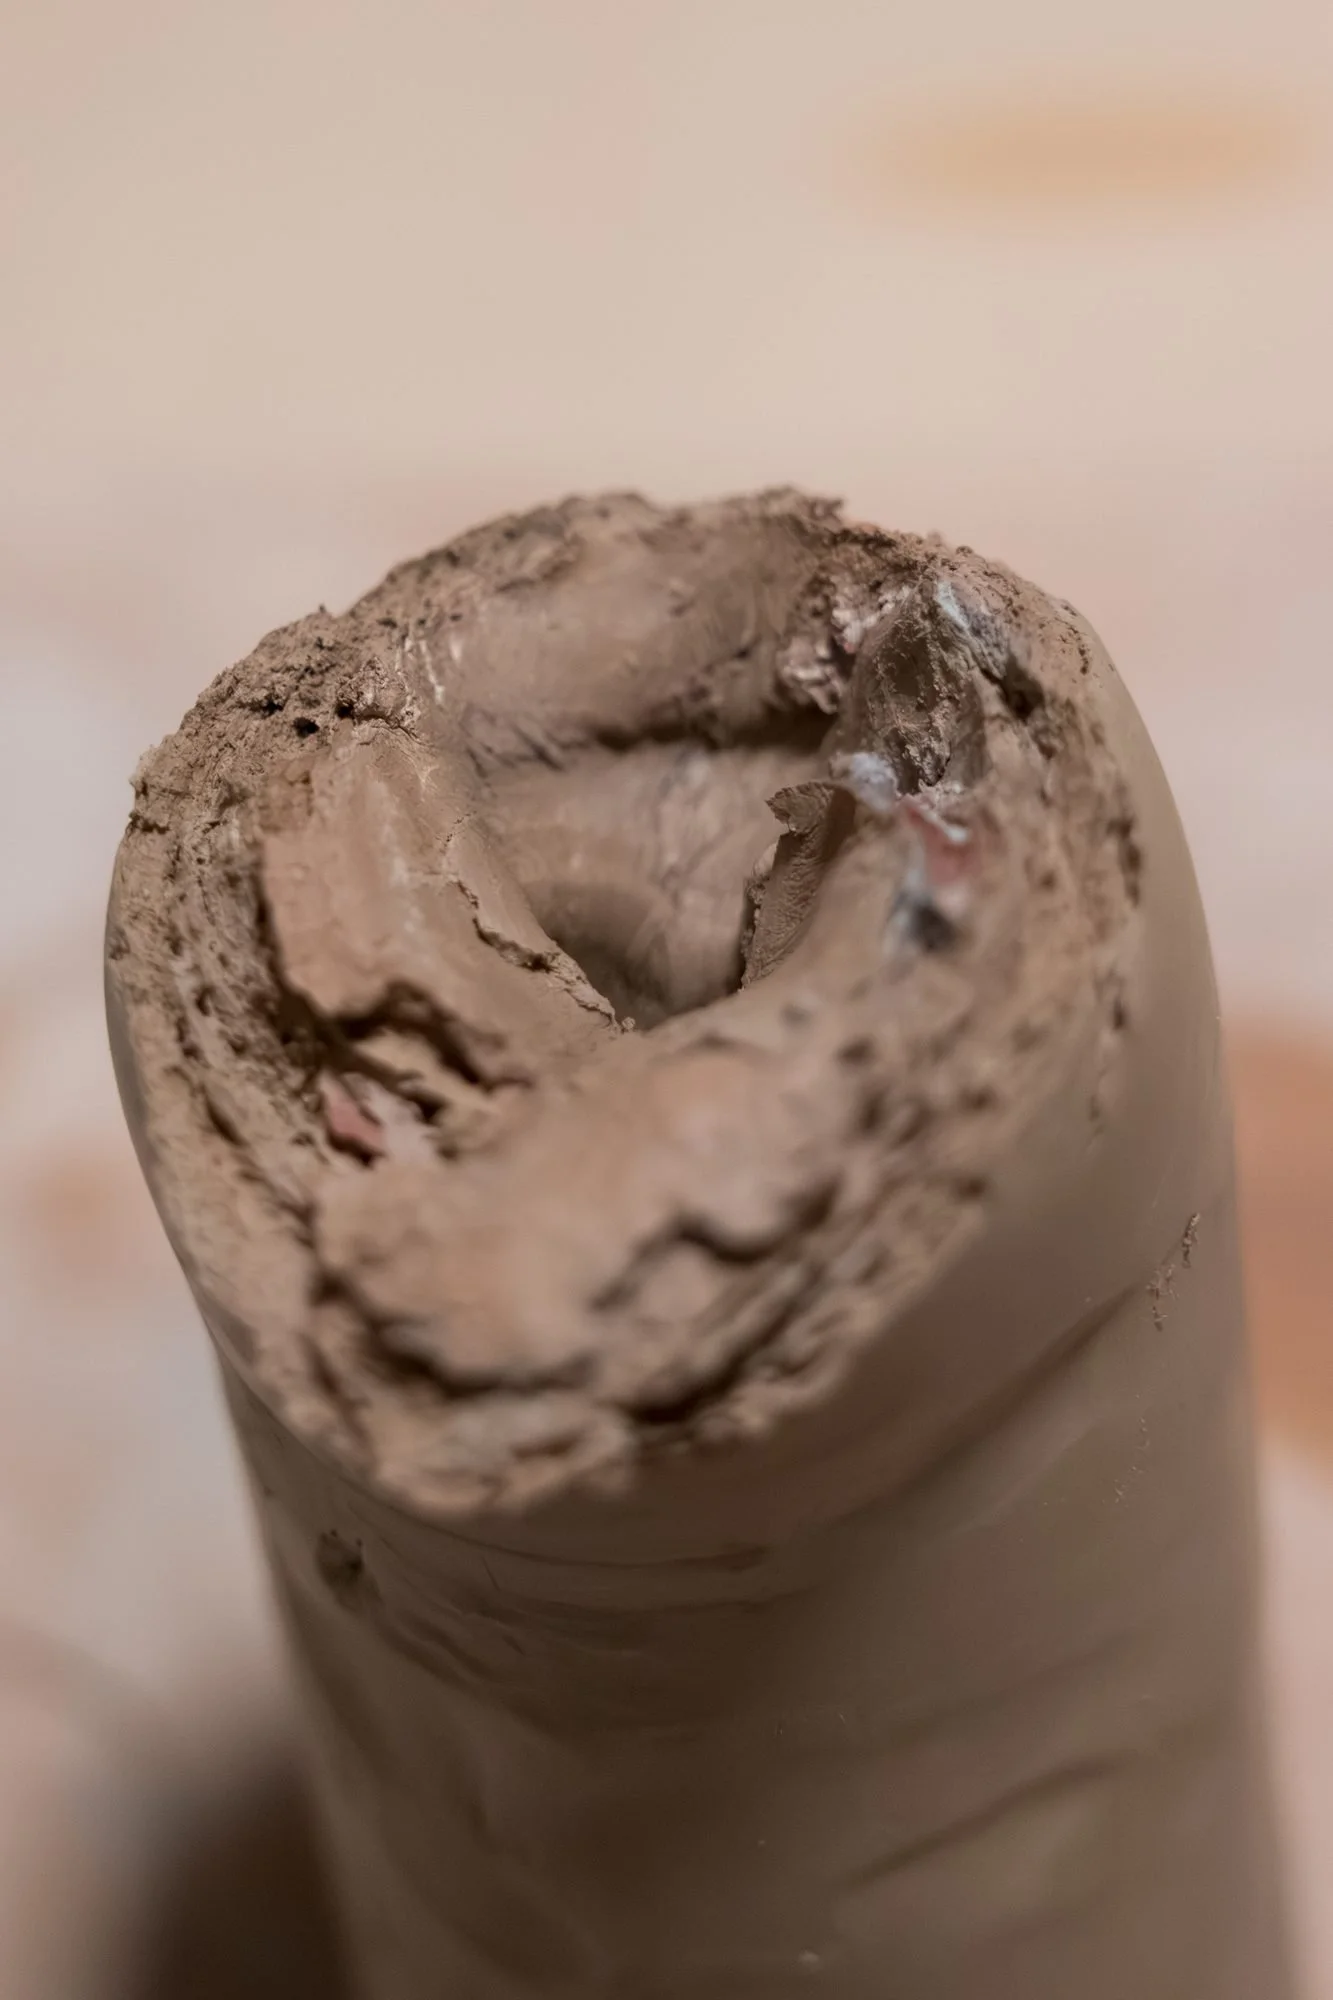
Air does not compress the way clay does. On the wheel, an air pocket under your fingers feels like a lump that will not center. It throws the wall off, and a thin spot next to a bubble is where a pot tears. In the kiln, a sealed pocket of air expands as the heat climbs, and if the clay around it is too dry to give, the wall blows out. I have written before about the pots you will never see. Trapped air is one of the ways a pot ends up on that list.
Wedging also fixes the second problem: clay that is not the same all the way through. A bag of clay can be softer on one side than the other. Reclaim is always uneven. Wild clay, which I dig and process myself, arrives with little hard nodules and soft streaks that have to be worked into one body before the wheel will cooperate. If you are testing local clay, wedging is not optional. It is most of the job.
Kneading folds. Wedging pushes.
Here is the actual difference. When you knead bread, you fold the dough back over itself and press it down, and every fold traps a thin layer of air. That is the point. A baker wants an open crumb.
When you wedge clay, you never fold. You push the lump down and away with the heels of both hands so the clay stretches and spreads forward across the table, then you roll it back toward you into a lump again. Every push pinches any pocket flat and squeezes it out the edges. Every roll picks the clay up without ever laying one surface over another. If you catch yourself folding a flap over the top and pressing it down, stop. That flap just made a bubble.
The ram's head, for when you are starting out
Set a lump about the size of a grapefruit on a dry, absorbent table. Plaster, canvas over plywood, or a slab of concrete all work. Stand so the table hits you around the hip, put the heels of your hands on the back of the lump, and push down and forward. The clay spreads out ahead of your hands. Now curl your fingers under the front edge and roll it back toward you into a lump. Push again. Roll again.
After a dozen or so pushes, the lump takes on a shape with two rounded lobes at the front and a ridge down the middle, which is where the name comes from. It looks a little like a ram's head seen from the front. That shape is a sign you are doing it right. Thirty to fifty of these and the lump is ready.
The spiral, once your hands know the rhythm
Spiral wedging is the same push and roll, but instead of rolling the lump straight back, you turn it about a quarter turn with each pass, always in the same direction. Your right hand pushes down and forward while your left hand rotates the lump. The clay you are pushing works its way around the outside and back through the center, so after a full cycle every part of the lump has been through the pressure point.
The finished lump looks like a shell or a spiral seen from the side, with the ridges winding up to a point. It takes some practice before it stops looking like a mess. The advantage is that it handles bigger lumps than the ram's head, and it lines the clay particles up in a spiral that centers more easily when you slap it on the wheel.
The wire test
Do not guess whether the clay is ready. Take a cutting wire and slice the lump in half. Look at the face of the cut. What you want is one even color and texture with no holes, no bright spots of softer clay, no dark streaks. If you see any of those, slap the two halves together with the cut faces facing out, and wedge it again.
This is the part beginners skip, and it is the part that matters most. A lump that looks smooth on the outside can be full of pockets inside. The wire does not lie.
Does a pugmill mean you can skip it?
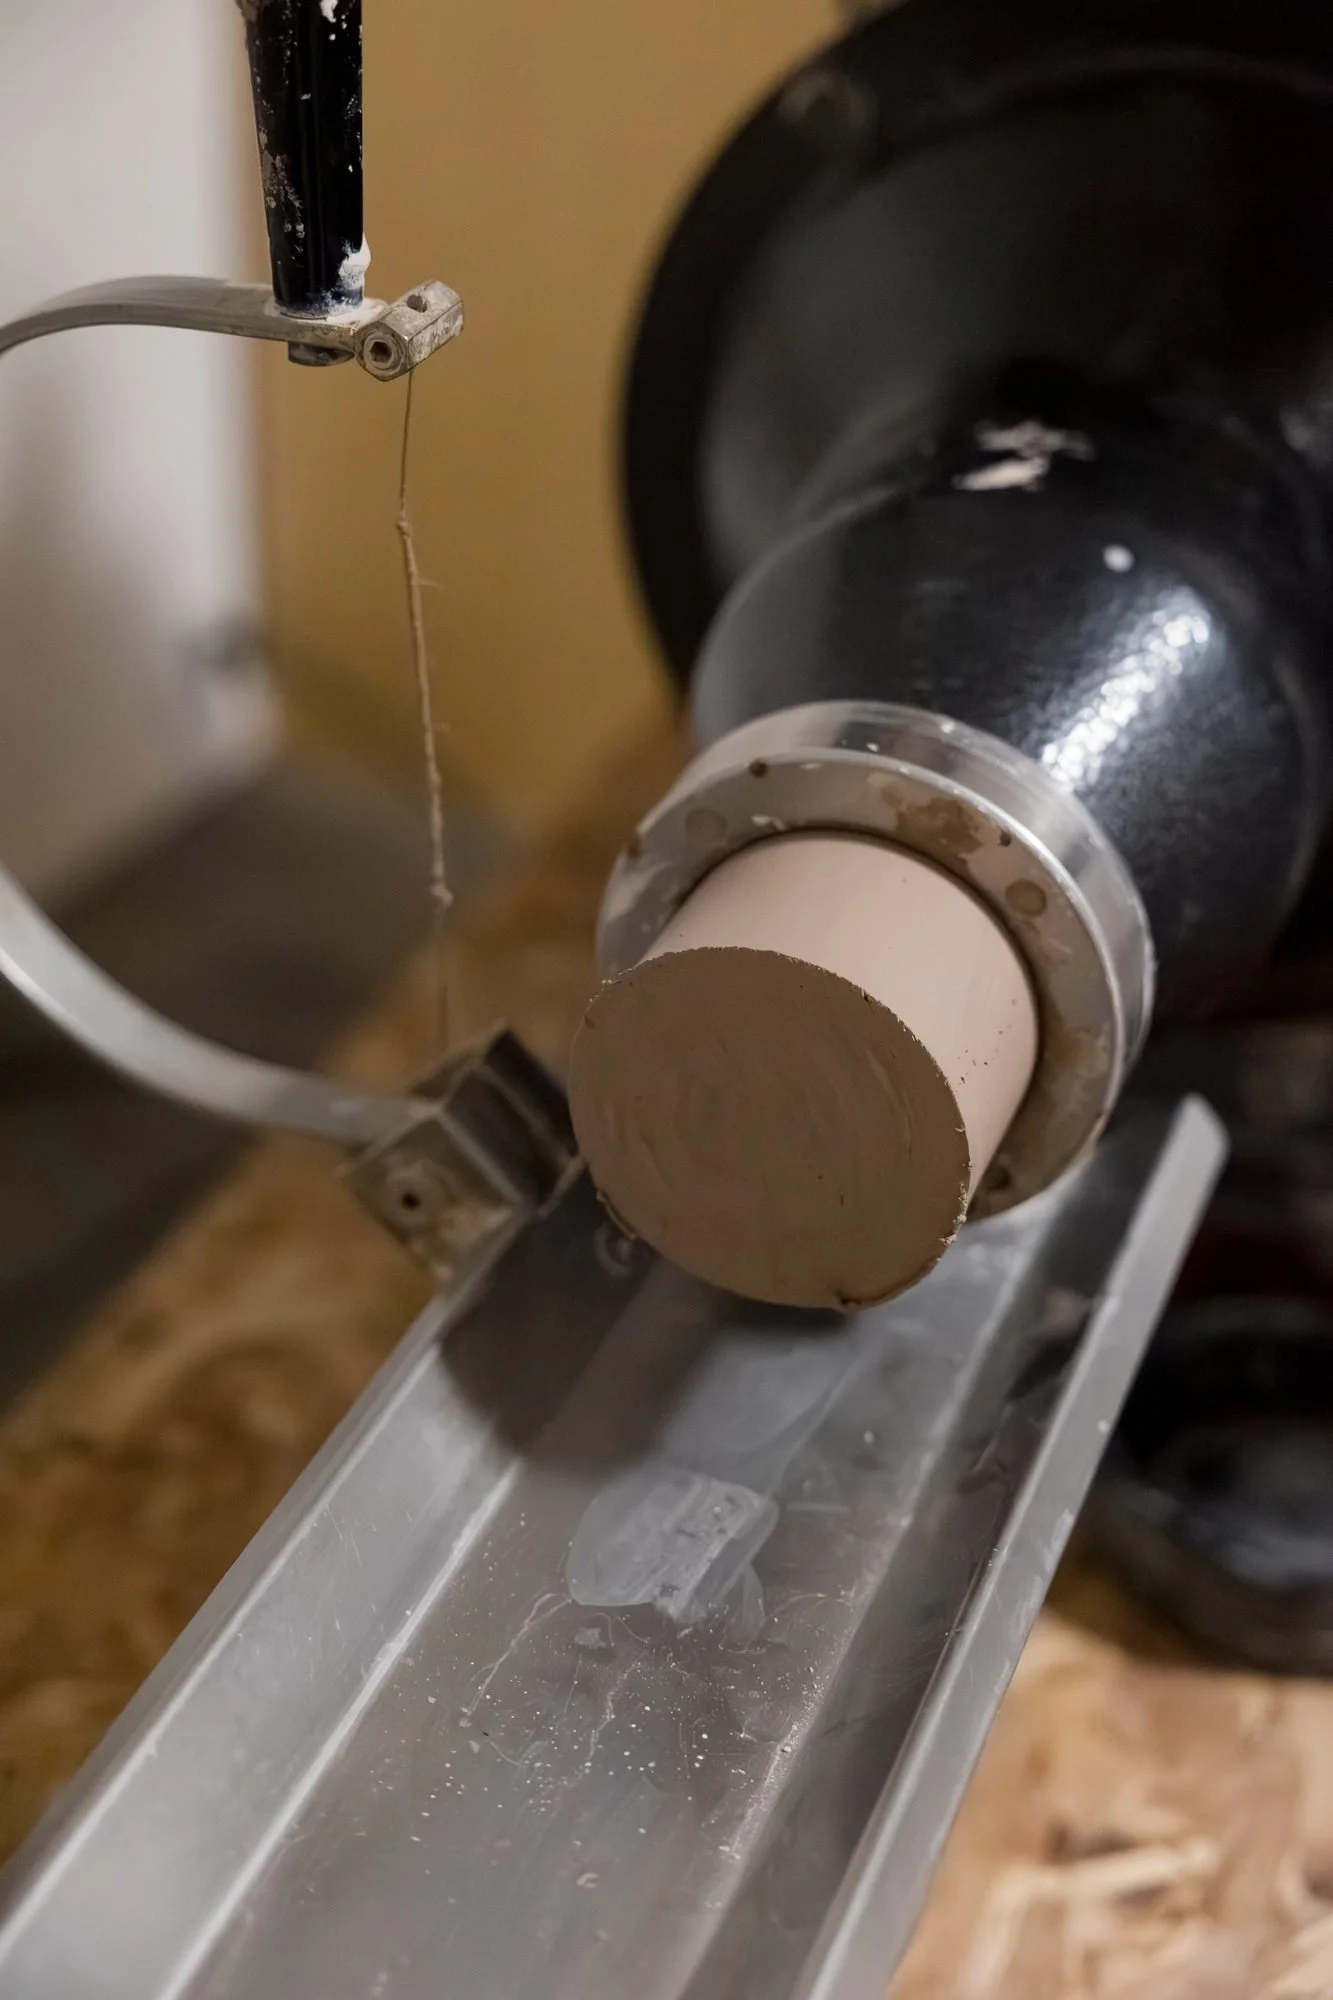
Partly. I run a Peter Pugger in my studio, and it does the mixing part of wedging very well. Scraps, trimmings and slurry go in one end and a smooth even pug comes out the other. If you do not have one, hand reclaim gets you to the same place: dry the scraps completely, slake them down in a bucket of water, pour off the excess, spread the slop on a plaster bat until it firms up, then wedge it all back into one body. It is slow, and it works.
But I still cut every pug I take to the wheel and I still give it a few passes on the table. Pugged clay can hold air along the seams where the auger folds it, and a wedge or two lines the clay up for centering in a way a machine does not. The wheel notices. I wrote about what happens to a pot between throwing and trimming; almost none of that goes right on badly prepared clay.
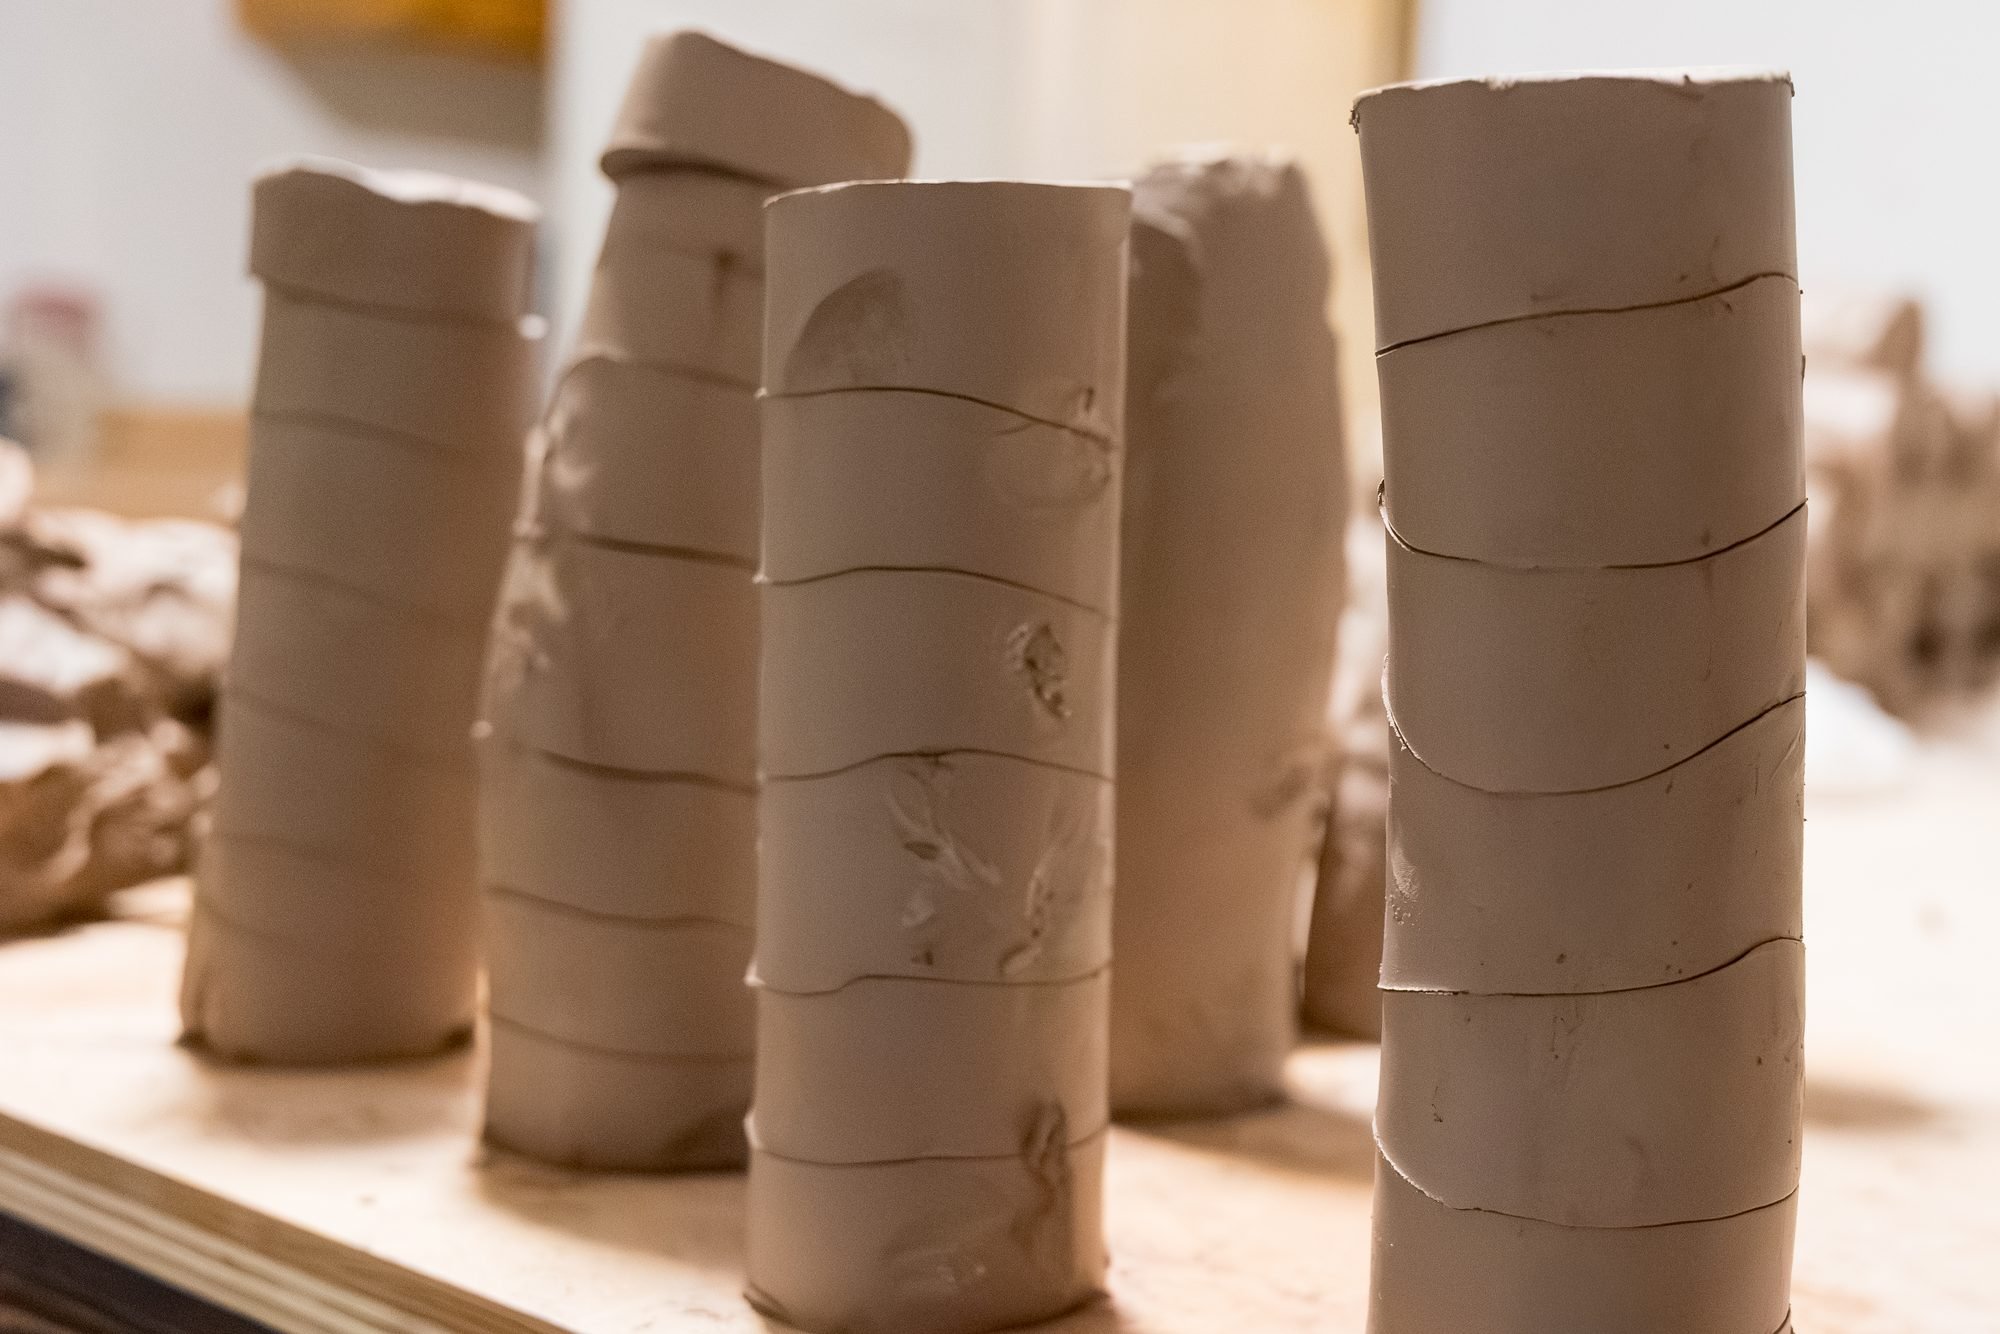
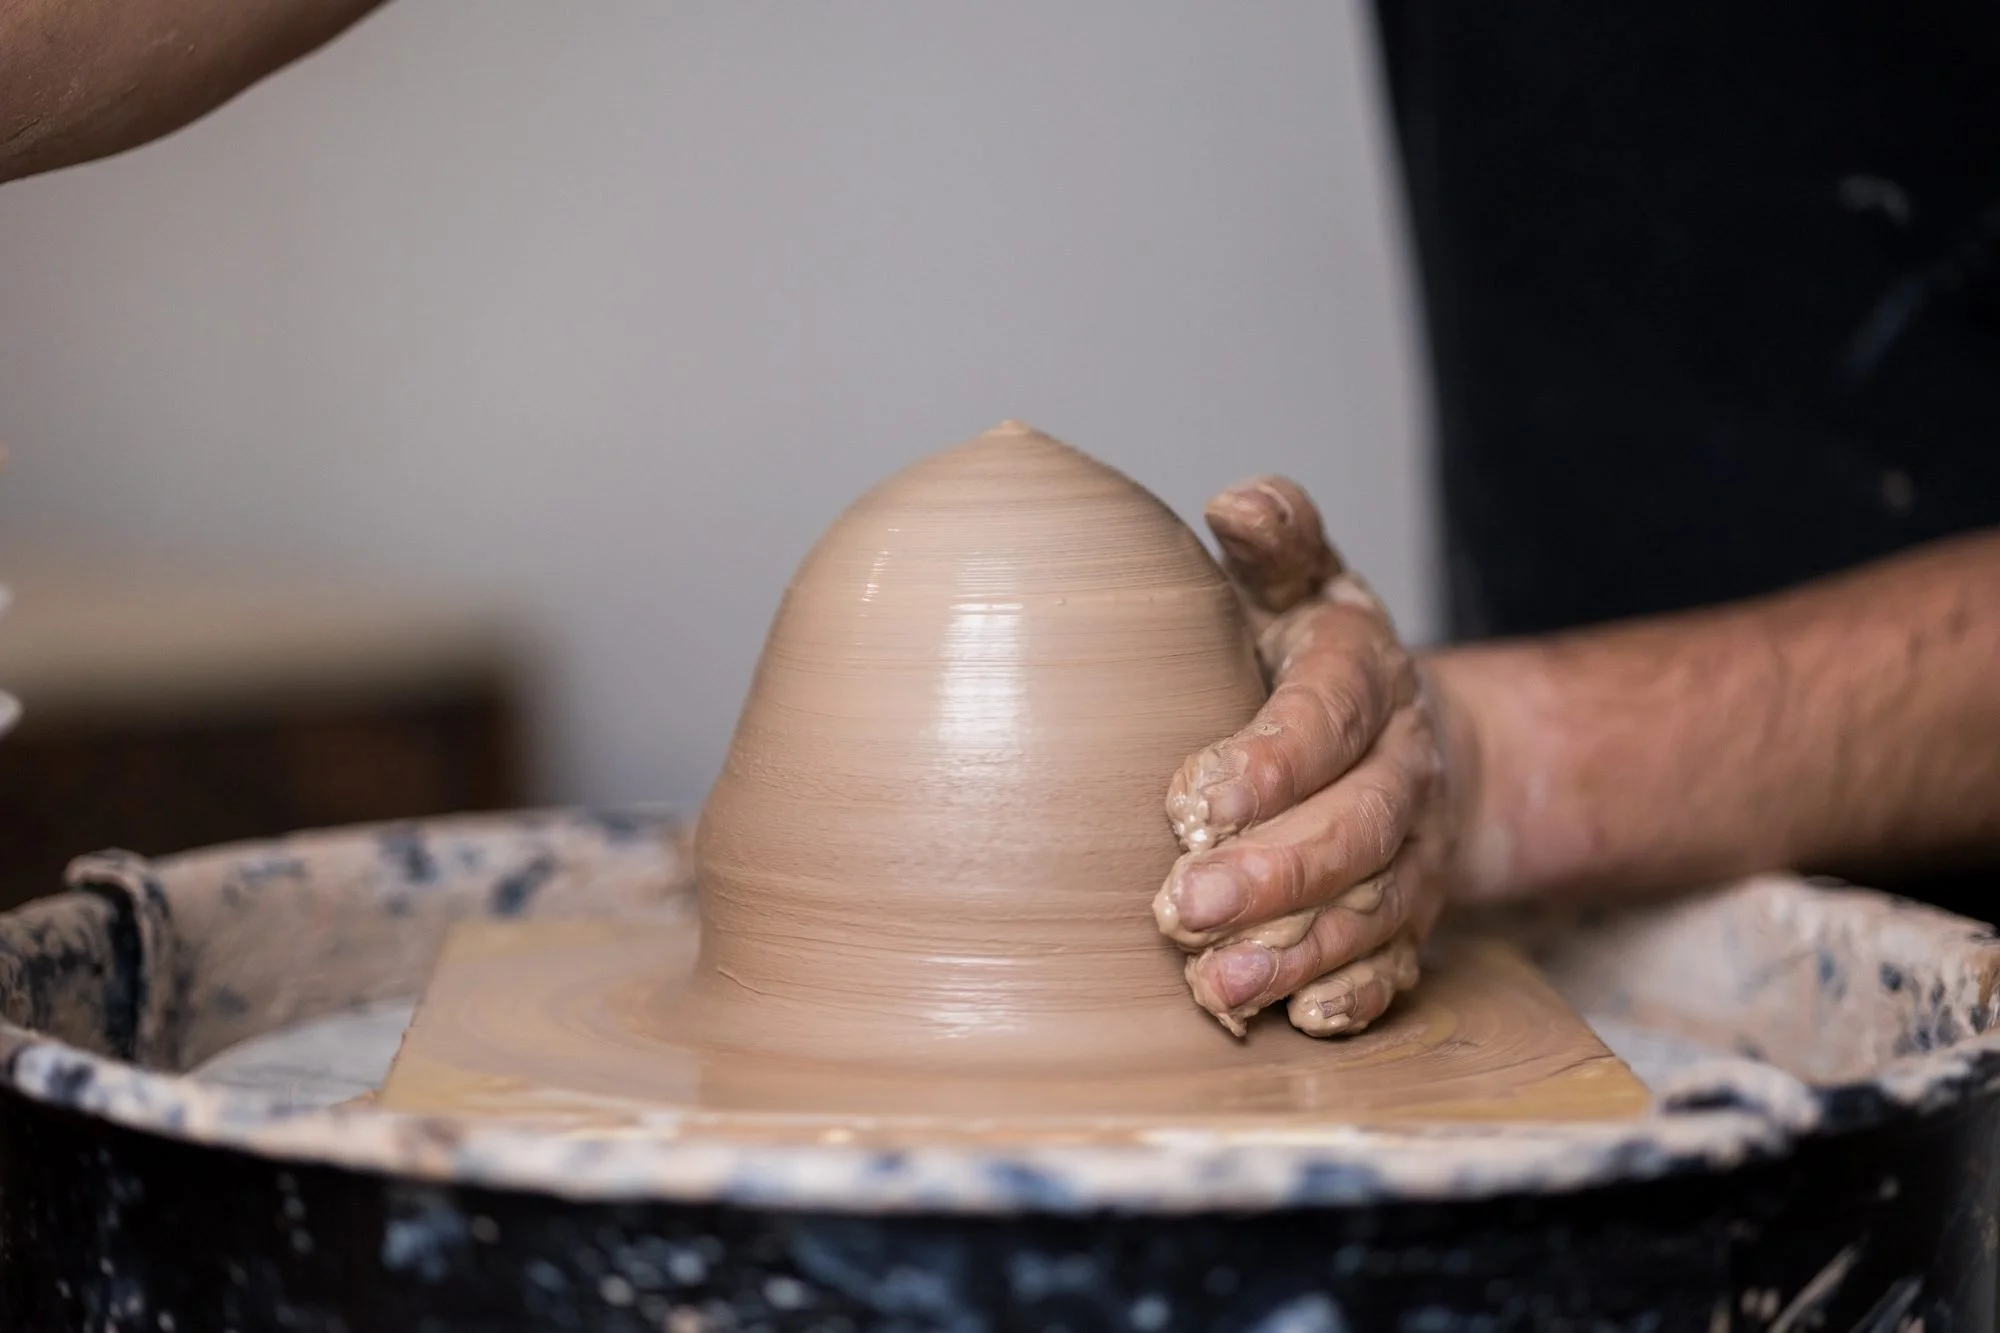
Wedge on a table that is too low and you will do it with your arms. Wedge on one that hits you at the hip and you can lean your whole body into the push, which is where the pressure should come from. If your shoulders ache after wedging, the table is the problem, not you.
Wedging is the least interesting thing that happens in my studio and the one I would give up last. A pot only gets to be as good as the lump it started from.
