Why Plates Warp and How to Prevent It
Wide, flat forms expose everything. A mug can hide small inconsistencies. A plate will show you every one of them.
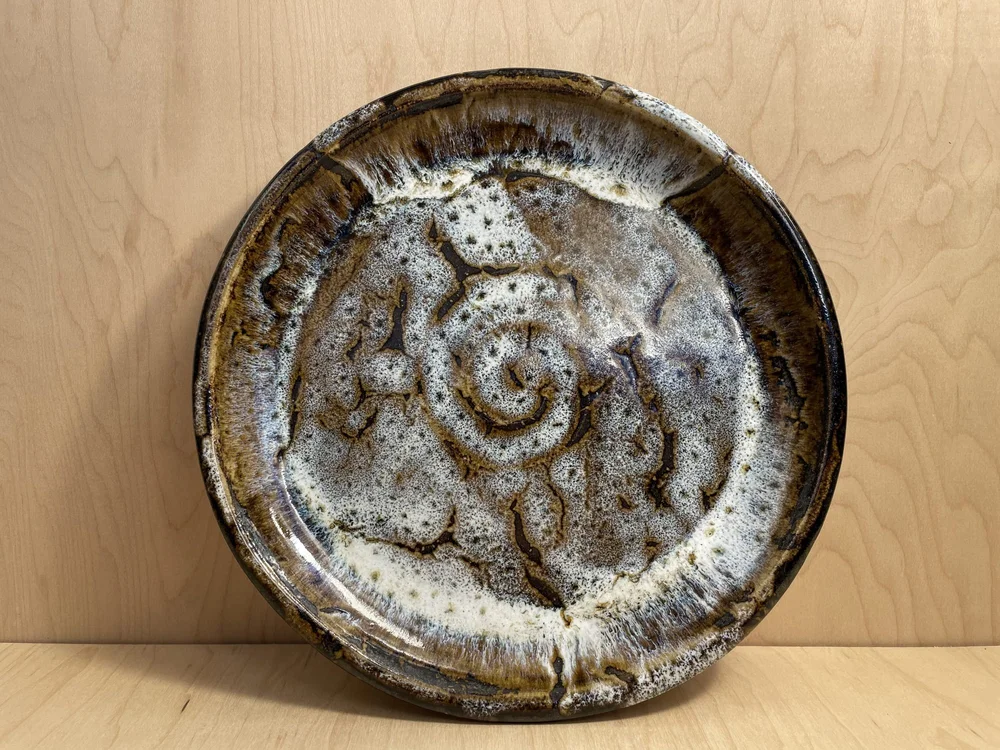
Plates warp because of uneven stress. The fixes are a stable clay body, aggressive base compression, even thickness from center to rim, slow and even drying, careful trimming, and level, clean kiln shelves.
- Compress the base from the center out, then do it again
- Keep the base and rim close in thickness so they dry and shrink together
- Slow the climb through quartz inversion around 1063°F for movement prone bodies
Warping is uneven stress
You can get away with small inconsistencies in a mug. A bowl can tolerate slight movement in the wall. A plate will not. If it is going to warp, it will show you. Warping is not random. It is uneven stress, and it starts long before the kiln.
Start with the clay body
Some clays simply move more than others. High shrinkage bodies, especially very plastic ones, are more likely to distort in wide forms. If you are throwing large plates with a body designed for tall walls and thin rims, you are inviting movement. Choose a body with moderate shrinkage and good structural stability. That matters more than people admit.
Compression and rib direction
When you open a plate on the wheel, the base needs real compression. Not a quick pass and not cosmetic smoothing. Firm pressure from the center outward, with a rib and consistent force. Clay particles align as they spin, and if you do not compress them back down, that alignment becomes a weakness. Plates are especially prone to S cracks in the center when the base is under compressed.
I compress the base several times, then I do it again. Move from the center out in even passes. Uneven ribbing introduces small thickness changes that show up later as stress points.
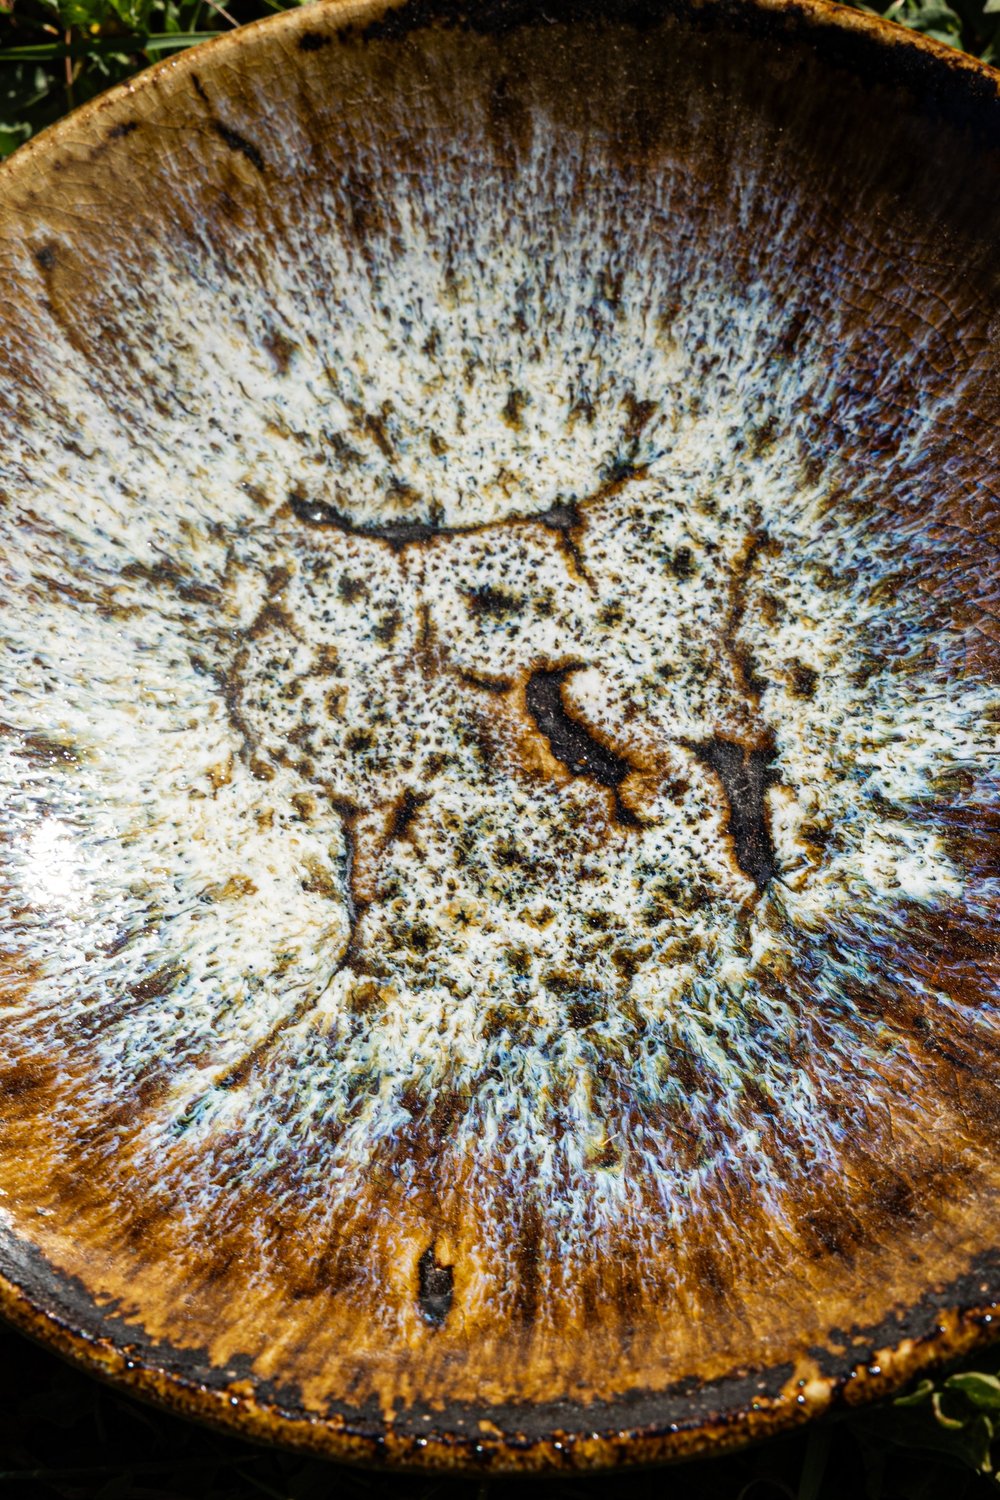
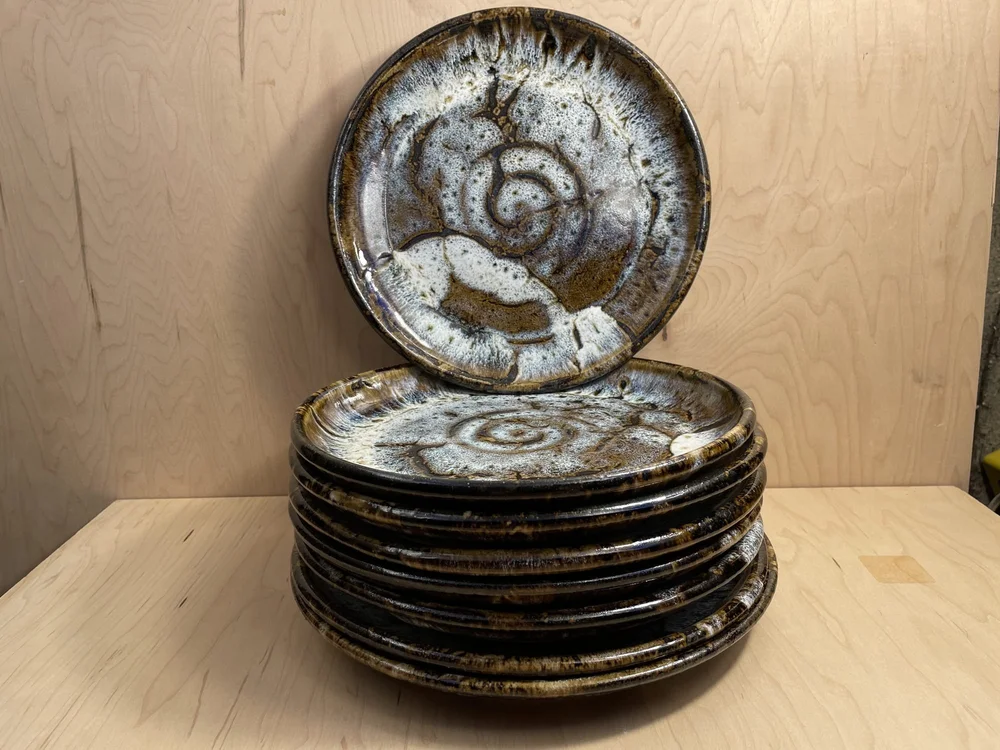
Thickness ratio
The base of a plate should not be dramatically thicker than the rim. A heavy center and a thin outer edge dry unevenly: the rim shrinks faster, the base resists, and tension builds. Aim for gradual transitions. Not thin, not bulky. Balanced.
Drying and trimming
Plates should dry slowly and evenly. If one side dries faster than the other, it will pull. I keep rims out of direct airflow while the base is still damp, and I flip the plate at the right time: not too early when it is soft, not too late when the rim has already set.
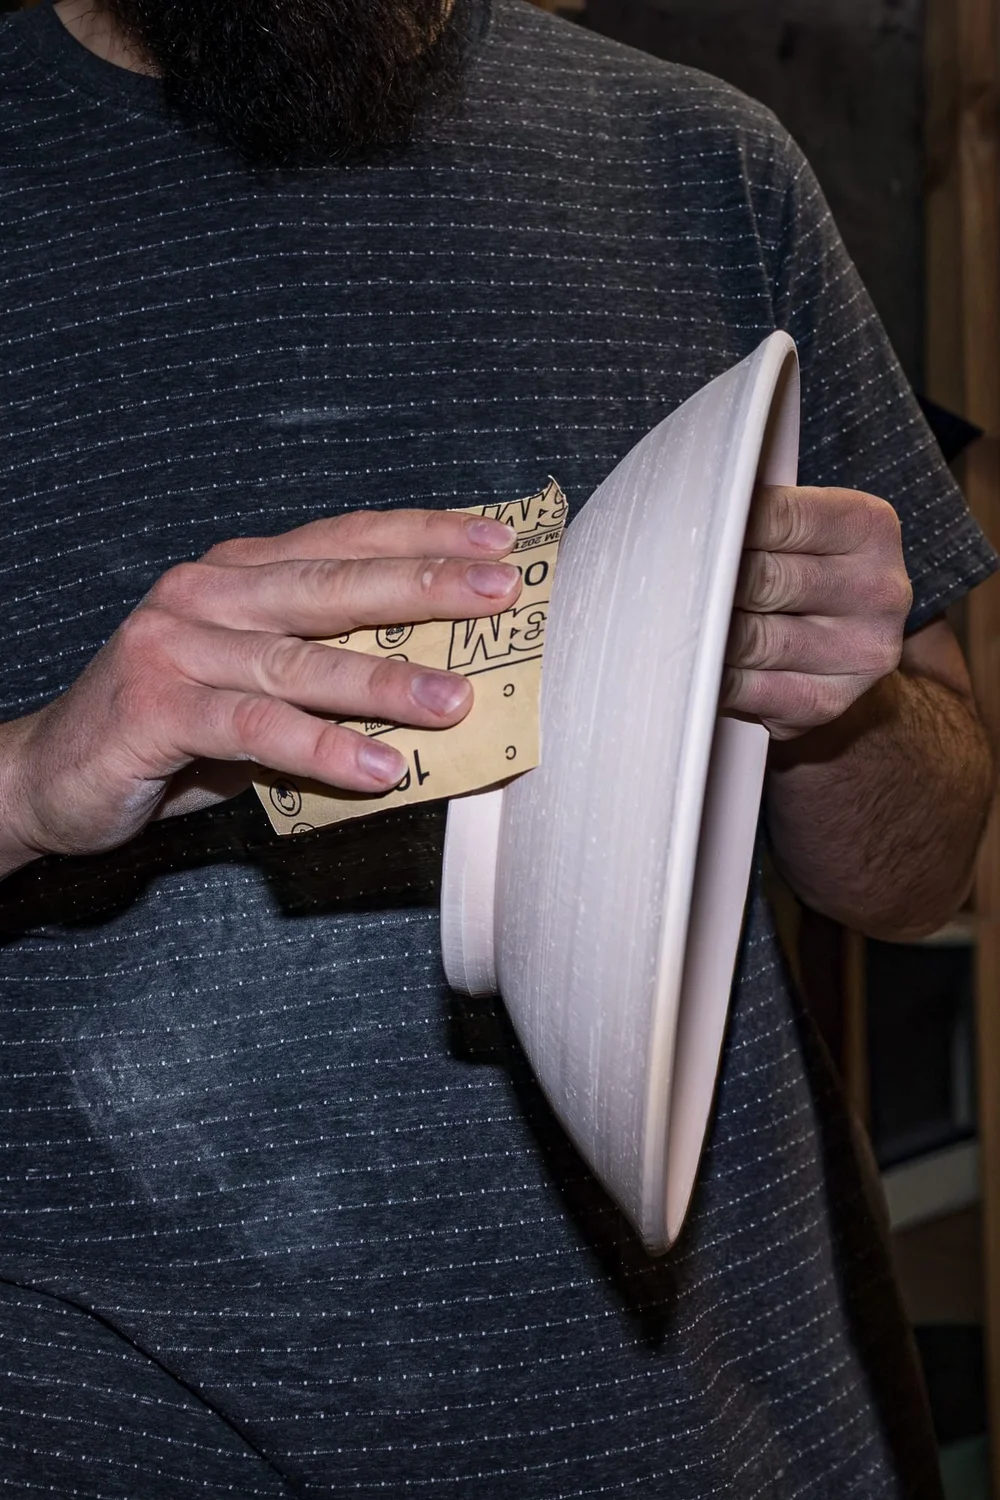
Trimming too soon can distort the form. Trimming too late forces you to cut hard, which adds stress. I trim when the plate feels firm but still responsive, and I define the foot ring without hollowing the center too much. A deep foot can cut weight, but removing too much clay under a wide surface increases risk.
Firing is the final variable
Large plates need even shelf support. A warped shelf will make a warped plate, so keep shelves clean and level. If the clay body tends to move, slow the climb through quartz inversion, around 1063°F. That is a structural transition point, and rapid temperature change there can amplify stress.
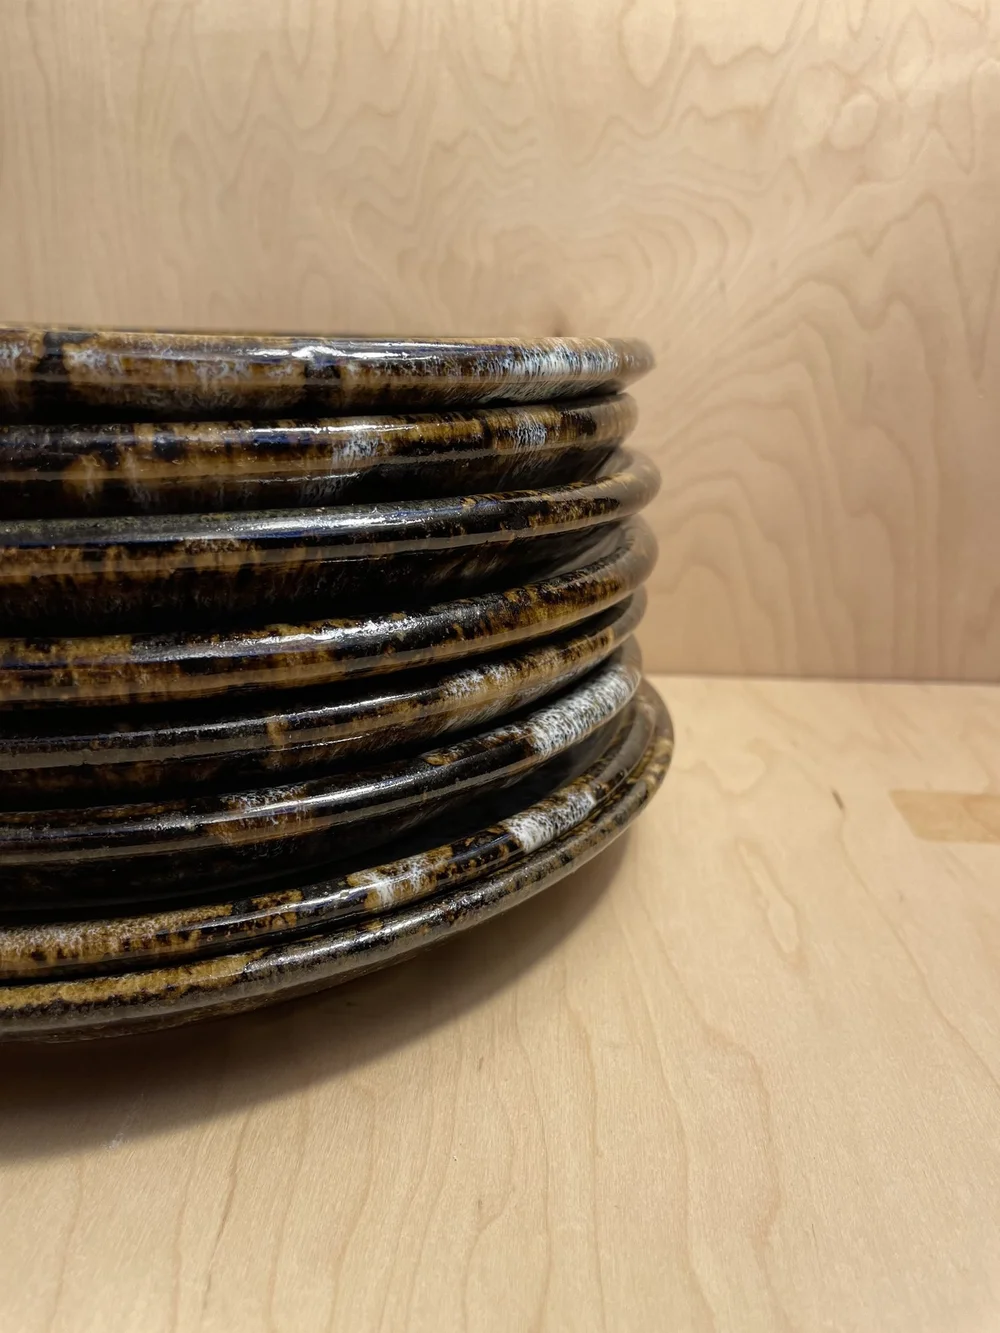
At cone 10, everything tightens. High fire gives maturity and durability, but it also exposes weaknesses. If compression was rushed or drying was uneven, the kiln will make it visible. When a plate comes out flat, with a clean foot, no twist and no hairline cracks, it is not luck. It is process.
Set a straightedge across a leather hard plate before you trim it. If you can already see daylight under one side, slow the drying down before you touch it with a tool.
Wide forms demand discipline. That is the standard behind every plate I make.
