Common Glaze Problems and How to Fix Them
Pinholes, crawling, shivering and crazing all look different, but none of them are random. Here is how to tell them apart, what usually causes each one, and where to start fixing it.
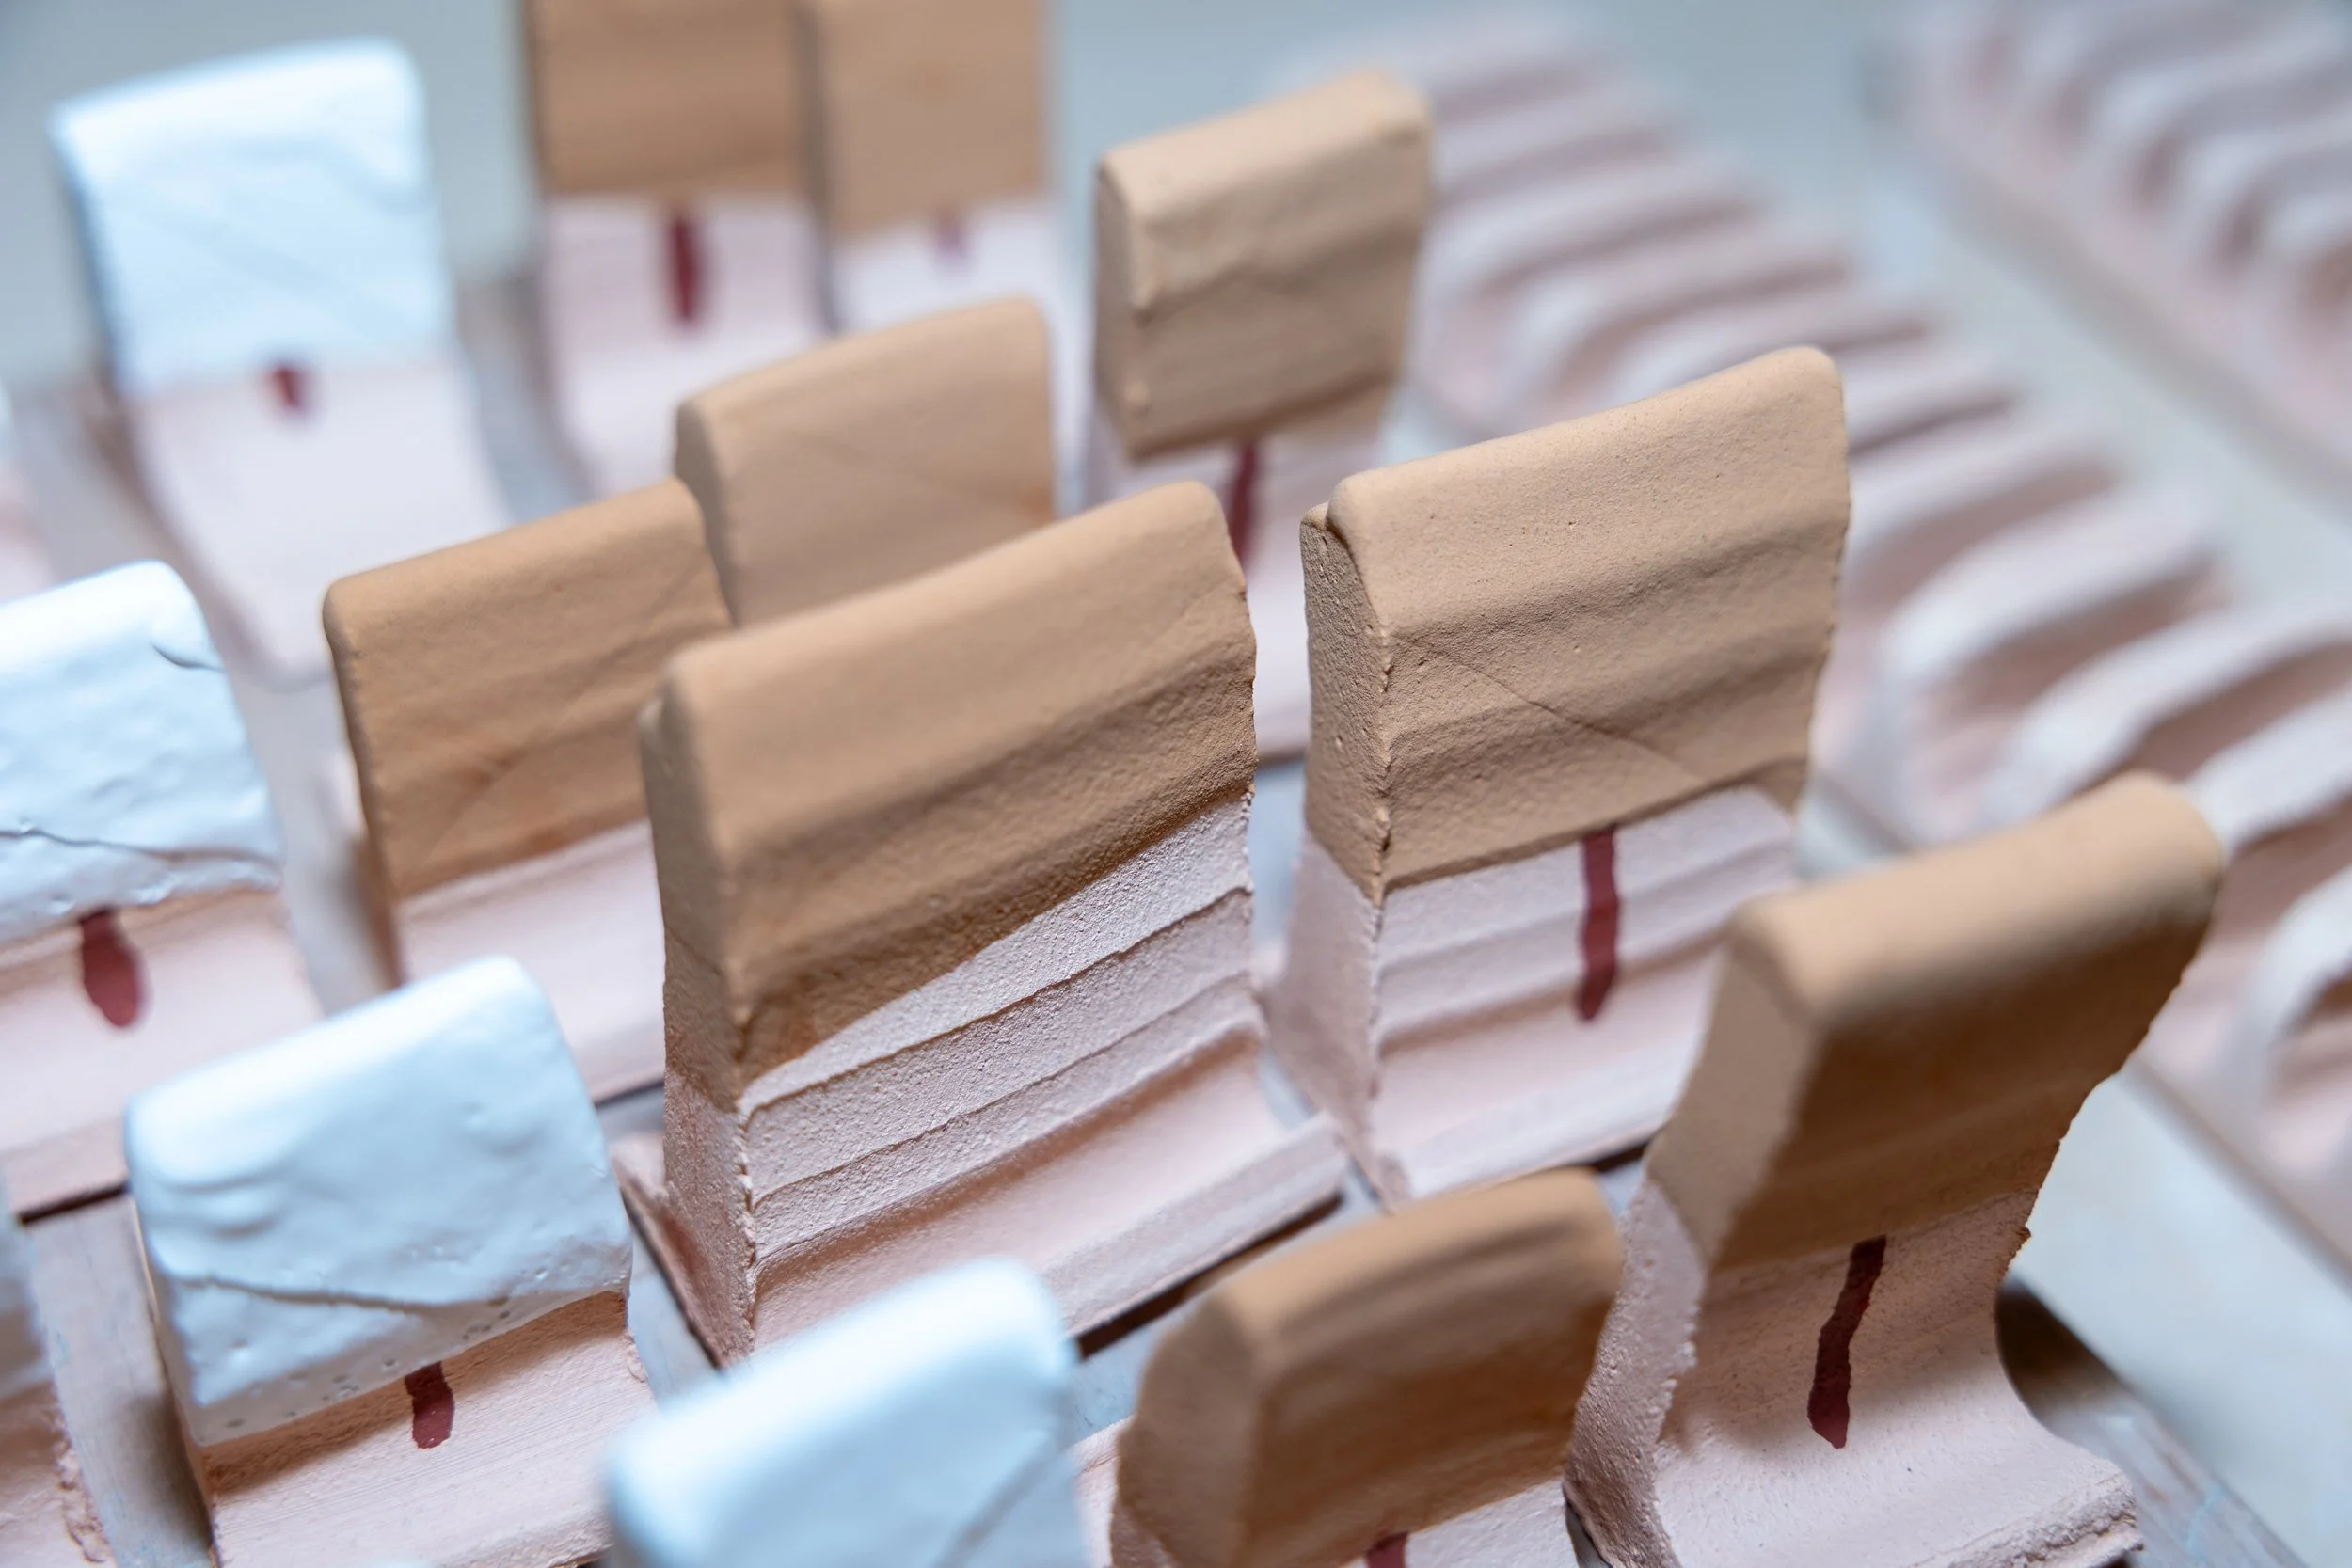
Most glaze defects come from one of two places: gas or application problems during firing (pinholing, crawling), or a fit problem between glaze and clay that shows up as they cool (shivering, crazing). Name the defect first, then change one variable at a time.
- Pinholing: gas escaping through a glaze that has already started to seal
- Crawling: glaze pulling away from the clay and leaving bare patches
- Shivering and crazing: opposite glaze fit failures caused by thermal expansion
I fire to cone 10 in my studio in Logan, and high fire is honest. It gives glazes depth, but it also exposes every shortcut in the clay, the glaze and the schedule. I have written separate posts on each of these problems. This page is the map: what each one looks like, what usually causes it, and which post to read next.
How to tell them apart
| Problem | What you see | Usual cause | Where to start |
|---|---|---|---|
| Pinholing | Tiny craters in a surface that should be smooth | Clay gases escaping after the glaze starts to melt | Bisque high enough, slow the climb from about 1000 to 1600°F, measure thickness |
| Crawling | Bare clay where the glaze pulled back into islands | Dusty or oily bisque, too much shrinkage, glaze too thick | Clean bisque, even application, measured specific gravity |
| Shivering | Small flakes of glaze popping off rims and feet | Glaze expansion too low for the clay, so the glaze is over-compressed | Adjust expansion, often with silica or flux balance, and test fit |
| Crazing | Fine crack lines in the glaze | Glaze contracts more than the clay and ends up in tension | Stress test, then adjust silica, alumina or flux balance |
Pinholing
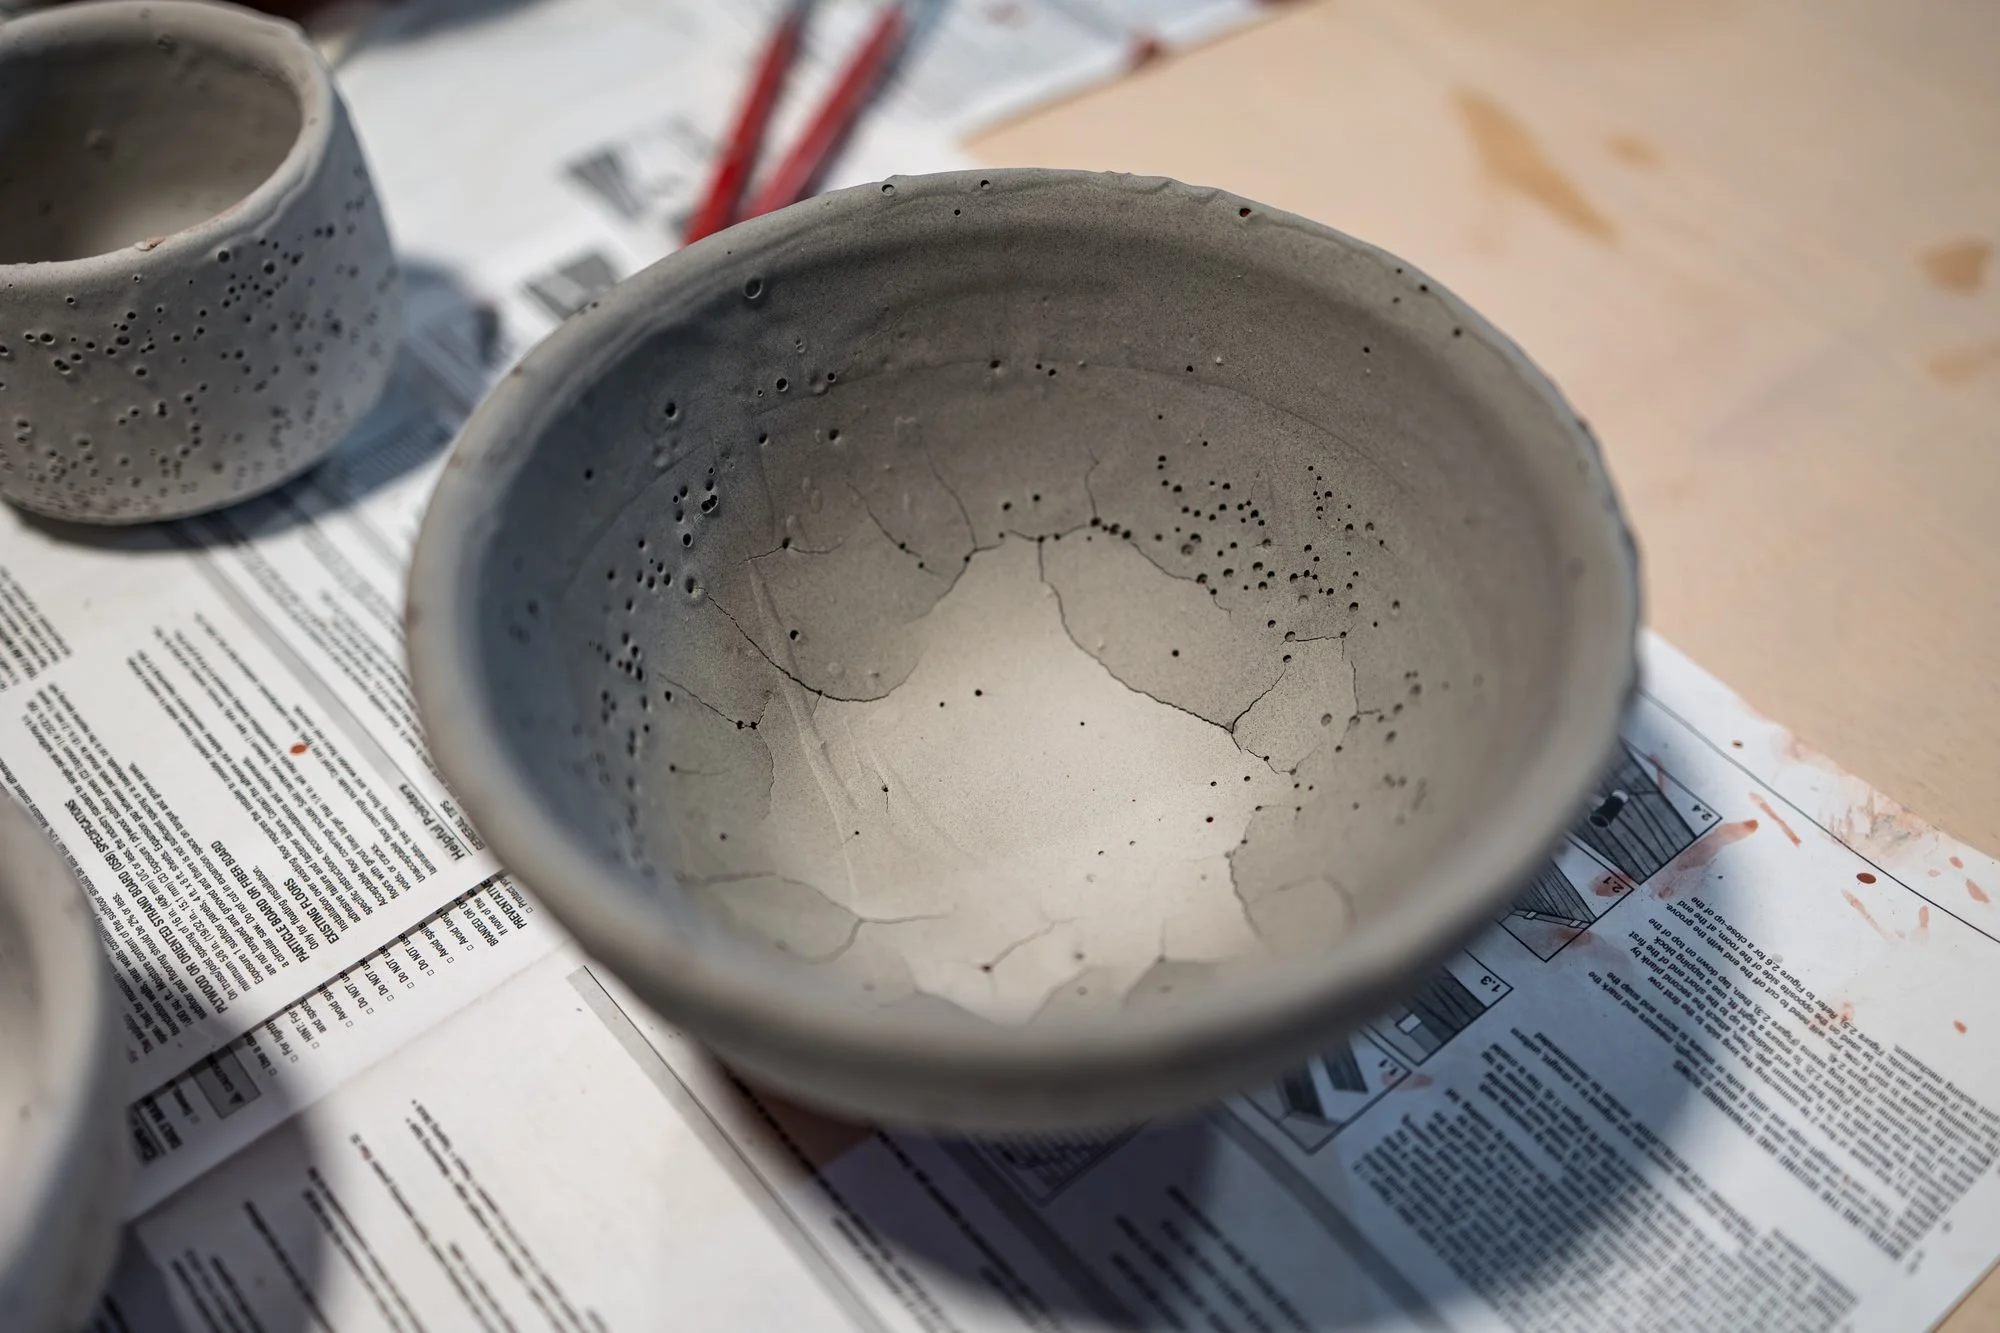
Pinholes are the marks left by gas pushing up through a glaze that has already started to seal. Clay bodies contain organics, sulfur compounds and carbonates that burn out mostly between roughly 1000°F and 1600°F. If the glaze is softening while that is still happening, the gas leaves tiny craters behind.
Four things usually decide it: the clay body and how high you bisqued it, how fast the glaze firing climbs through the burnout range, how thick the glaze went on, and whether the glaze chemistry is fluid enough to heal over small bubbles. A short hold at peak temperature can let some glazes smooth over. The full breakdown is in why your glaze is pinholing.
Crawling
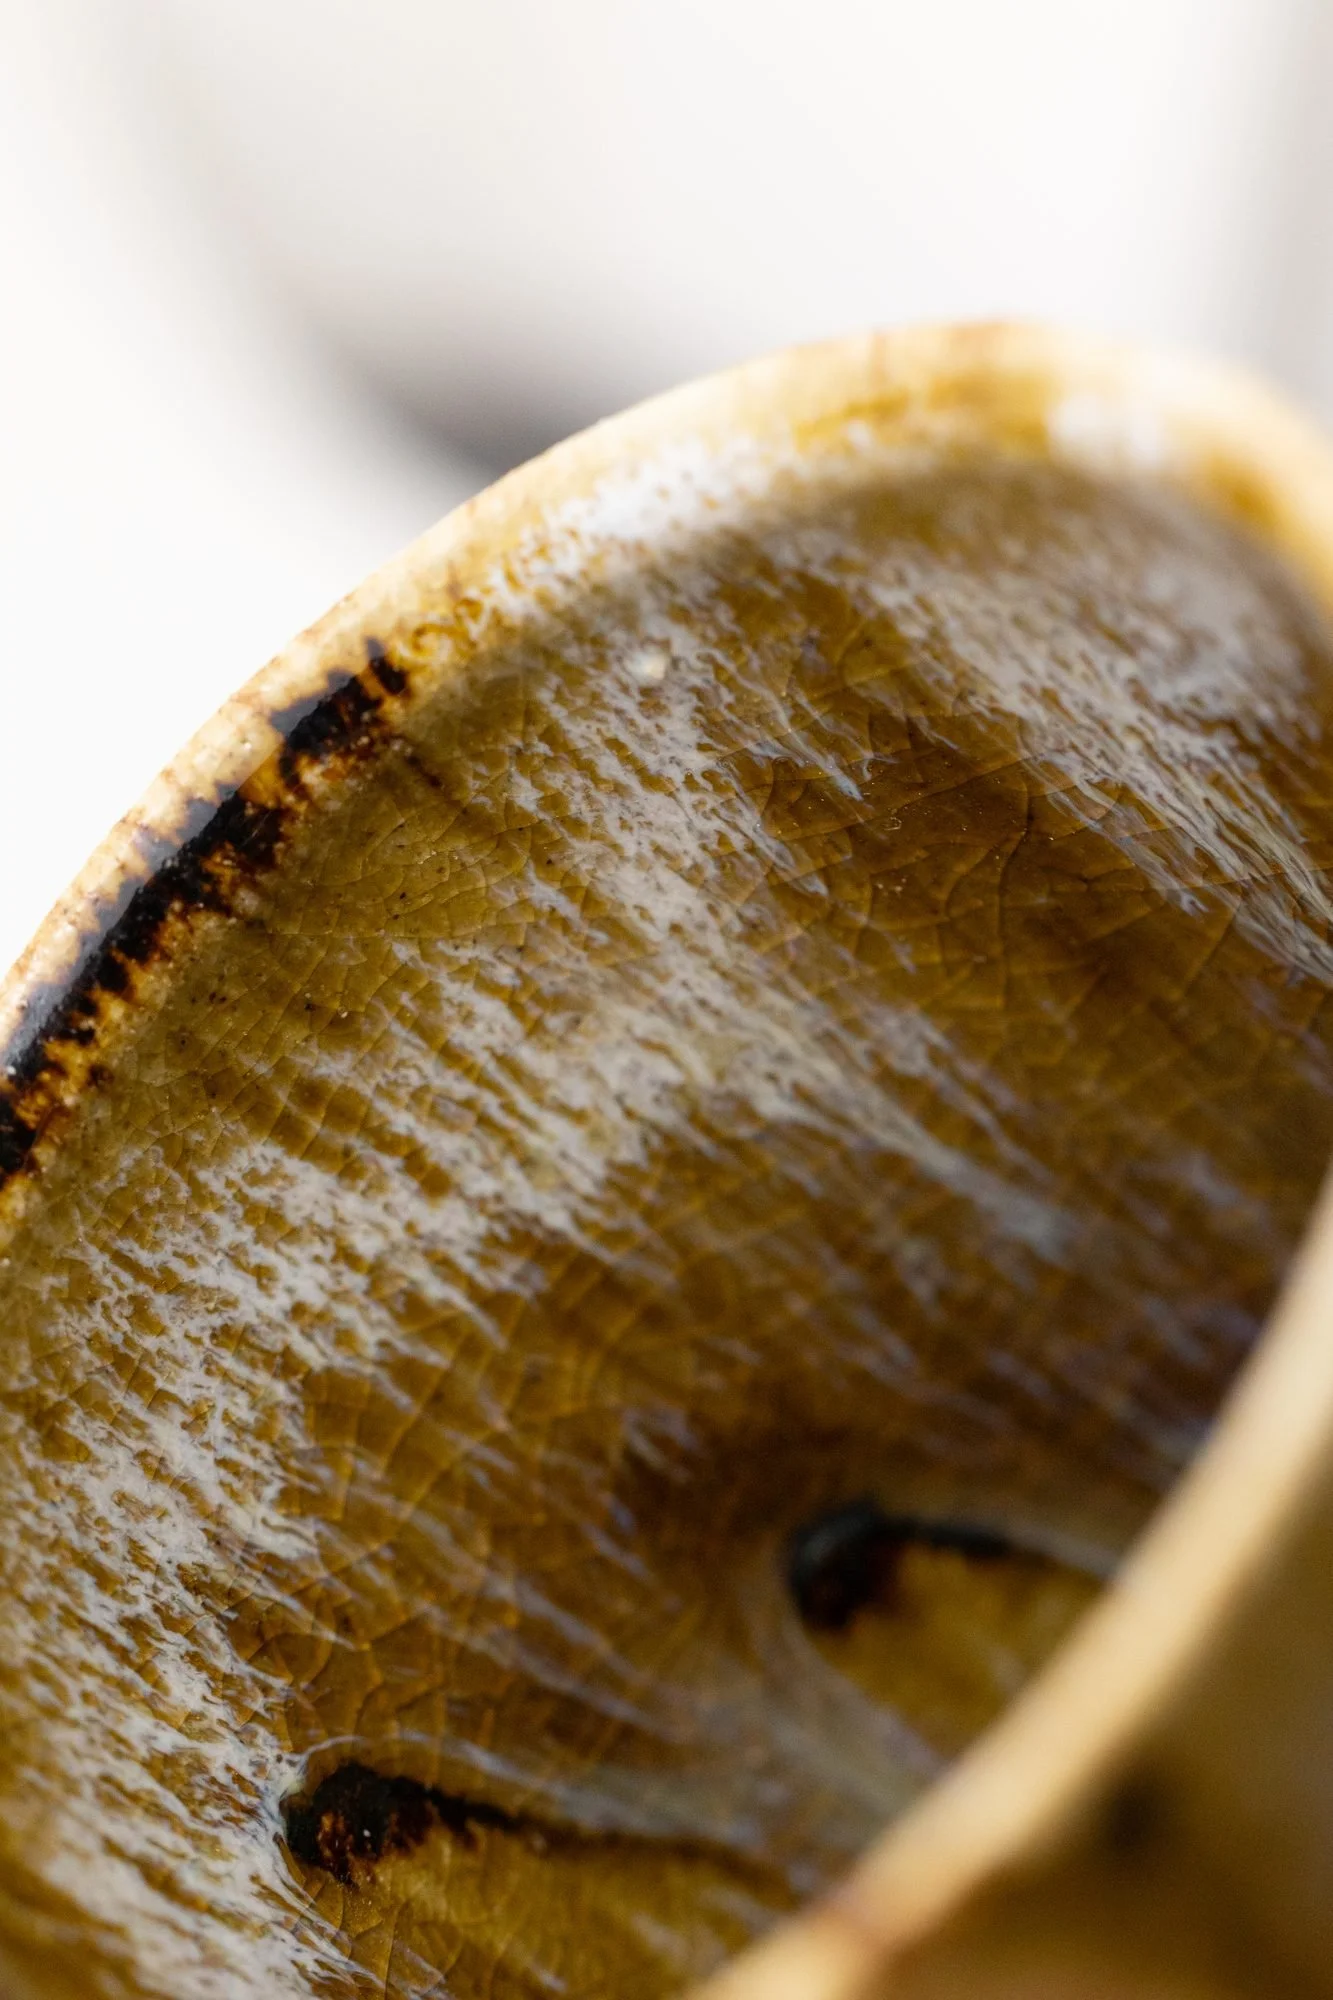
Crawling is glaze pulling away from the clay during firing and leaving bare patches. It is usually decided before the kiln is even loaded, by how well the glaze bonded to the bisque as it dried.
Dust and oil from hands stop glaze from bonding. A glaze with a lot of clay in it can shrink so much as it dries that it lifts. Thick layers crawl more easily because more material means more shrinkage and more stress. Clean bisque, an even coat and a measured thickness prevent most of it. Read more in crawling and shivering: why glazes fail.
Shivering
Shivering is the more serious fit problem. The clay contracts more than the glaze as it cools, the glaze ends up squeezed too hard, and it flakes off at rims and foot rings. That is structural failure, not surface variation, and on functional ware it can leave sharp edges.
The cause is a thermal expansion mismatch: the glaze expansion is too low for the clay body. The fix is chemistry, often more silica or a change in flux balance, plus slightly rounded rims, since sharp edges concentrate stress. Shivering can take weeks to appear, which is why it needs testing, not a single look out of the kiln.
Crazing
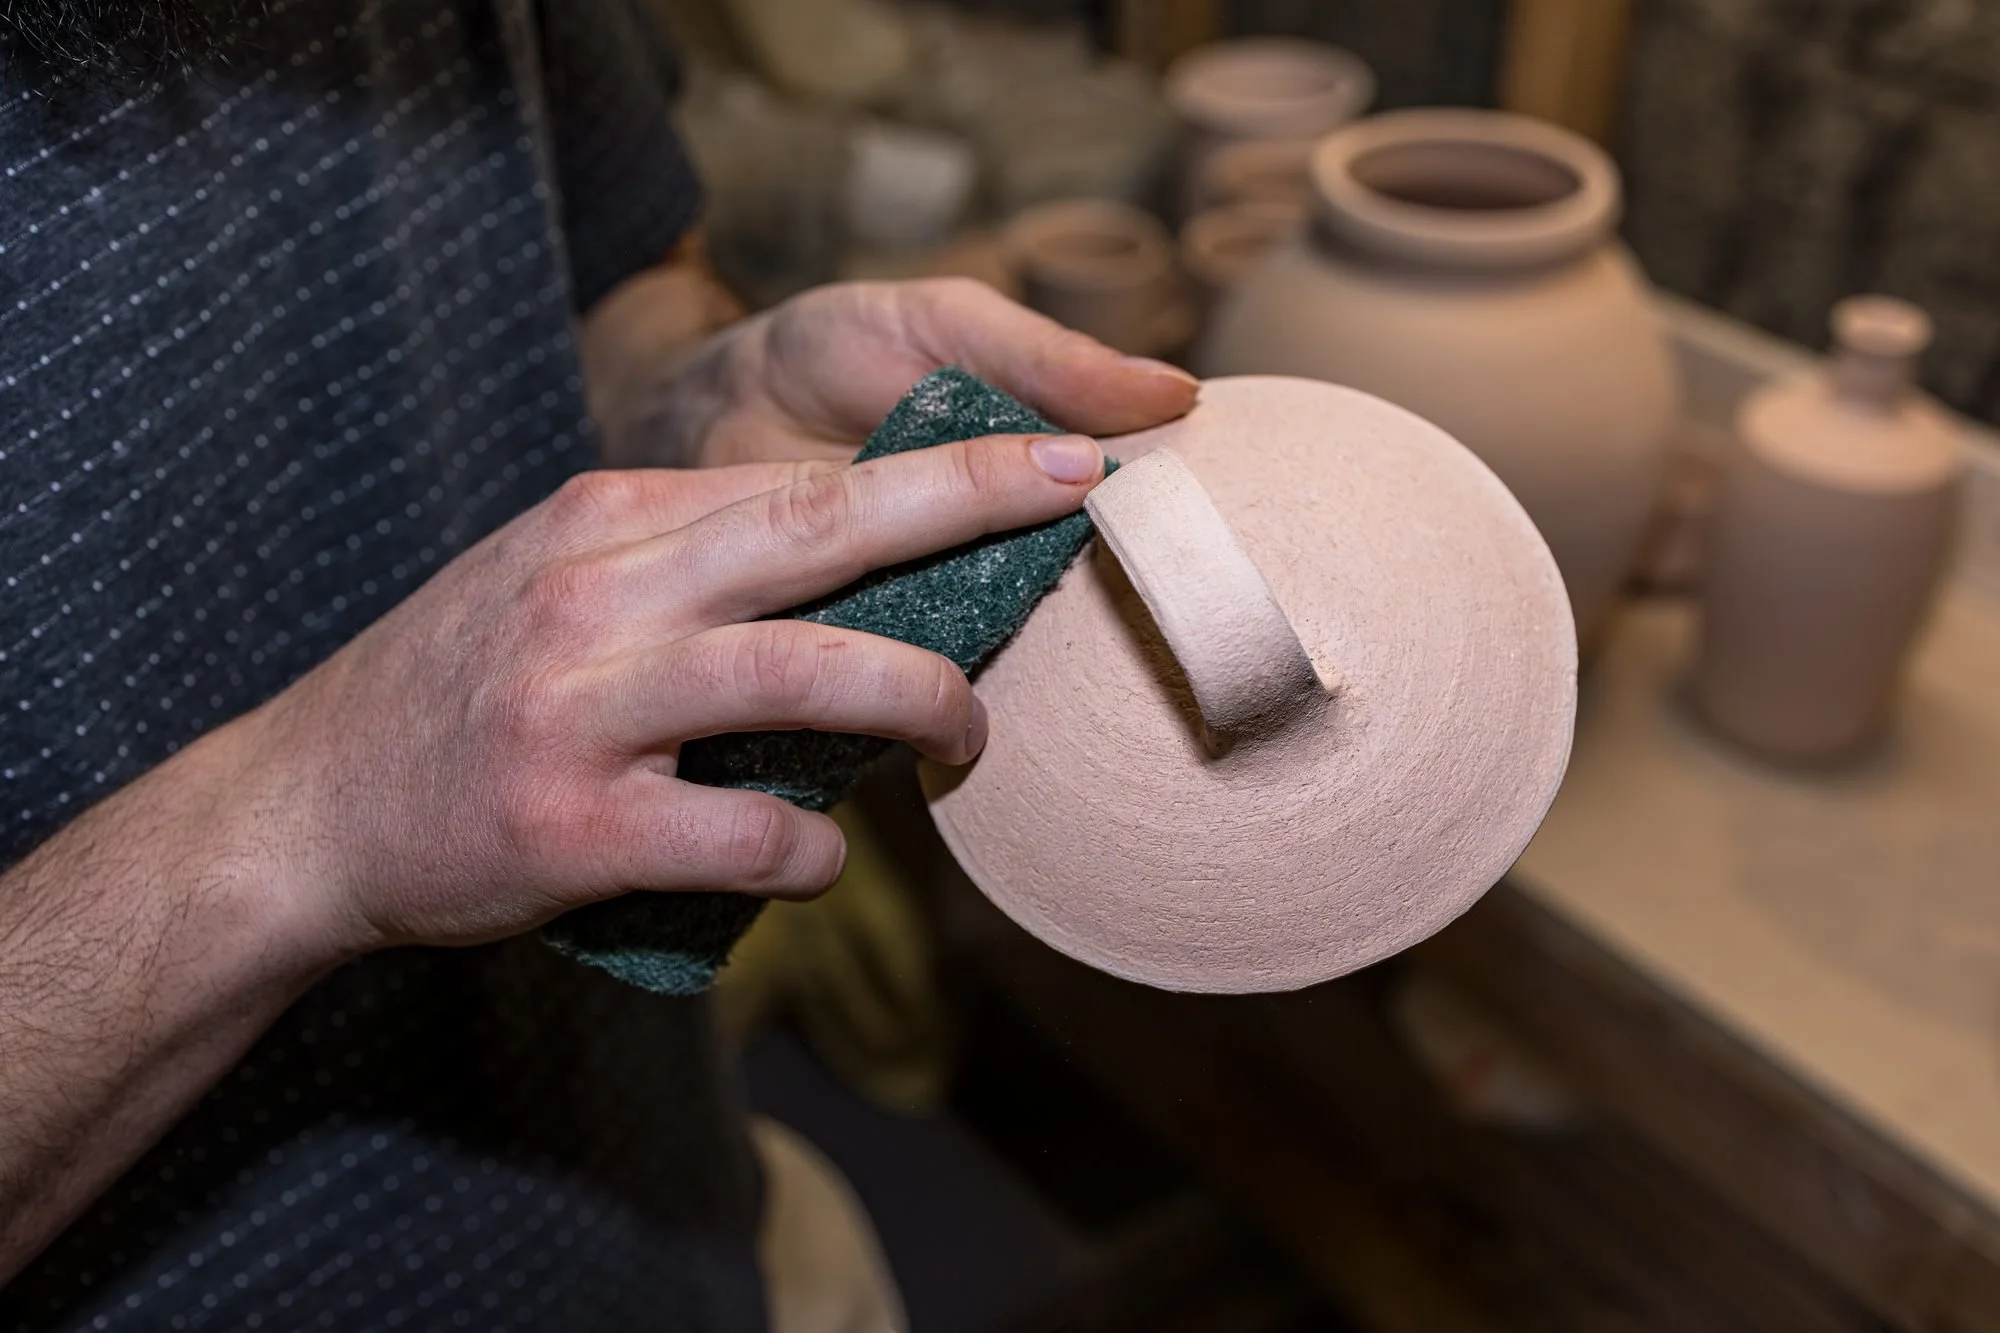
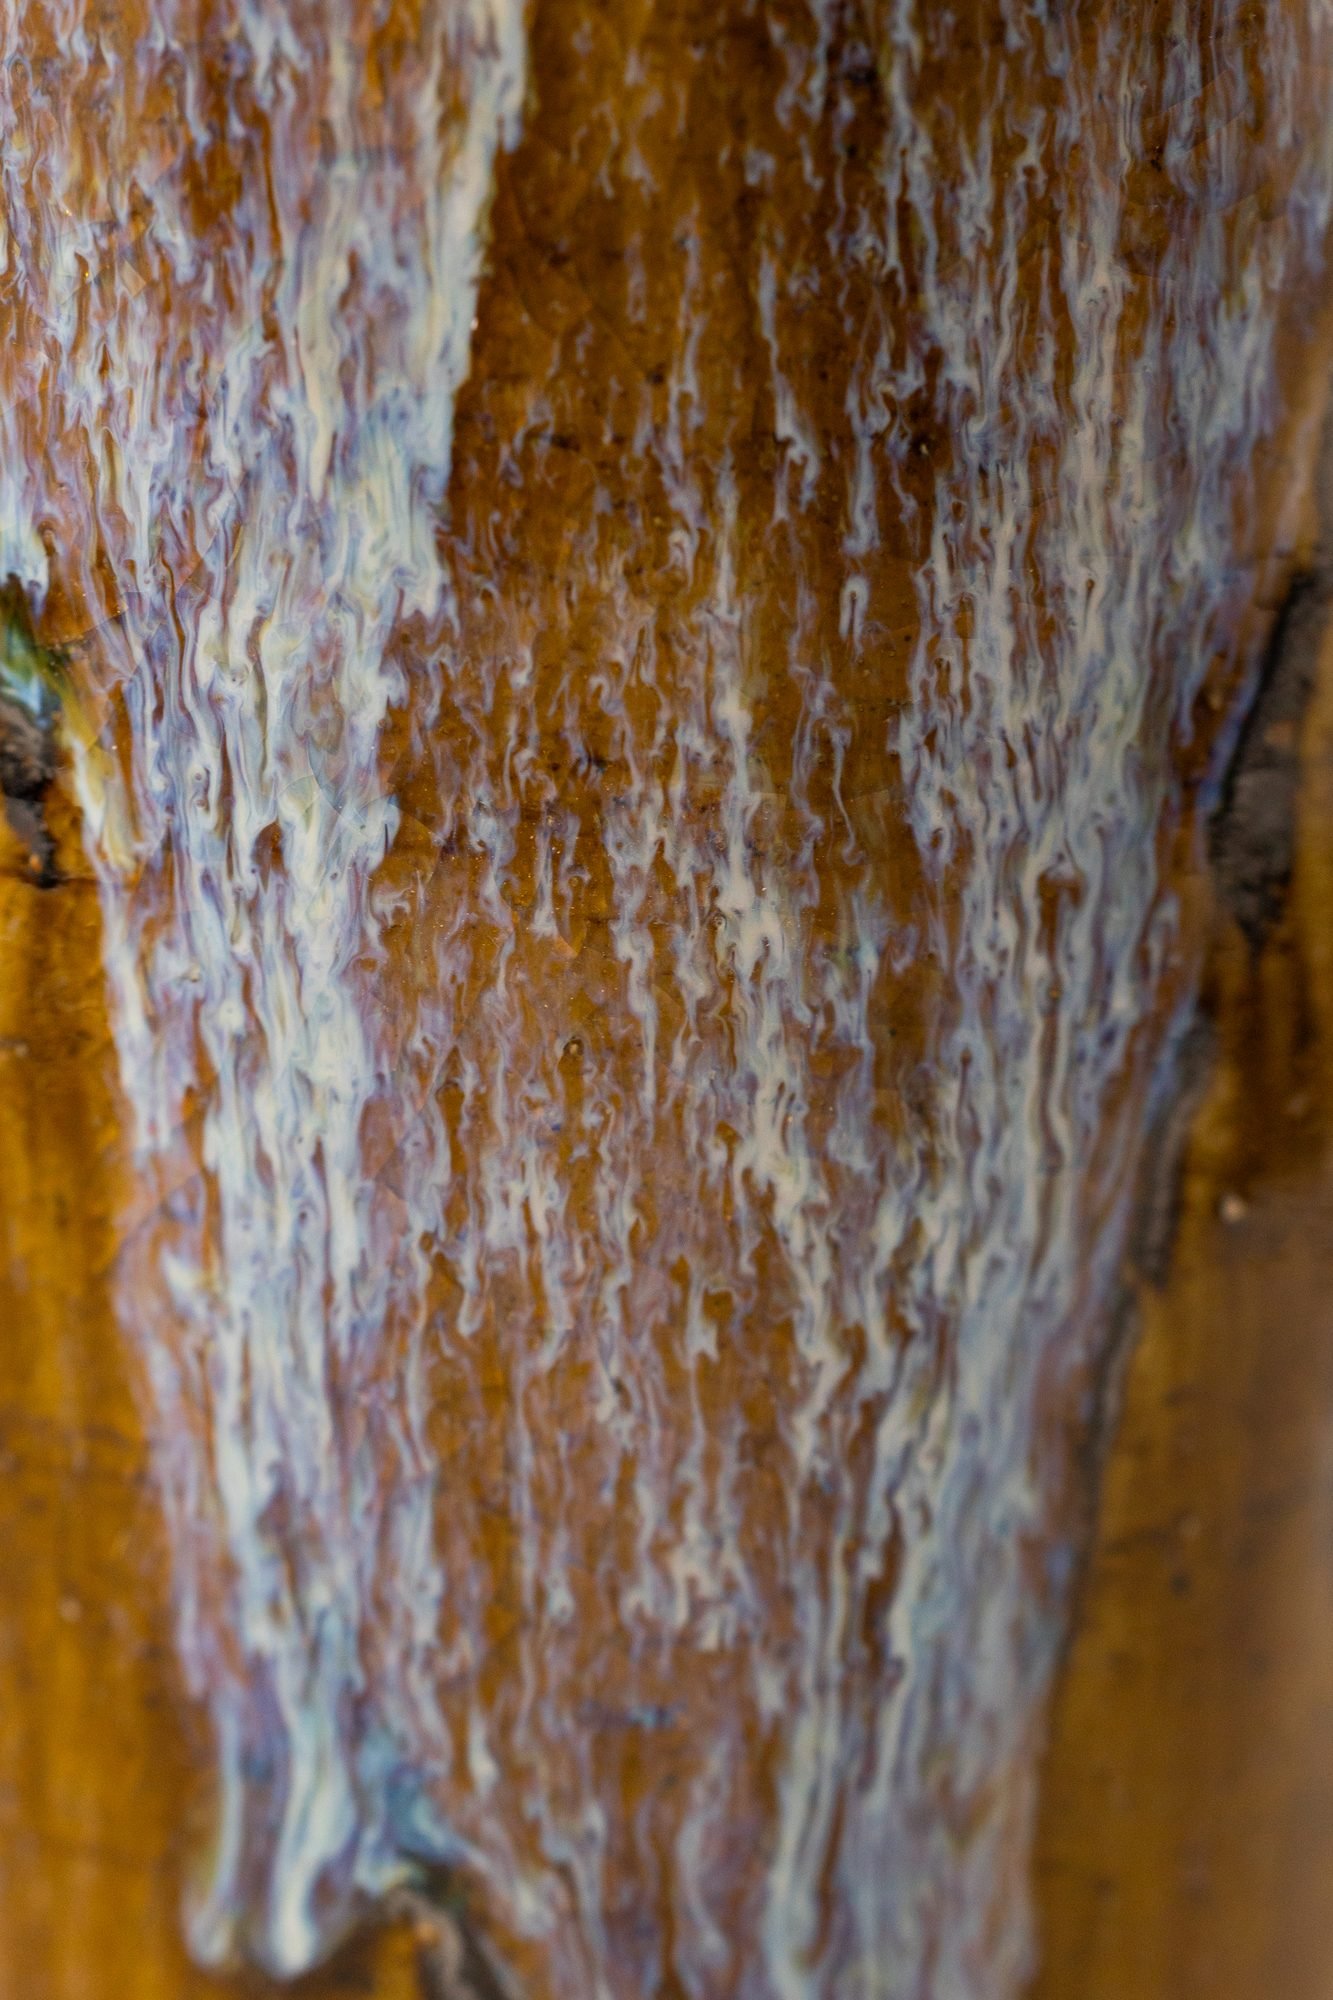
Crazing is the opposite of shivering. The glaze contracts more than the clay as it cools, ends up in tension and cracks into fine lines. It can appear right out of the kiln, hours later or after weeks of use.
A crazed glaze is not automatically unsafe, but it can stain over time, so it does not belong on ware meant for daily use. Cone 10 can reduce some crazing because clay bodies vitrify more fully, but it does not fix an expansion mismatch. Fit gets adjusted through silica, alumina or flux balance, not a different firing schedule.
How I test glaze fit before production
Every glaze I use is tested on the clay body it will go on before it goes near production. These are the tests from how to actually test for crazing and shivering:
- Hot and cold cycle. Boiling water in a finished test piece for a minute, then straight into cold water. Repeat a few times and look closely.
- The marker. Draw over the glaze with a permanent marker and wipe it off. Ink left in hairline cracks means crazing.
- Edges. Run a finger along rims and foot rings and look for flakes lifting.
- Time. Test pieces stay in rotation through dishwasher cycles, microwave reheats and daily use, so I know the fit is stable long after the first firing.
Where to start when something goes wrong
- Name the defect using the table above before changing anything.
- Check the boring things first: clean bisque, glaze thickness, specific gravity, dip time.
- Look at the firing: is the bisque high enough, and is the glaze firing racing through burnout?
- If it is a fit problem, it is chemistry. Adjust the glaze, then retest on tiles.
Related problems and background: why consistency starts with measurement (specific gravity and dip time), why pots crack after firing, why plates warp, why I fire to cone 10 and the 7 stages of clay. To see how the glazes I use behave, look at Numoku, iron red and salt.
Keep a firing log. Write down the clay body, the glaze bucket, its specific gravity, the dip time and the firing schedule for every load, and put a labeled test piece in each one. When a defect shows up, the log tells you what changed.
Further reading: Digitalfire's reference pages on pinholing, glaze crawling, glaze shivering, glaze crazing and glaze fit.
Most glaze problems are not mysteries. They are systems problems, and systems can be fixed. If a glaze does not fit the clay body, it does not move forward in my studio.
