Handles day: the Summers mugs, part 2, and a birthday box of new tools
The bodies were thrown last time. Today every one of them gets a handle, and a few new tools get their first clay on them.
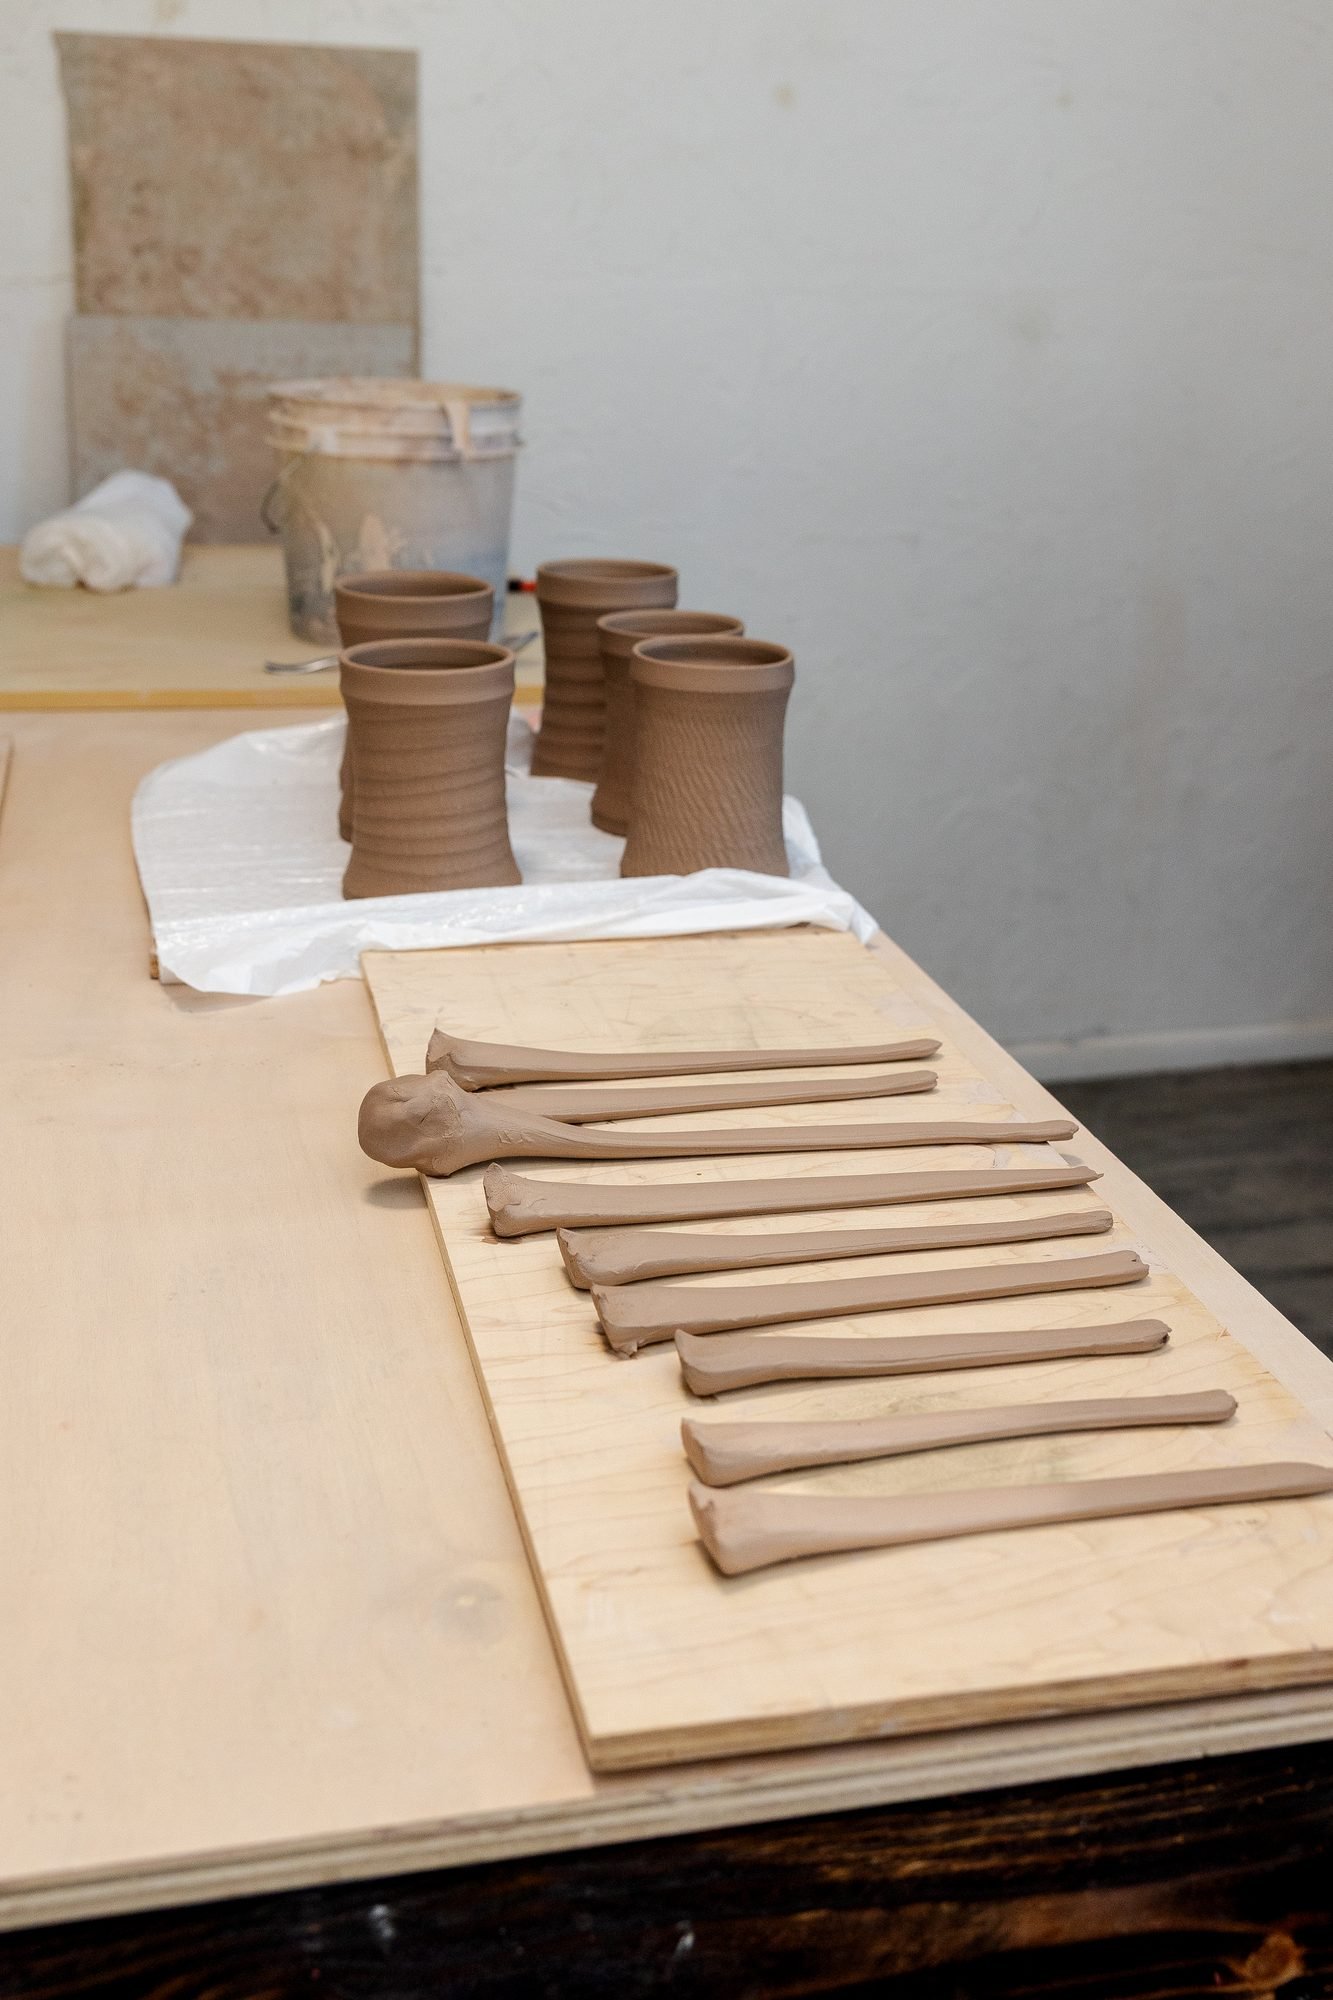
Attaching a mug handle is four steps: score both surfaces, add slip, press the handle on with more force than feels polite, and clean the seam so it disappears. The step that decides whether the handle stays on is not any of those. It is making sure the handle and the mug are the same stiffness before they meet.
- Pull all the handles first and let them firm up while the mugs catch up
- Score deep enough to see it, then slip, then press and hold
- Dry the finished mugs slowly and together so the joins have time to settle
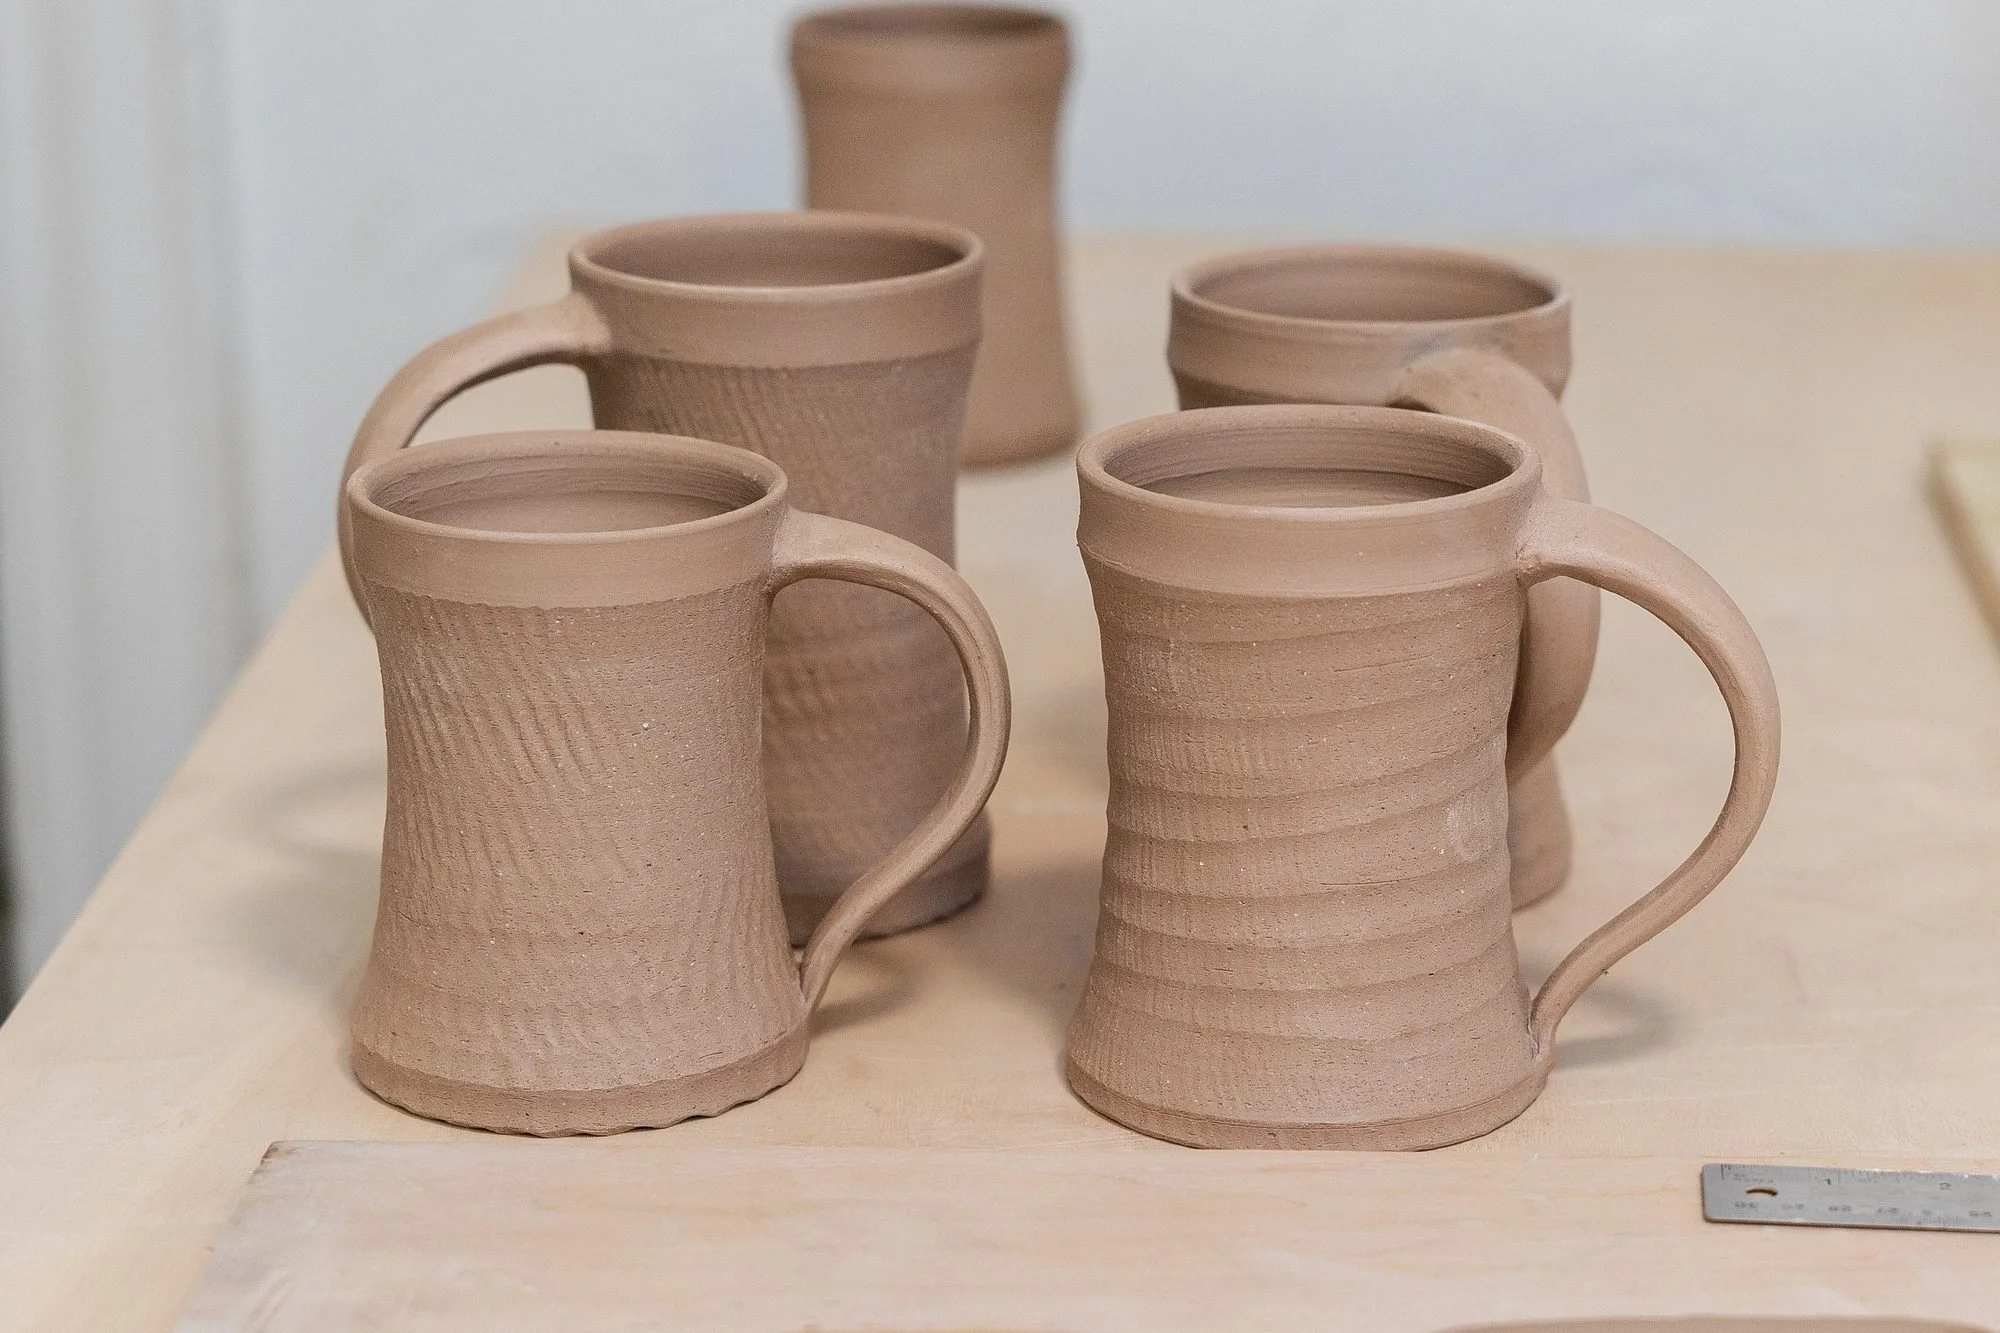
Part one of this order was throwing: a set of matching mug bodies for the Summers family, textured, stamped and trimmed, sitting on a board in my studio in Logan waiting for the part that makes them mugs. This is that part. It is the one day in the whole order where nothing happens on the wheel, and it is the day I look forward to least and enjoy most.
A handle is what a person actually touches. I wrote about that in why some handles feel right. Attaching them is where that feeling either gets built in or does not.
Scoring
Each mug gets scored where the handle will land, top and bottom. I cut deep enough that I can see the scratches from across the table. Shallow scoring is the most common reason a handle pops off in the bisque: the two surfaces never really interlocked, they just leaned on each other until the clay shrank.
Pressing on
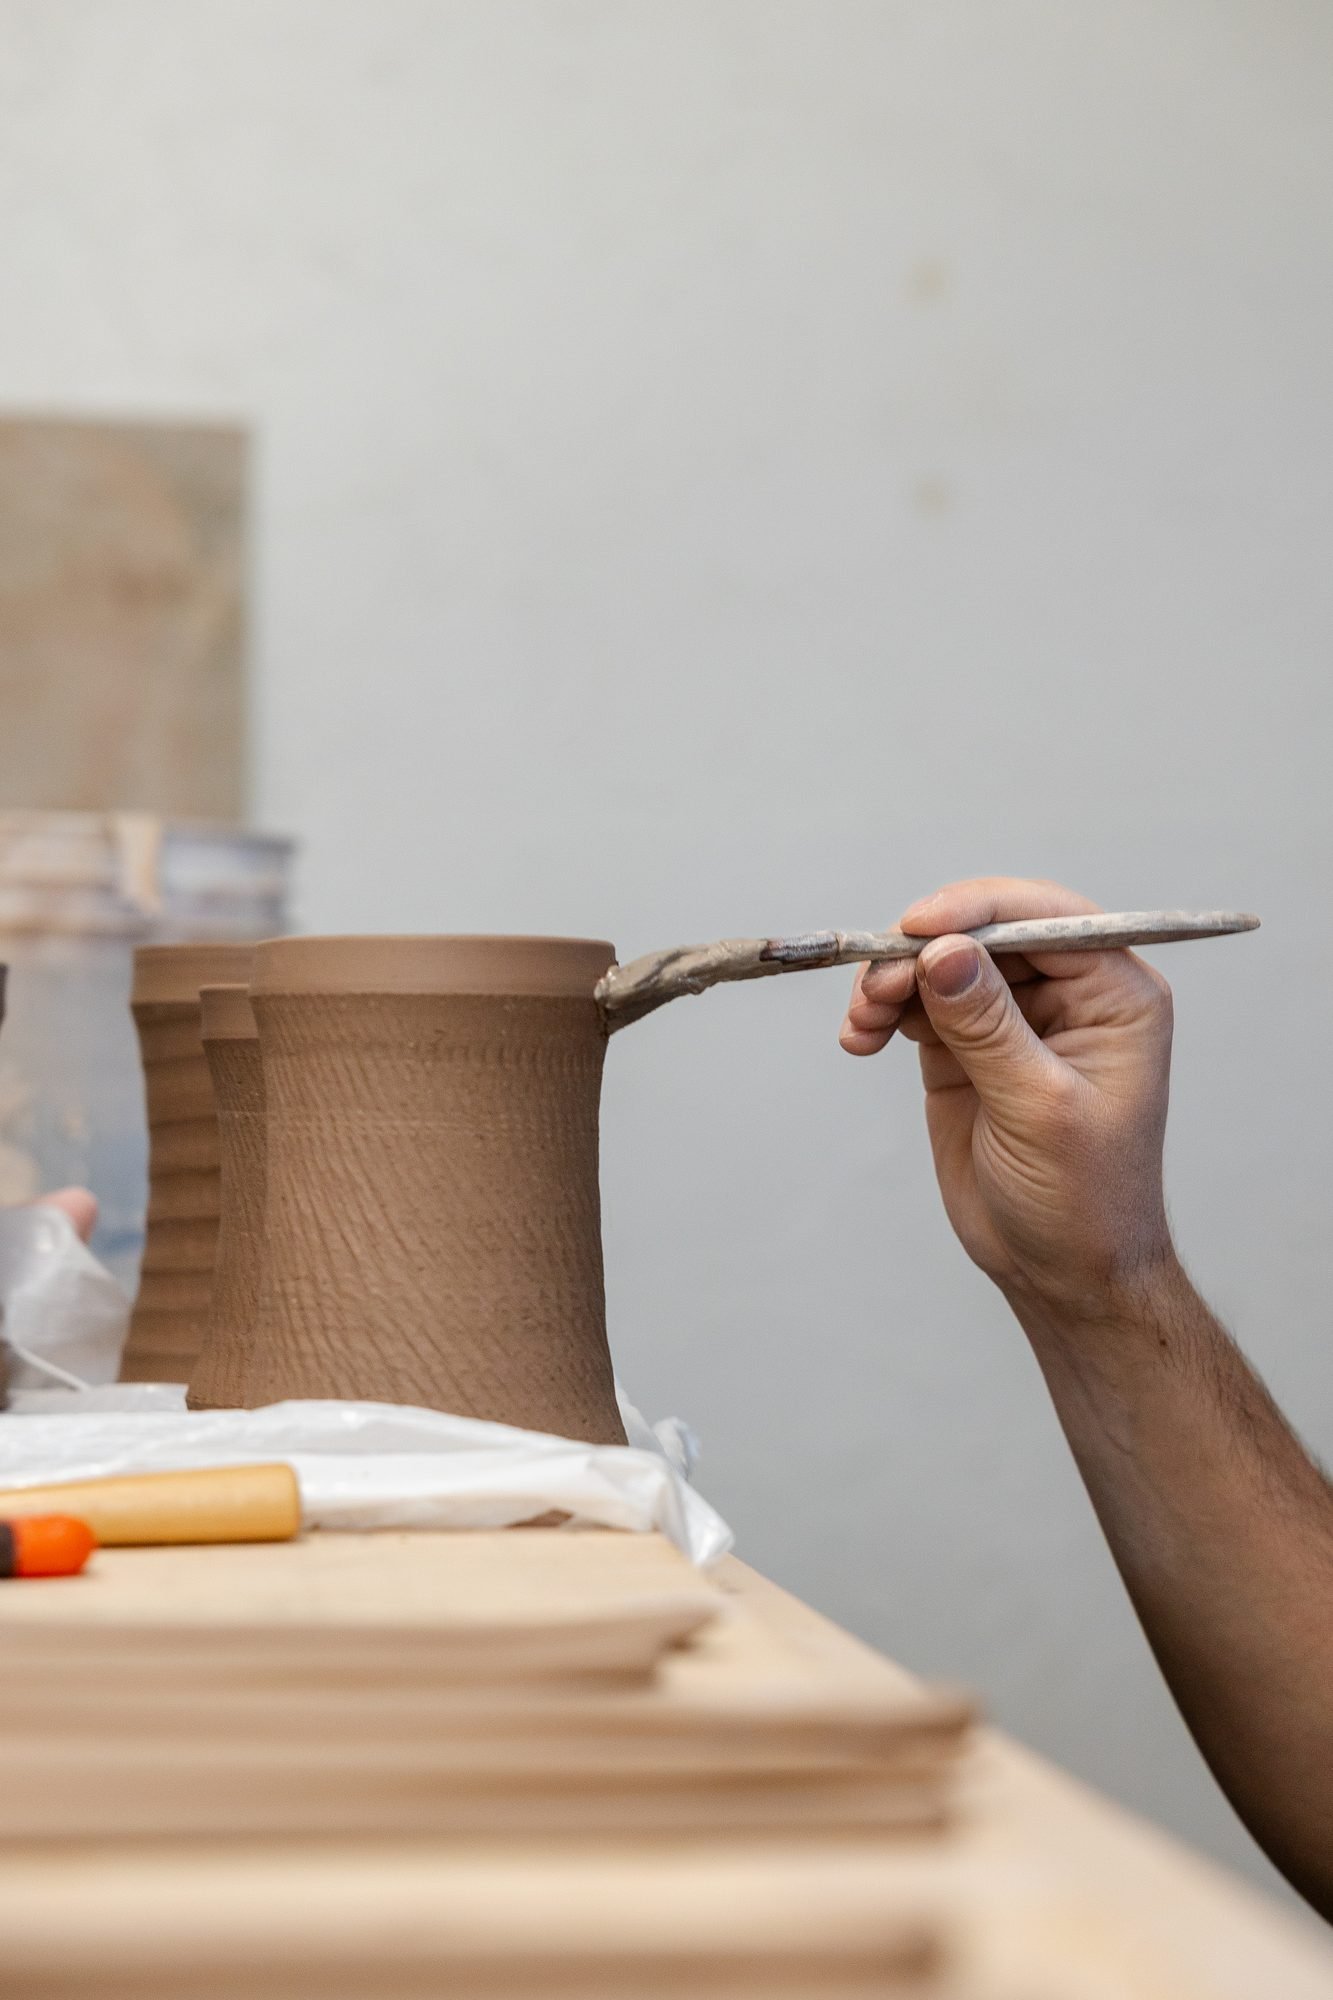
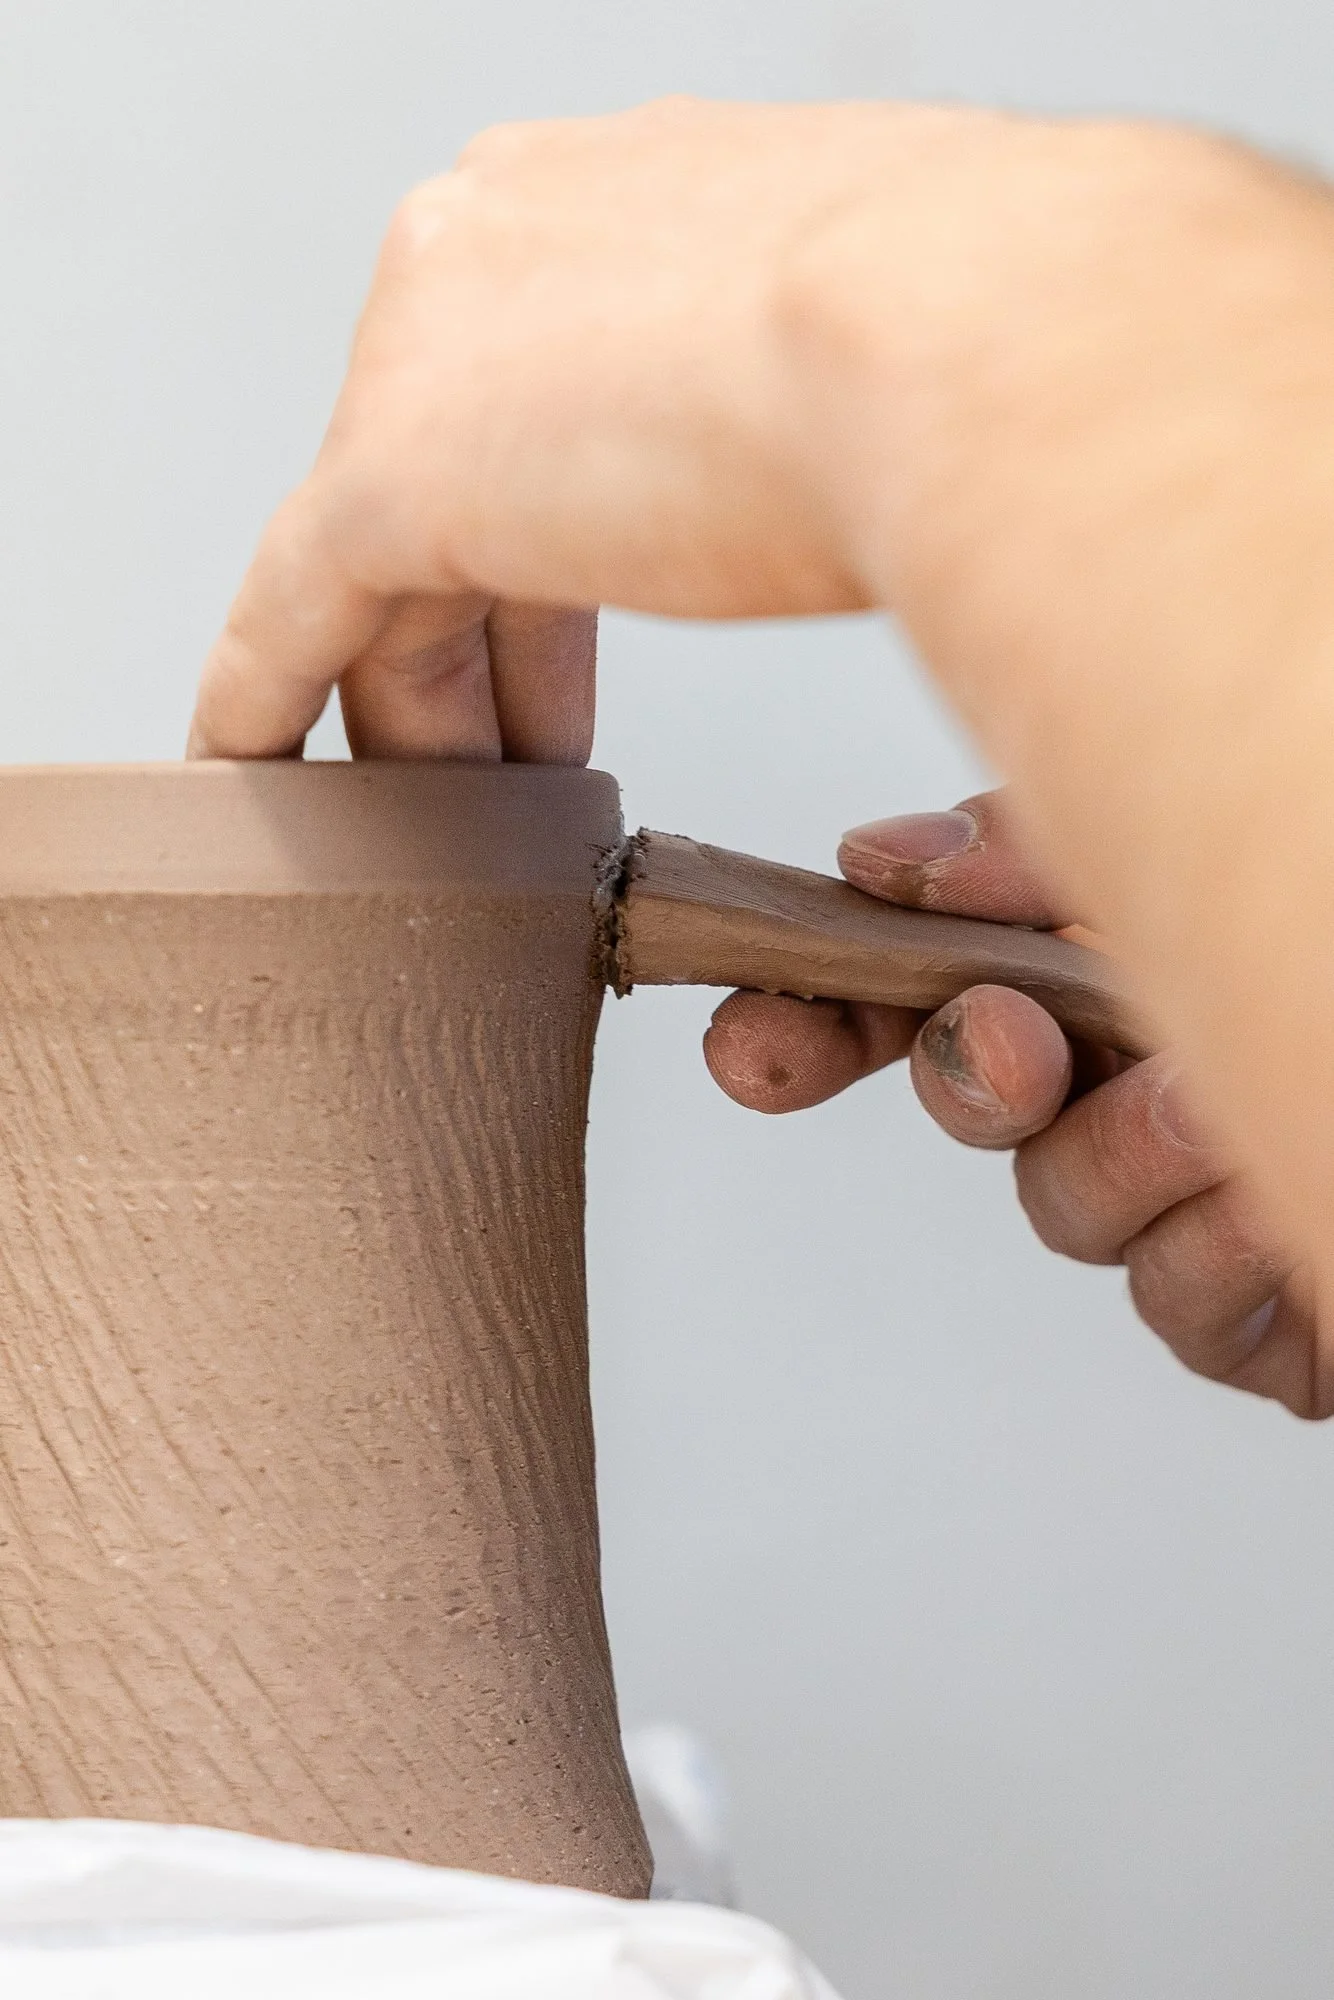
Slip on the scored patch, handle in place, then push. I press the top join first and hold it, then bring the bottom of the handle down to the body and press that. The handle should distort a little where it meets the mug. If it does not, I did not push hard enough. Then I hold it there longer than seems necessary, because the first few seconds after pressing are when a join is weakest.
The row
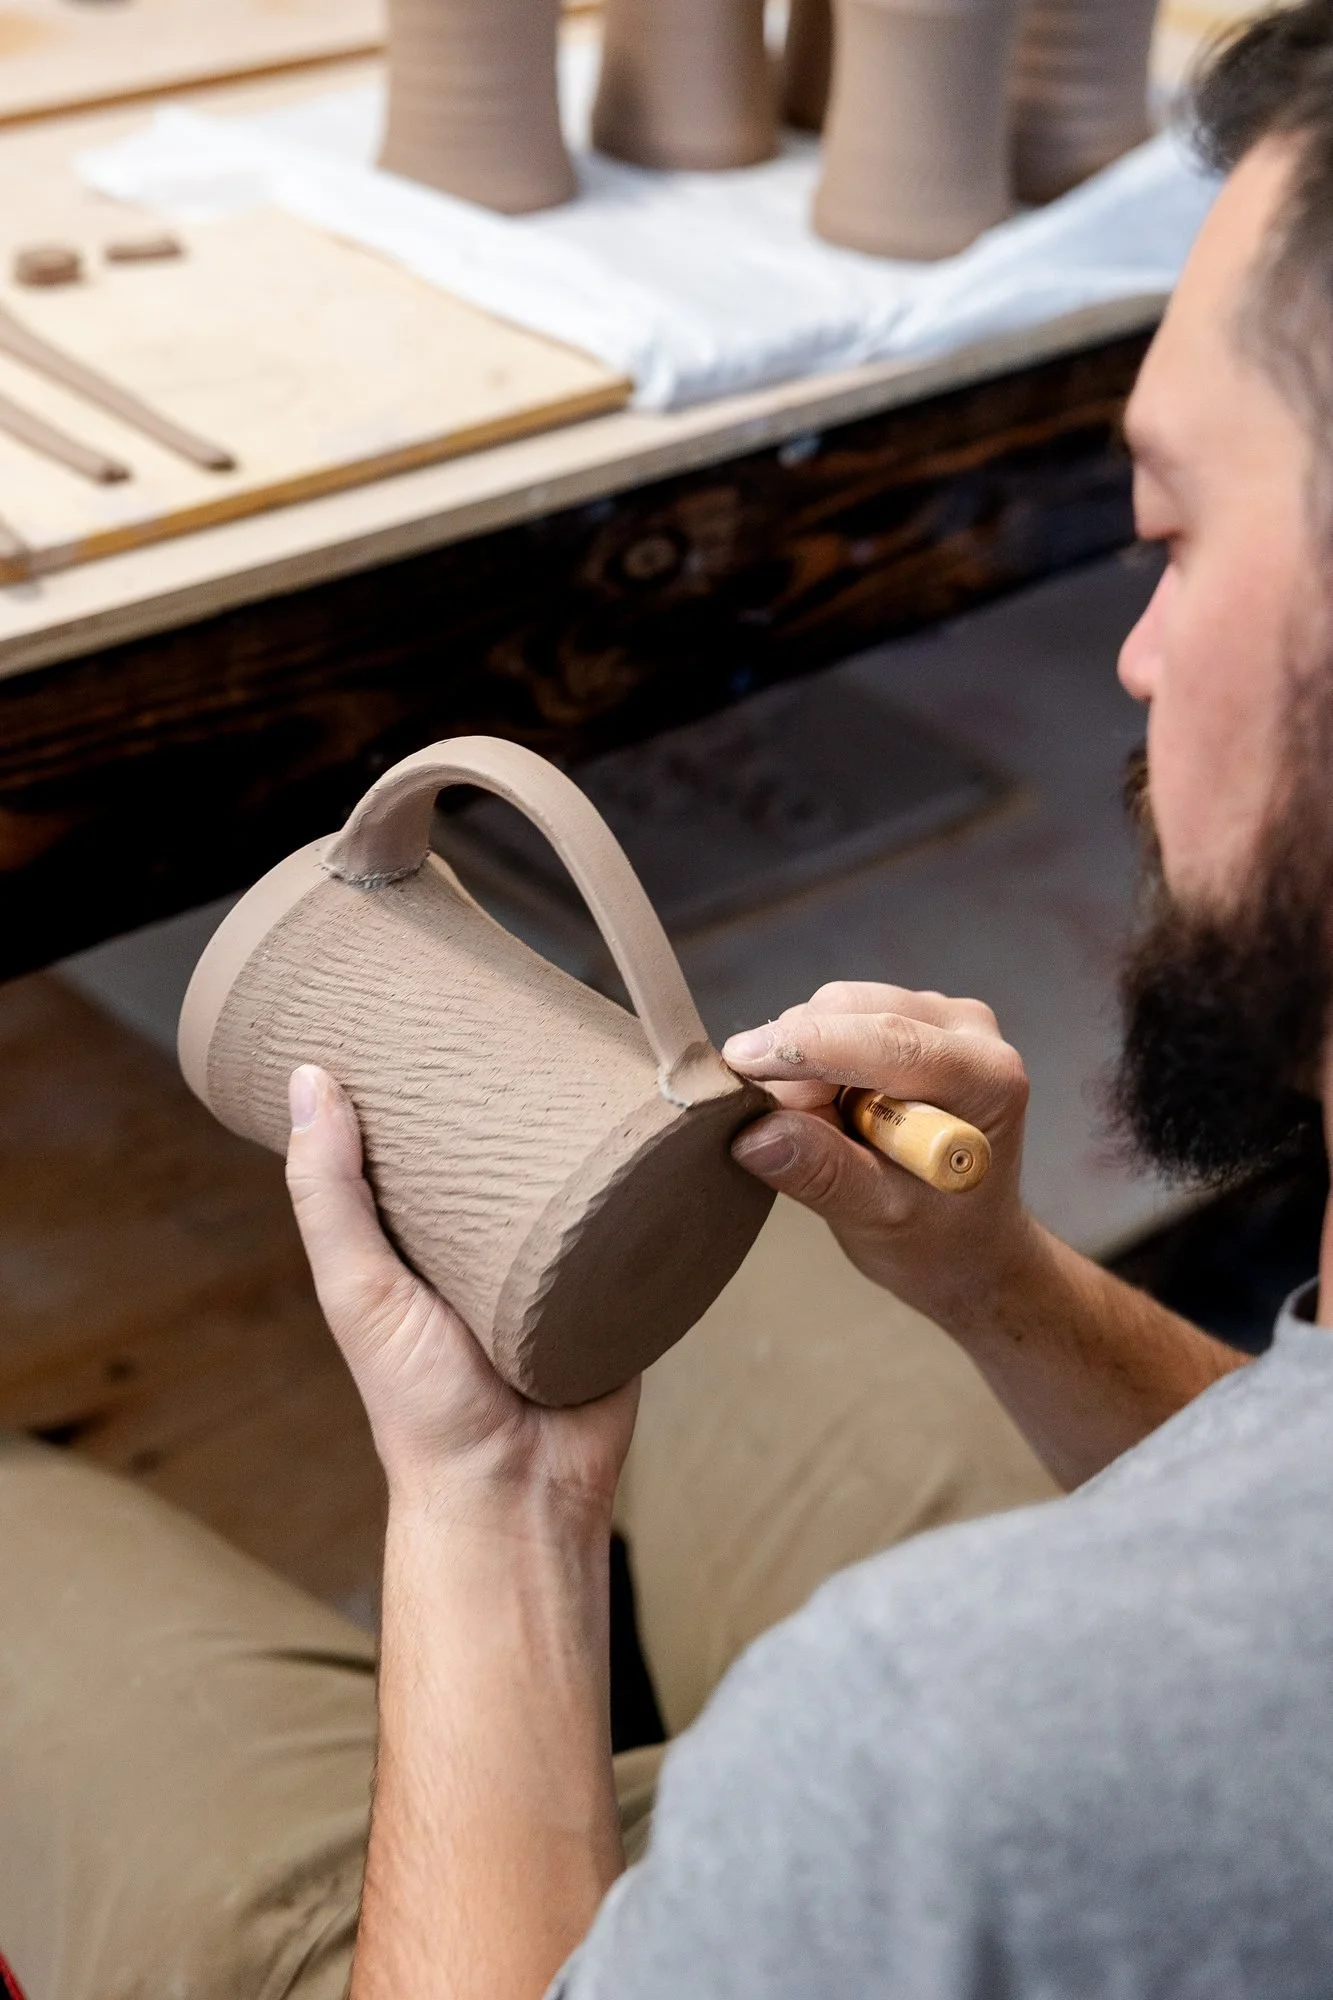
Once every mug has its handle, they go back on the board together. This is the point where I start to see the set instead of the pieces, and also the point where any mug that does not match stands out. I would rather see that now than after glazing.
Then they slow down. Handled mugs dry more evenly under plastic for the first stretch, so the handle, which is thinner, does not race ahead of the body. Matching stiffness at attaching and matching speed at drying are the same idea applied twice. I go into what that produces in what makes a good mug from a potter's perspective.
The birthday box
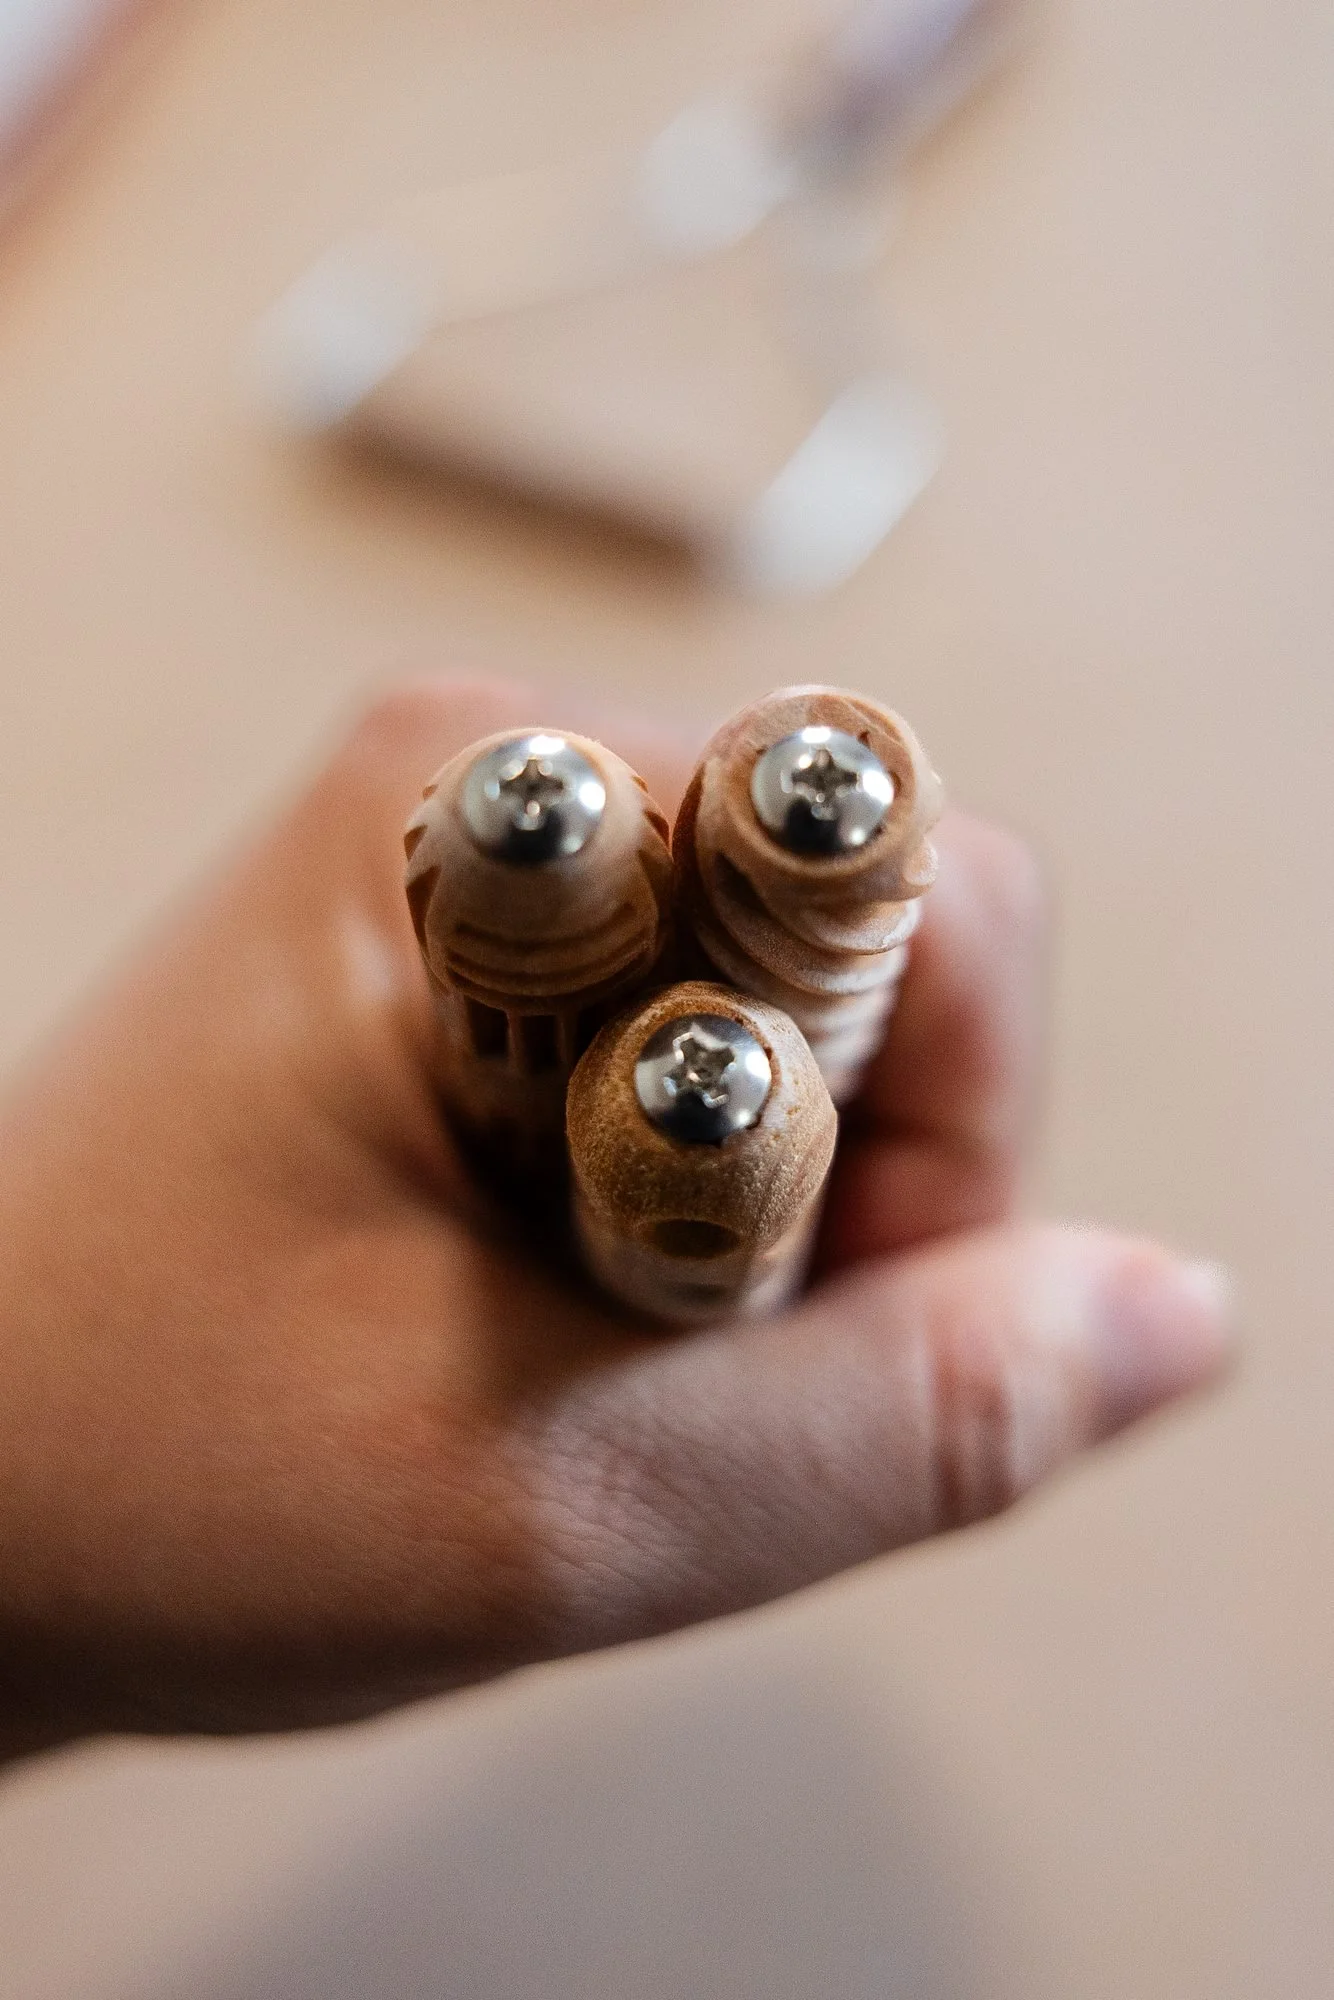
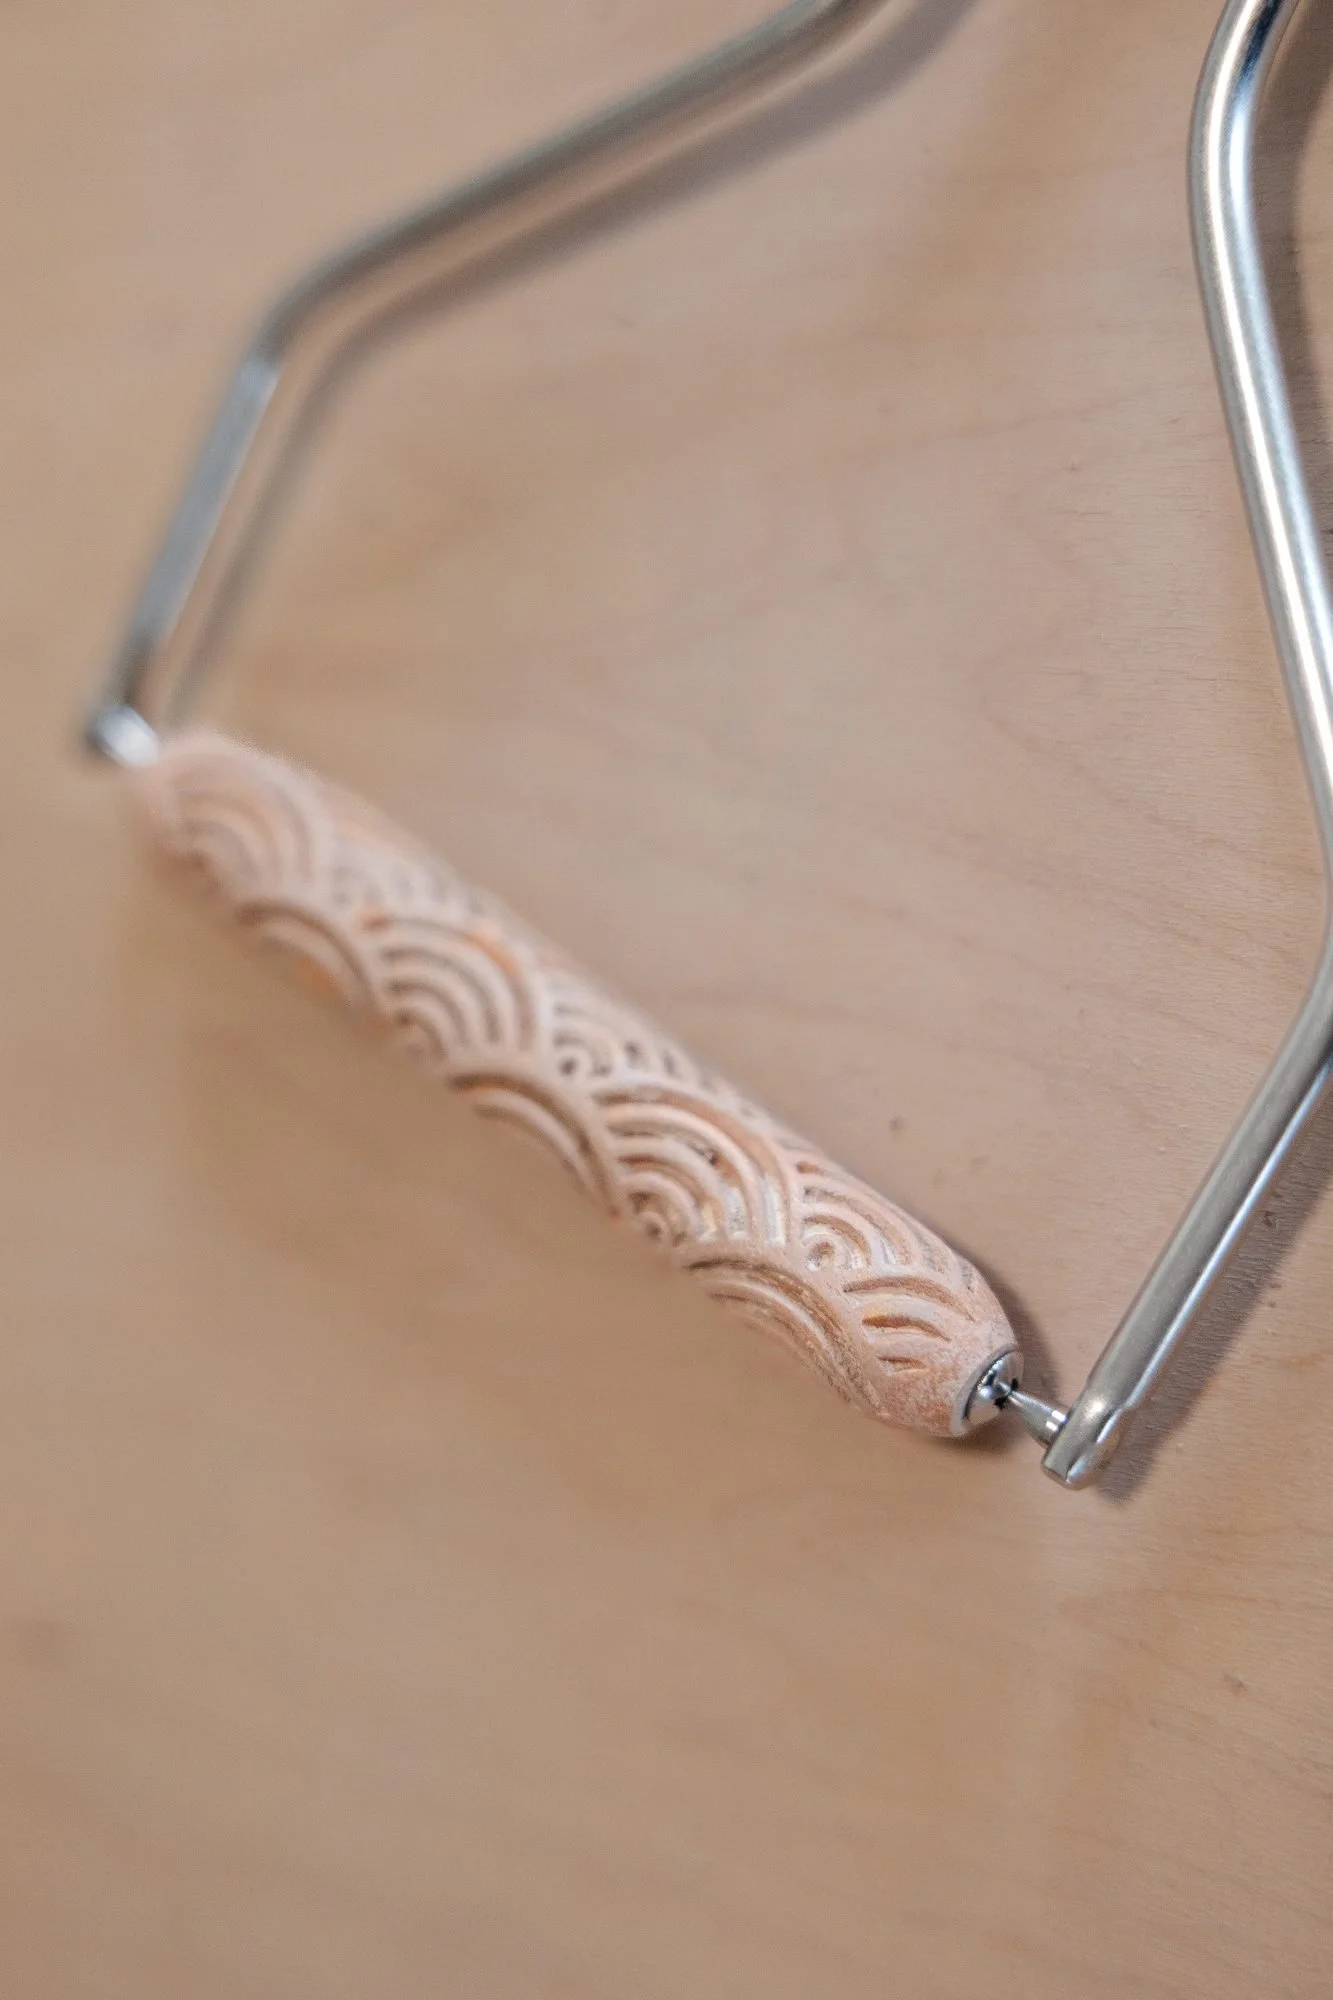
Somewhere in the middle of this order a box of new tools arrived for my birthday. Nothing dramatic: a few small wooden handled tools with round metal tips, and a texture roller on a wire handle with a scalloped pattern cut into it. The kind of tools you do not know you want until they are in your hand.
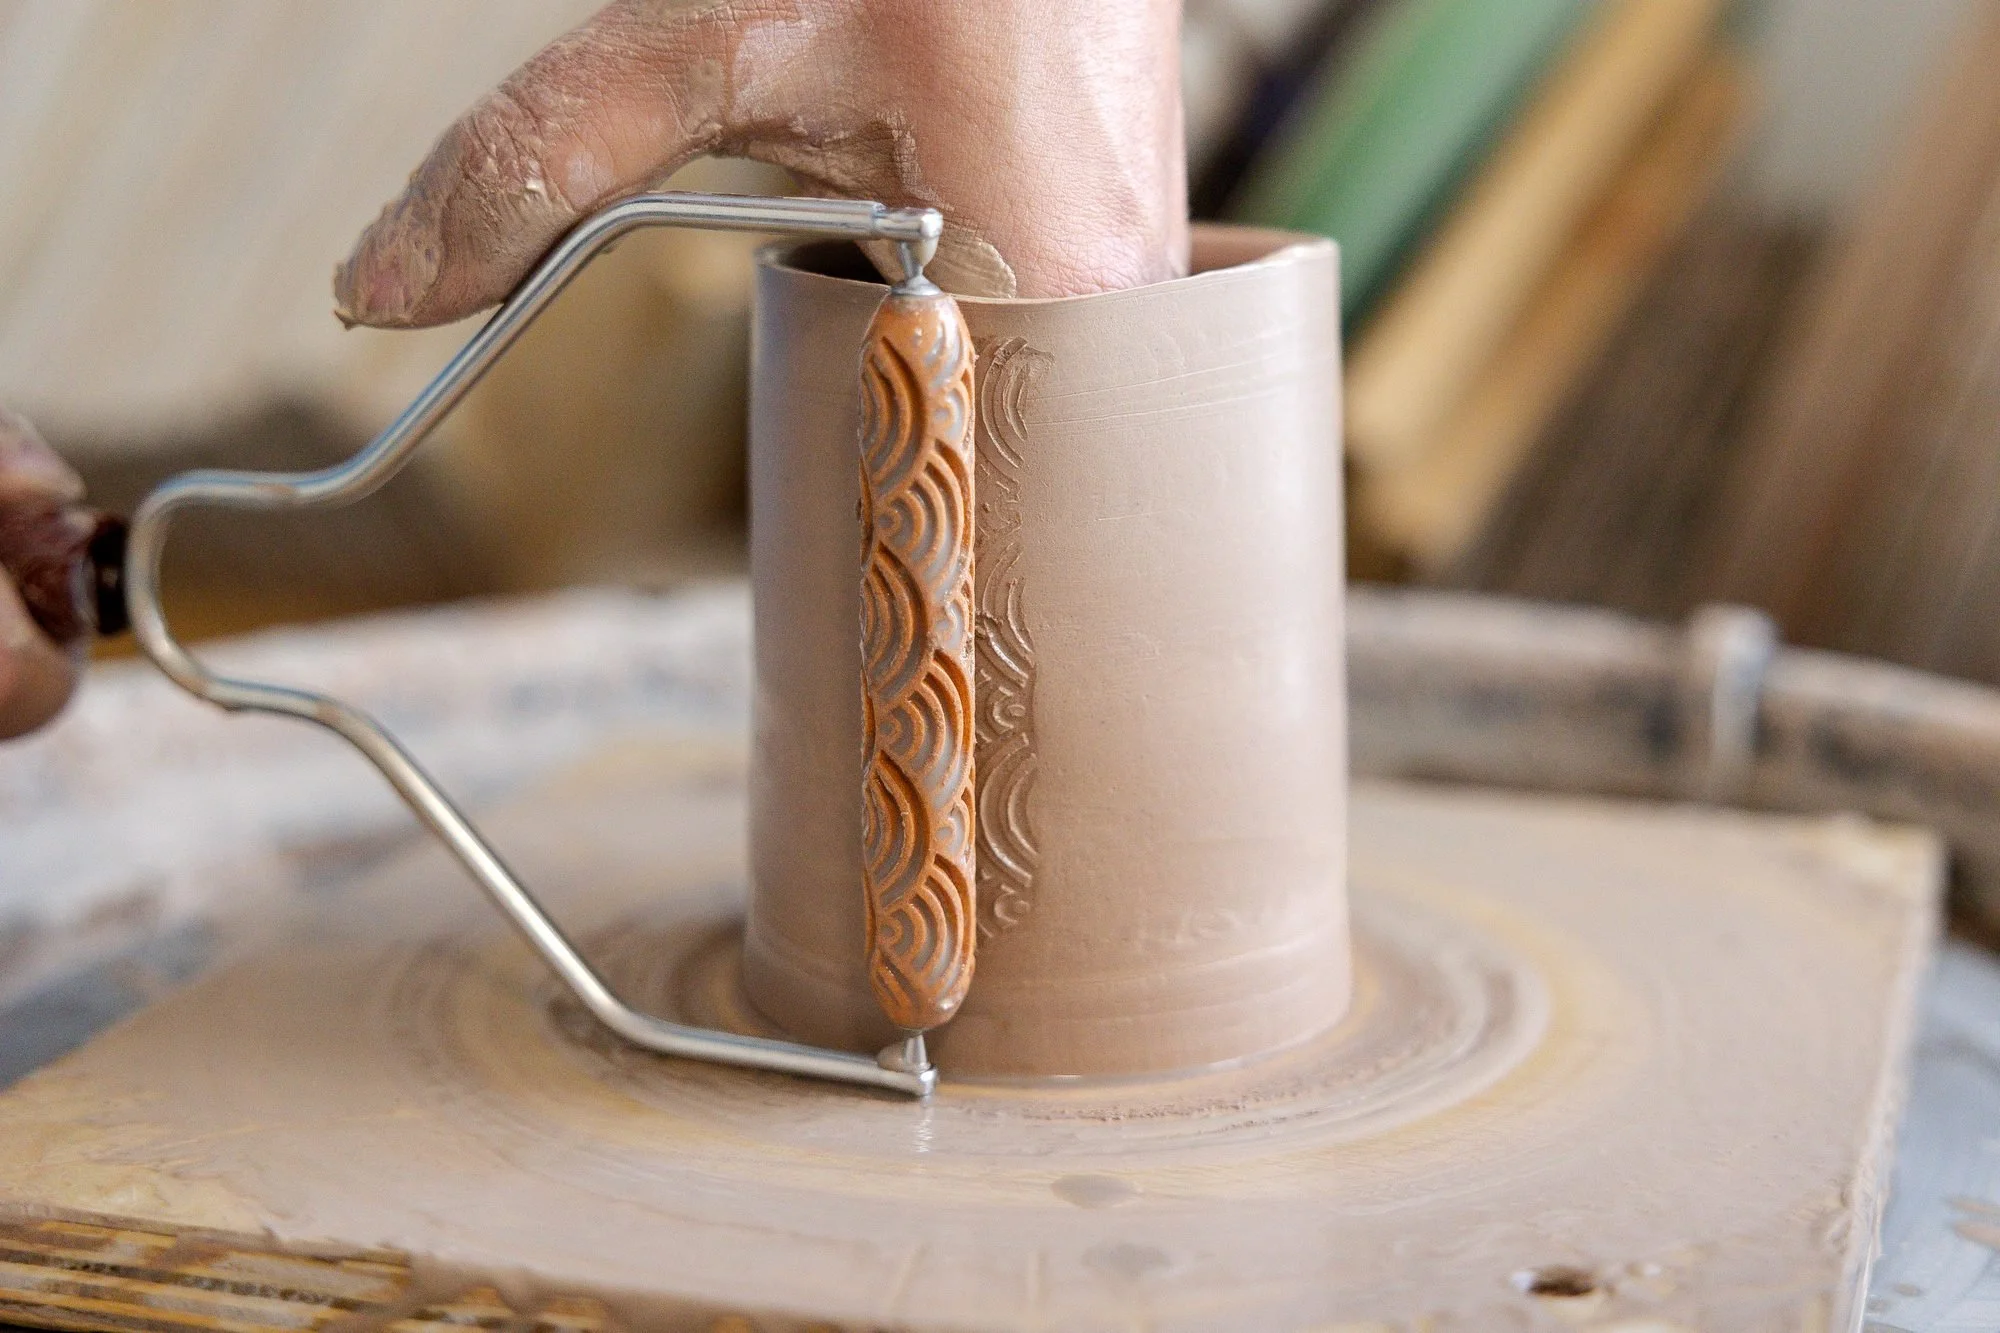
The roller went to work almost immediately. It presses a band of overlapping scallops into a wall while the pot is still on the wheel, and it went onto a couple of pots the same week. The small ones are for detail work, seams and edges, and a handles day has plenty of both.
Before you attach a handle, hold it in one hand and the mug in the other and bend them both very slightly. They should resist about the same. If the handle flops, let it sit. If it is stiffer than the mug, wrap it in a damp paper towel for ten minutes. Matching that feel does more for the join than any amount of slip.
Handles day is quiet work. A dozen small decisions, each one somebody will hold every morning without ever knowing it was a decision.
