The 7 stages of clay, explained with pots from my studio
Clay goes through seven stages on its way to becoming a pot: slip, plastic, leather hard, bone dry, bisqueware, glazeware and glaze fired. Here is what each one looks like, with a photo of every stage from my Logan studio.
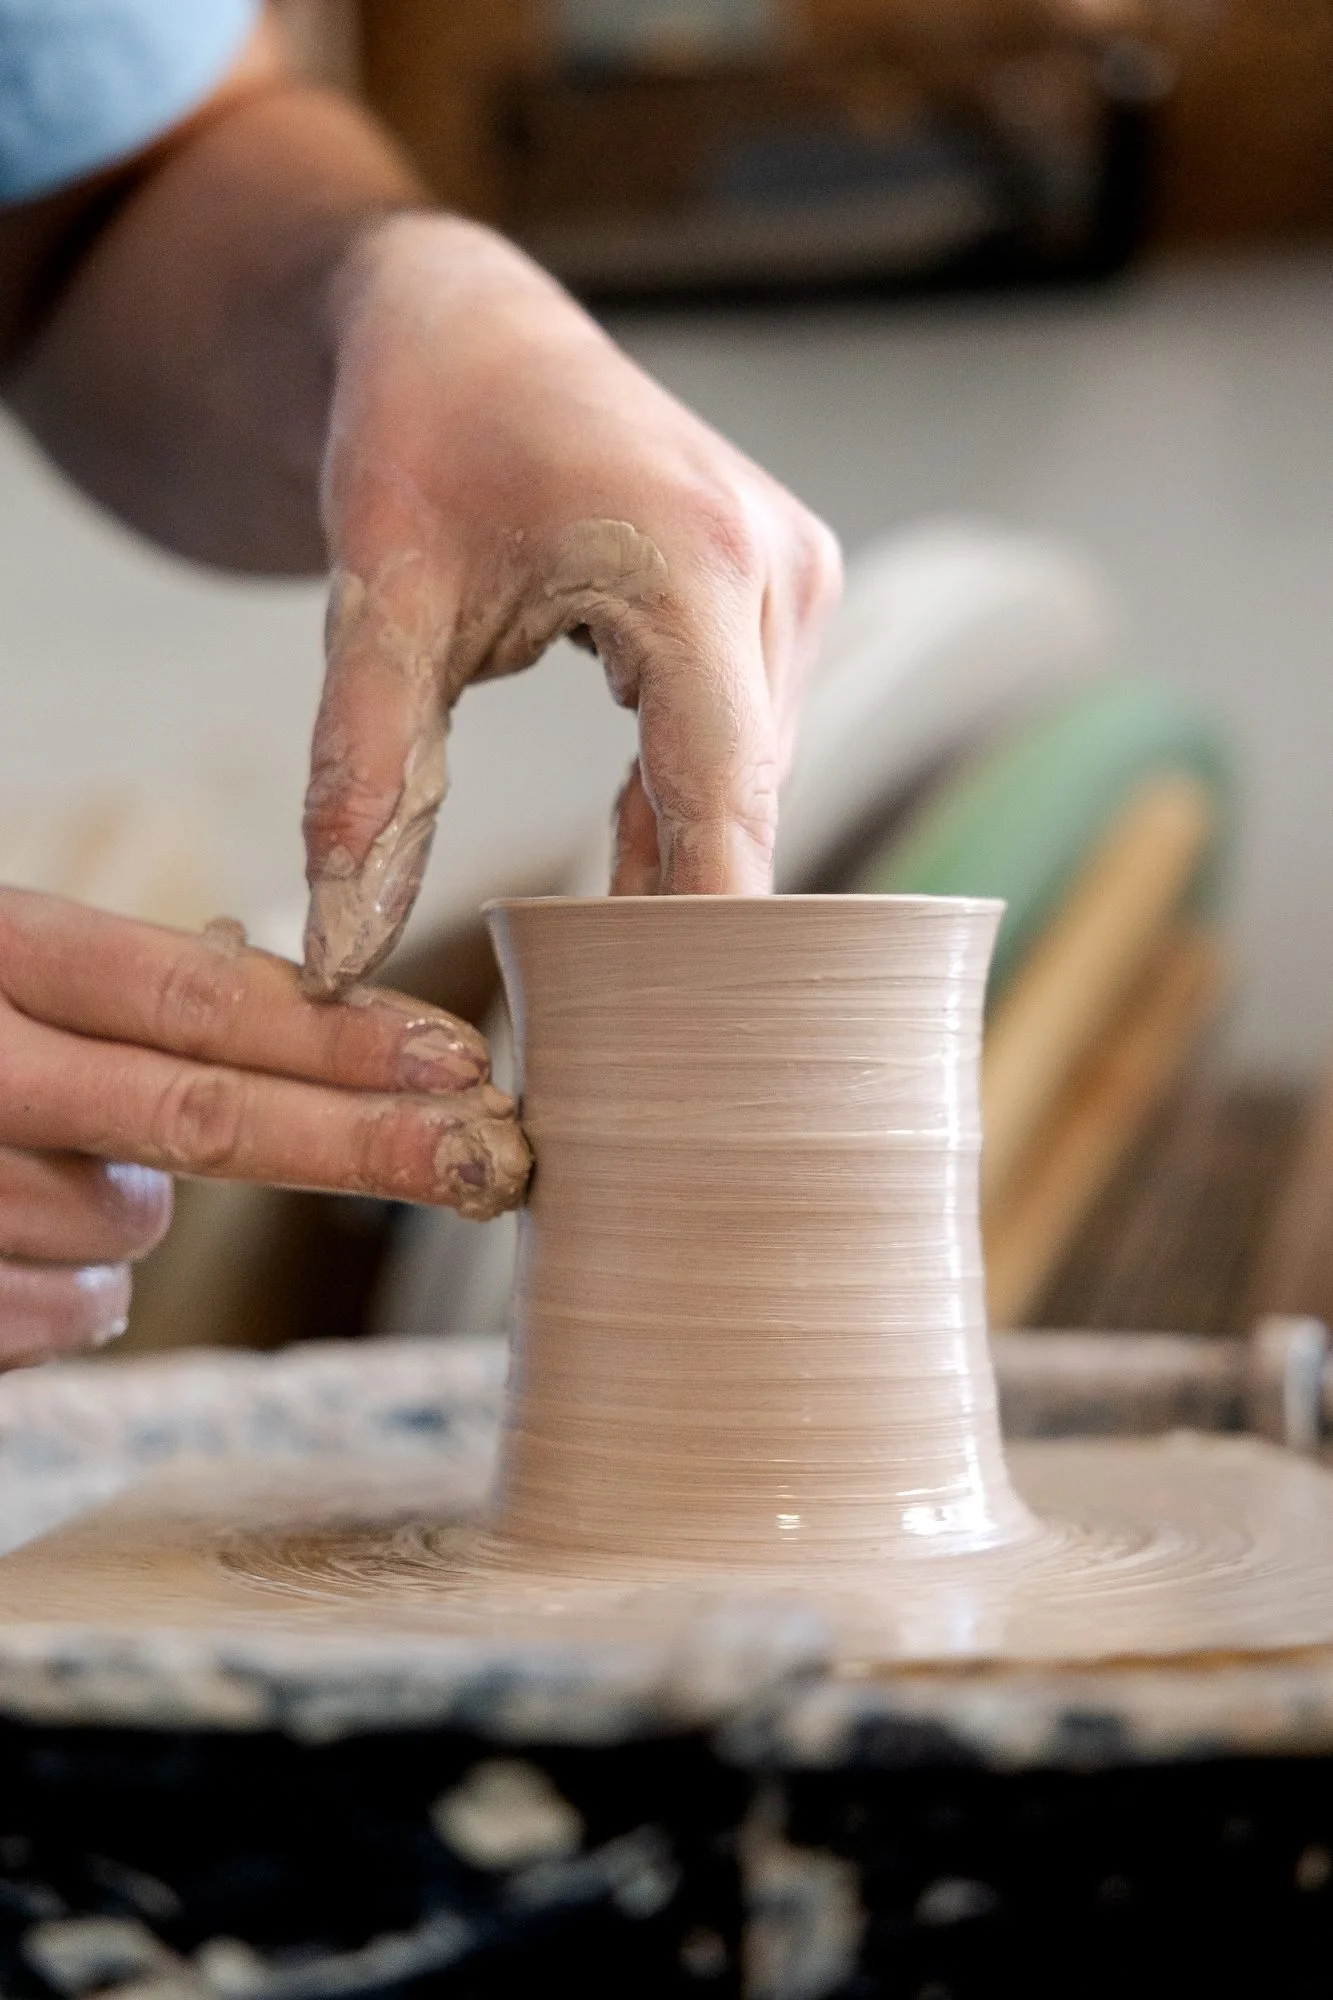
Clay passes through seven stages on its way to becoming a pot: slip, plastic (wet) clay, leather hard, bone dry, bisqueware, glazeware, and glaze fired. Each stage has a job you can do and jobs you cannot, and most cracked or ruined pots come from doing something at the wrong stage.
- The first four stages are reversible. Add water and you are back to slip
- Bisque firing is the line you cannot cross back over. After that it is ceramic, not clay
- Glaze firing is where the clay itself finishes, not just the glaze on top of it
People ask me how long a mug takes to make, and the honest answer is that it depends which of the seven stages you count. The throwing is minutes. The waiting between stages is where the weeks go. In my studio here in Logan, every pot in the room is sitting somewhere on this list, and knowing which stage it is at tells me exactly what I am allowed to do to it.
Here are the seven, in order, with a photo of each from work in the shop this year.
- Slip
- Clay with so much water in it that it pours. Also used as glue for joining handles.
- Reclaim
- Turning scraps and slip back into workable clay, by pugmill or on plaster and then wedging.
- Wedging
- Kneading clay until it is even all the way through.
- Plastic clay
- Clay that bends without cracking and holds its shape: the stage for throwing and handbuilding.
- Leather hard
- Stiff enough to hold itself, damp enough to trim, carve and attach handles.
- Bone dry
- All the water that can evaporate has gone. Pale, chalky and at its most fragile.
- Bisque
- The first firing. It turns clay into porous ceramic that can take glaze.
- Glazeware
- A bisqued pot with raw, unfired glaze on it.
- Vitrify
- What the clay does in the glaze firing: it tightens until it is dense and nearly non-porous.
- Cone 10
- The high-fire temperature range I glaze fire to.
1. Slip
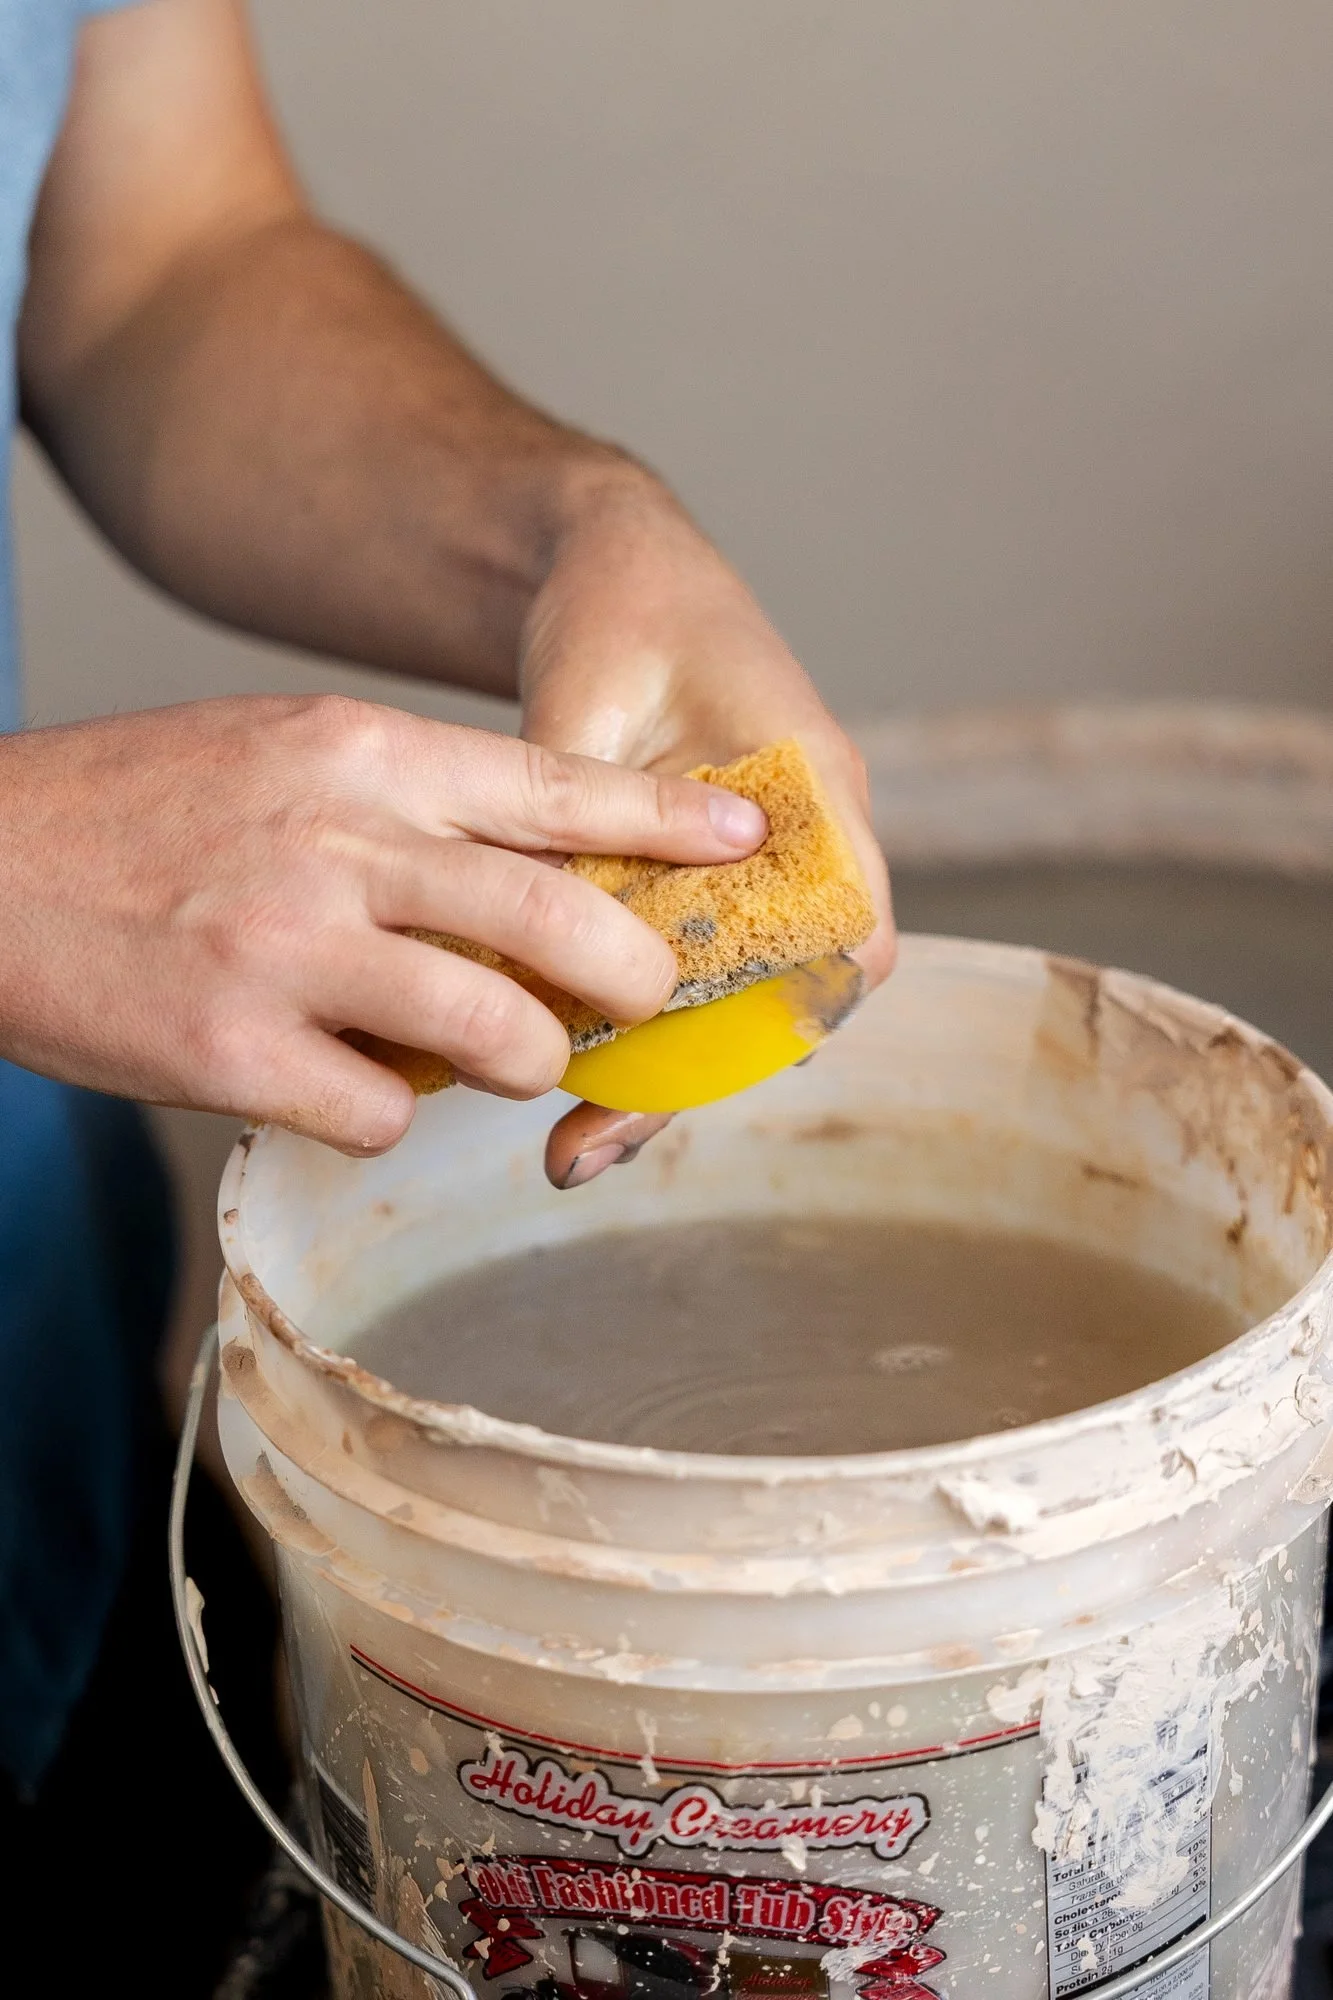
Slip is clay with so much water in it that it pours. It is the start of the cycle and also the end of a lot of mistakes. Every trimming scrap, every collapsed cylinder, every pot that does not make it goes into a bucket, gets covered with water, and slakes back down into slip. Nothing is wasted at this stage, which is one of the quietly great things about clay.
I also use slip as glue. When a handle goes onto a mug, the two surfaces get scored and a little slip goes between them. Same clay, more water, and it welds the pieces into one.
Getting slip back to workable clay is the reclaim step. I run mine through a Peter Pugger pugmill, which de-airs and mixes it in one pass. You do not need one. The hand method is to pour the slip out onto a plaster bat or a thick canvas, let it stiffen for a day or two, then wedge it until it is even all the way through. The pugmill is faster. Plaster and wedging works just as well, it just costs you an afternoon.
2. Plastic clay
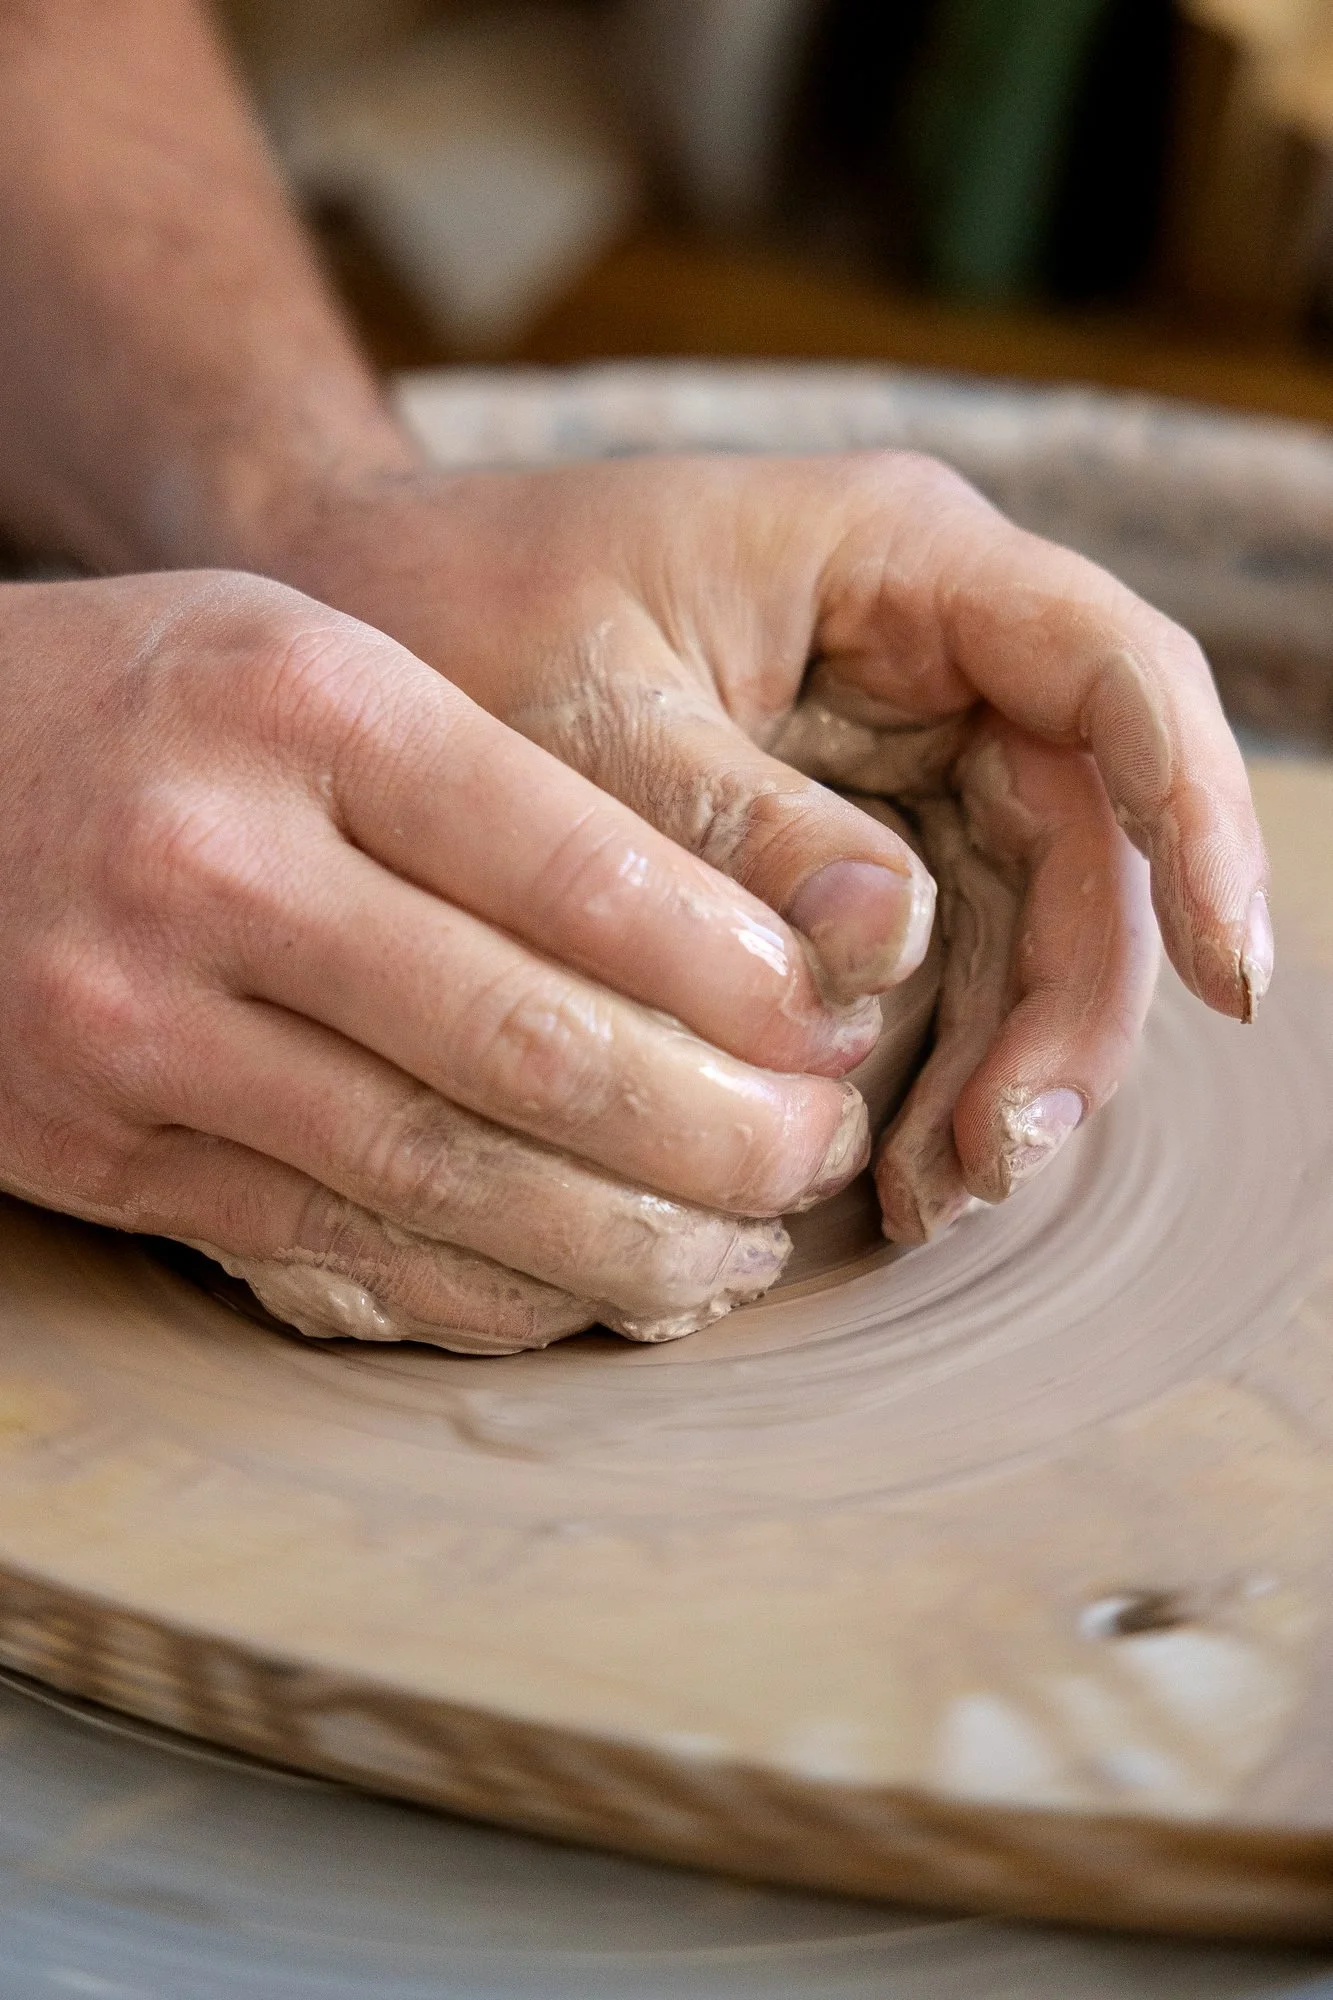
Plastic means it bends without cracking and holds the shape you give it. This is the clay that comes out of the bag or off the pugmill. It is the stage for throwing, wedging, and handbuilding, and it is a shorter window than beginners expect. Leave a ball of clay uncovered on the wheel for an hour on a dry Utah afternoon and it has already started leaving this stage.
Everything that gets called pottery skill lives here, but it is one stage out of seven. The pot in the hero photo will spend maybe ten minutes as plastic clay on the wheel and then weeks moving through everything else.
3. Leather hard
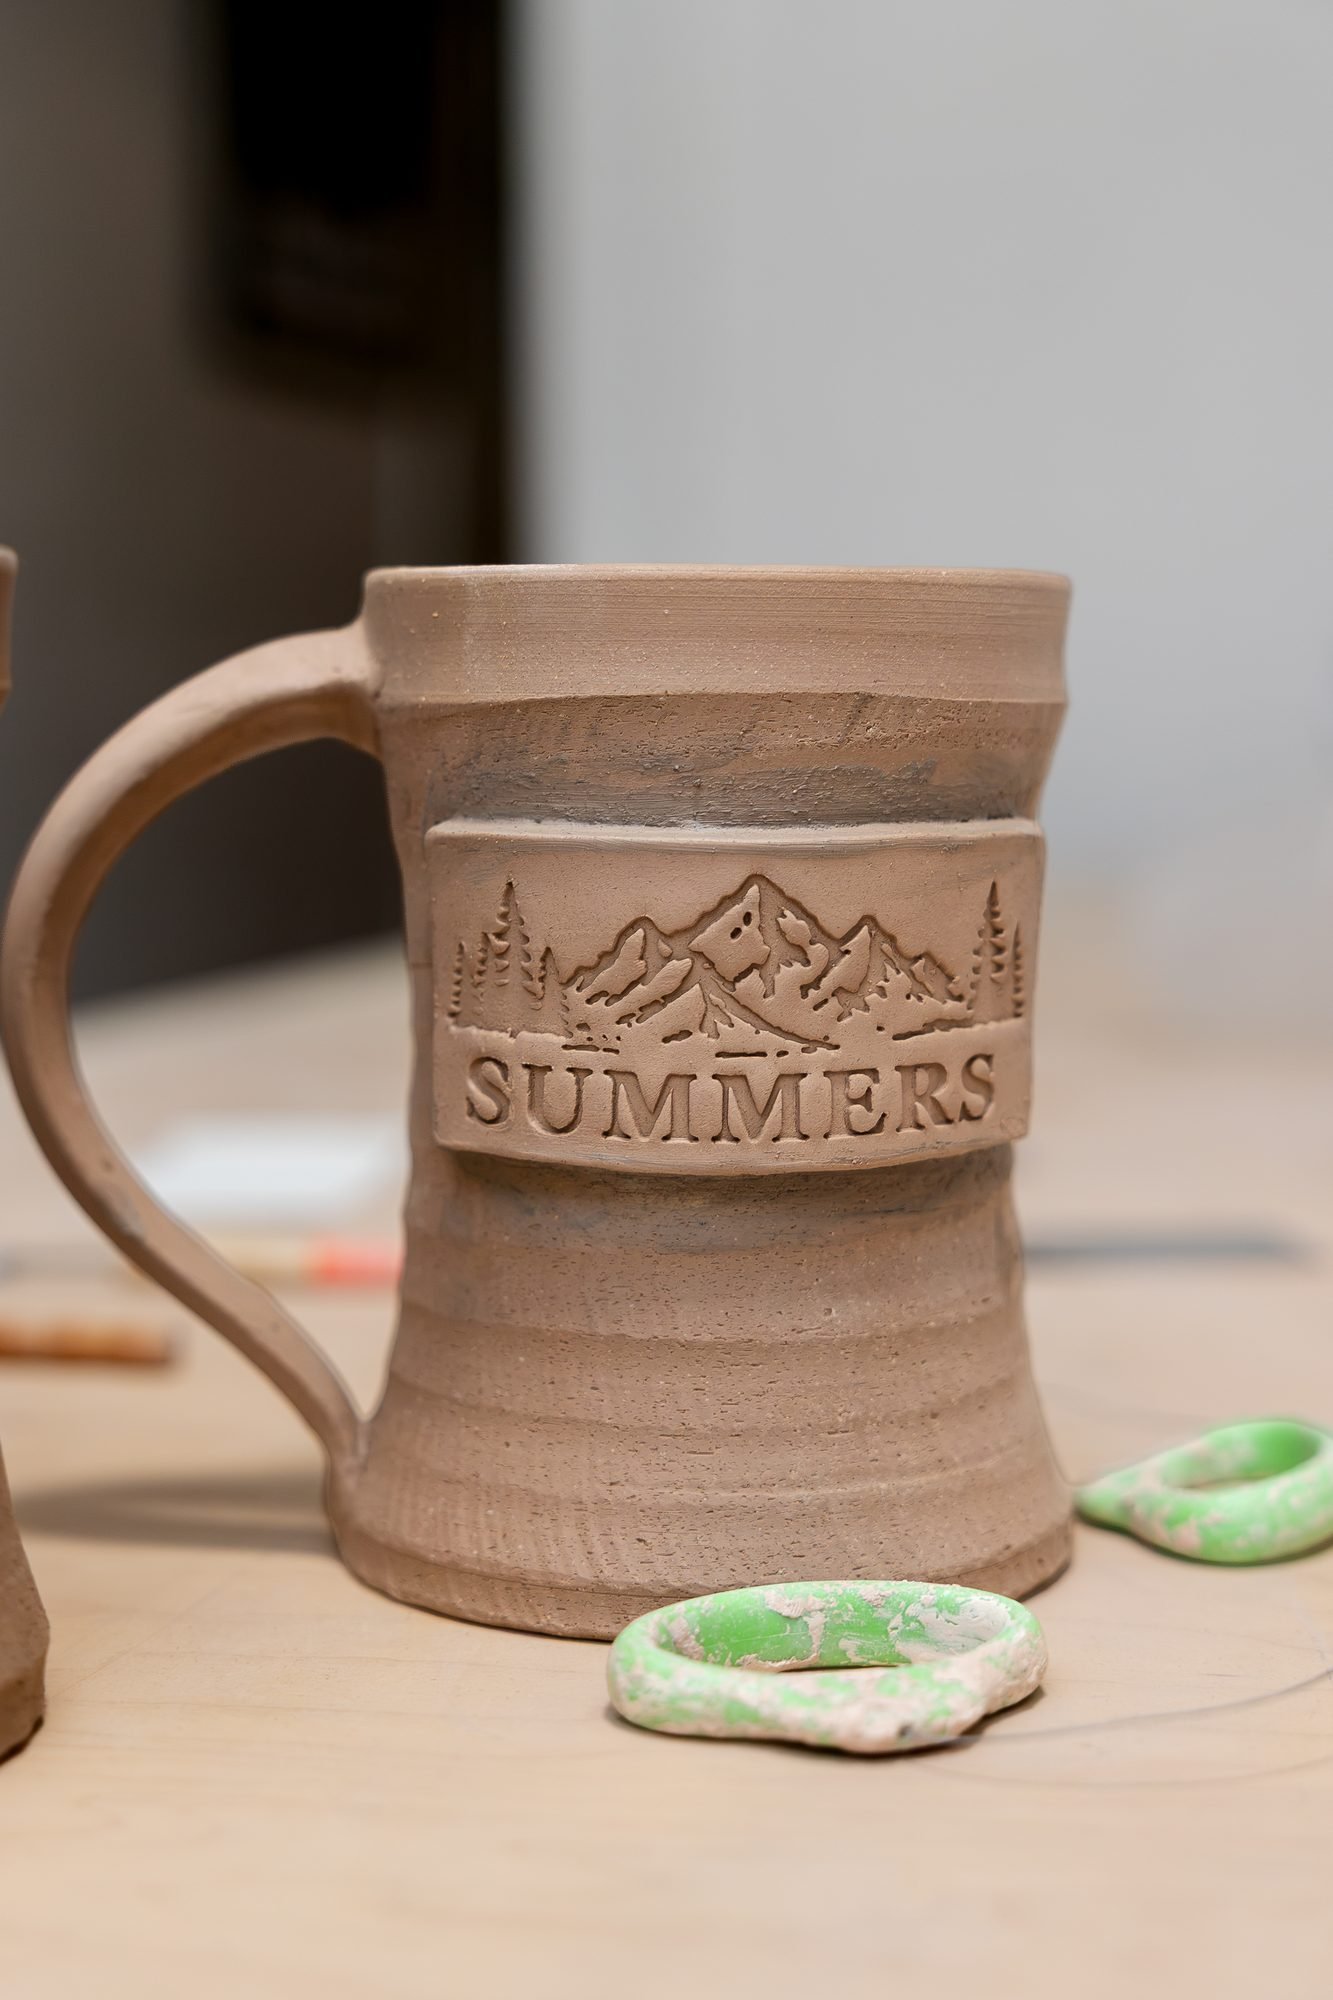
Leather hard is when the pot has stiffened enough to hold itself but is still damp enough to cut and join. It feels like cold cheese. You can pick it up without denting it, but you can still carve it, trim the foot, attach a handle, and press a stamp into it.
This is the busiest stage for me. Trimming happens here, handles happen here, and any texture that needs a clean edge happens here. I wrote about what changes between throwing and trimming, and most of that change is just the clay moving from stage two to stage three.
Miss the window and you cannot attach a handle, because the join will not take. Catch it too early and the handle sags. There is a day, sometimes half a day, where it is right.
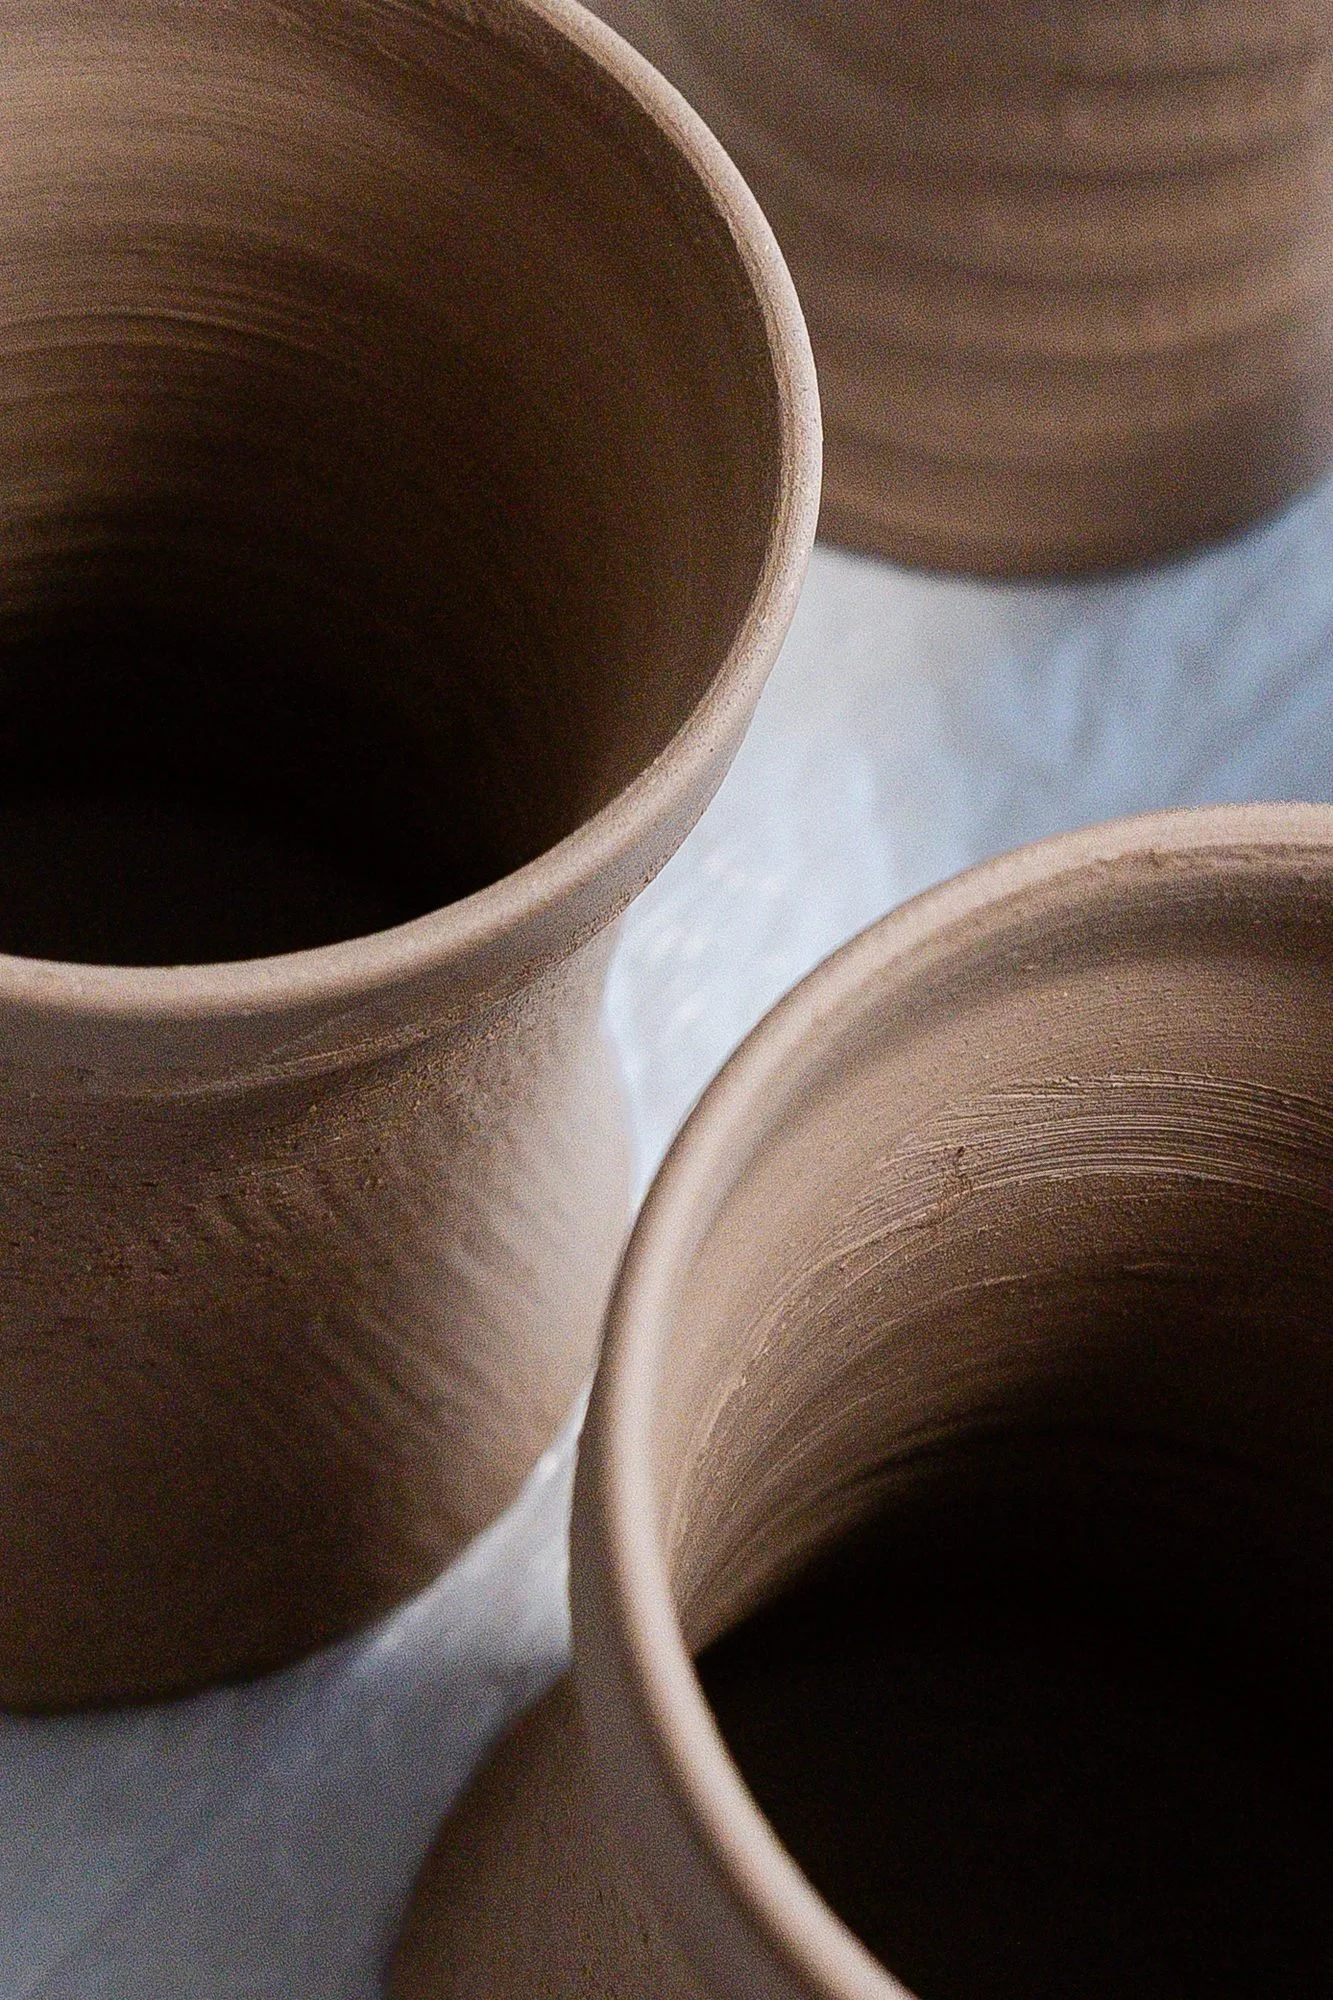
4. Bone dry
Bone dry means all the water that can evaporate has evaporated. The pot is pale, chalky, room temperature to the touch, and as fragile as it will ever be. Pick up a bone dry mug by the handle and there is a real chance you will be holding just the handle.
You cannot join anything at this stage. You cannot fix a crack. What you can do is wait, and I have learned to wait longer than feels reasonable. Some of my pots have taken months to dry all the way through. Firing a pot that is still damp in the middle is how you get steam inside a wall, and steam inside a wall is how you get pieces of that wall on the kiln shelf.
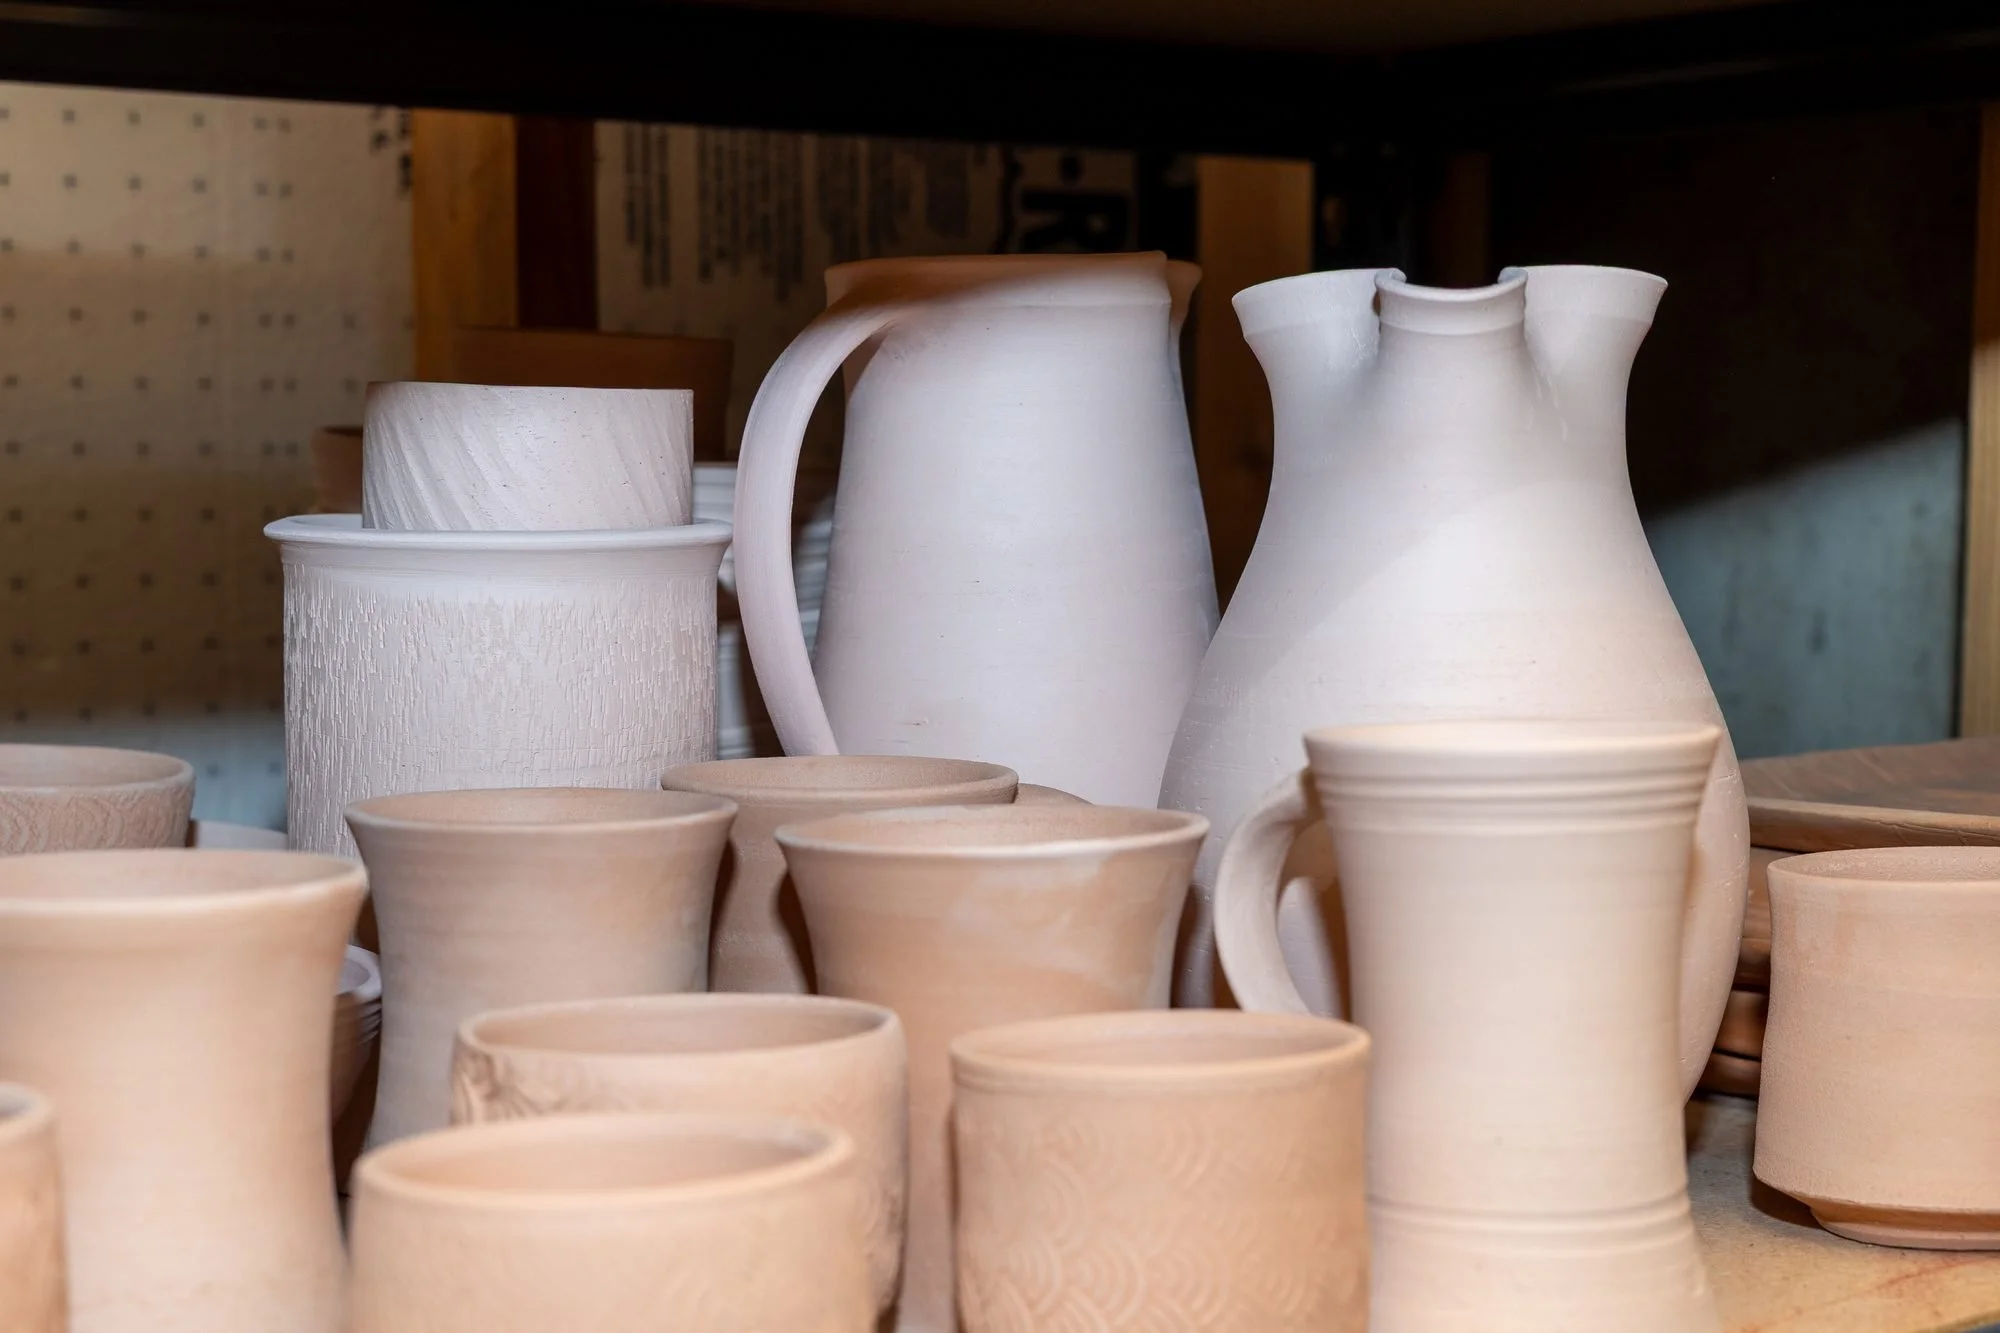
5. Bisqueware
Bisque is the first firing. It takes bone dry clay past the point of no return: the chemically bound water is driven off, the clay particles begin to fuse, and what comes out is porous, pinkish, and hard enough to handle without fear. It is no longer clay. Add water now and nothing happens except a wet pot.
The reason for this stage is glazing. Bisqueware is porous, so when a pot is dipped in glaze it pulls the water out of the glaze and leaves an even coat of glaze material stuck to the surface. Try that on bone dry clay and the pot softens and slumps in the bucket.
6. Glazeware
Glazeware is a bisqued pot with raw glaze on it, waiting for the second firing. At this point the glaze is just dry powder held on by a little gum and a lot of hope. Touch it and it smudges. Bump two pots together and a chip of glaze falls off and you get a bare spot in the finished piece.
I do not have a good photo of this stage from the folders I pulled for this post, which tells you something: it is the least photogenic stage of the seven. Chalky, matte, the wrong color. Every glaze looks like a different shade of dust until the kiln sorts it out.
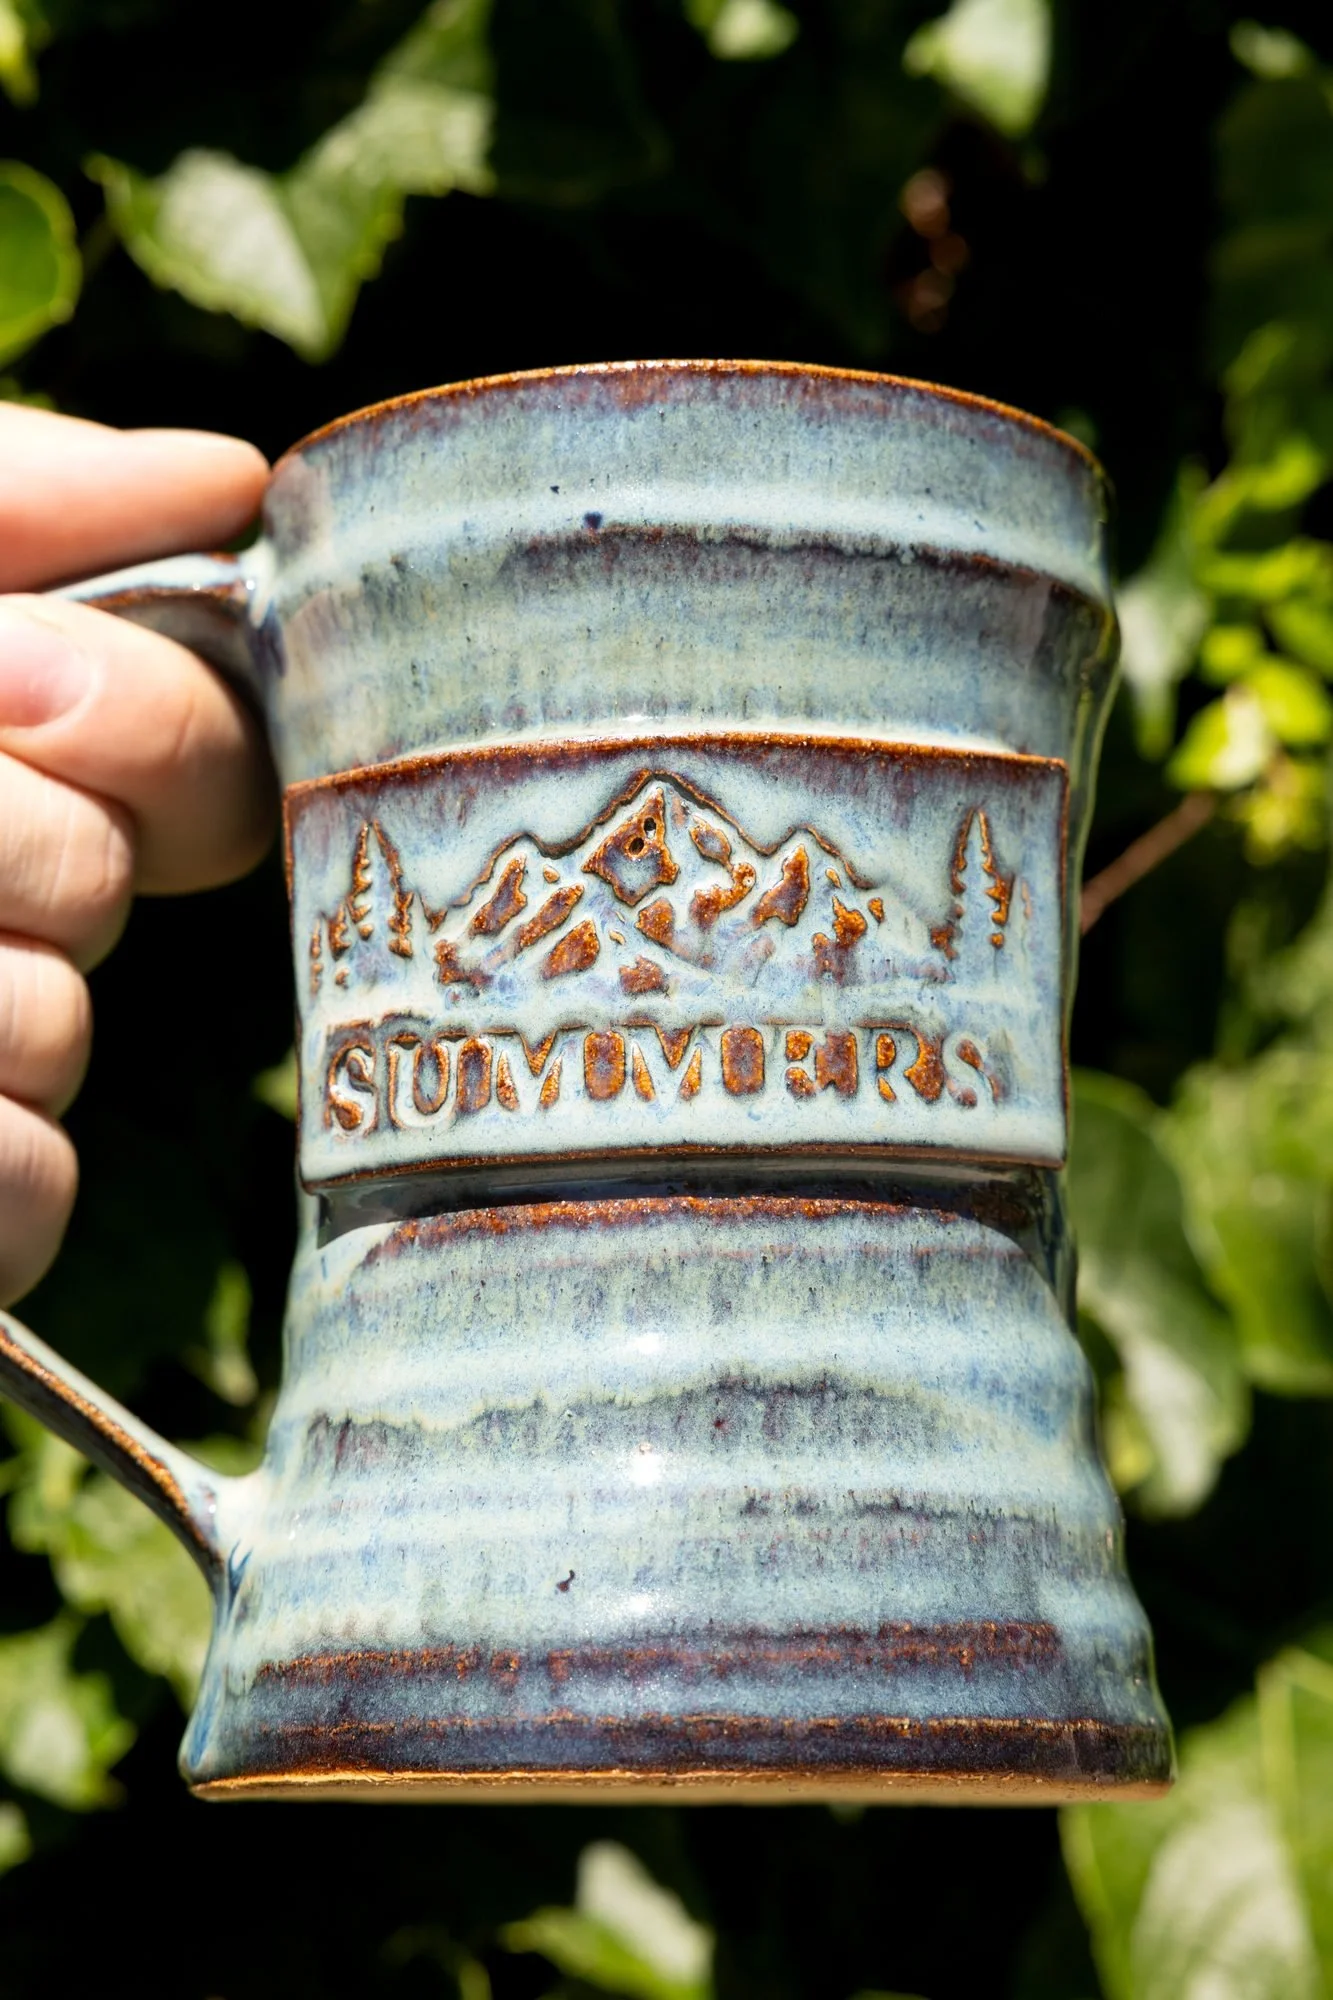
7. Glaze fired
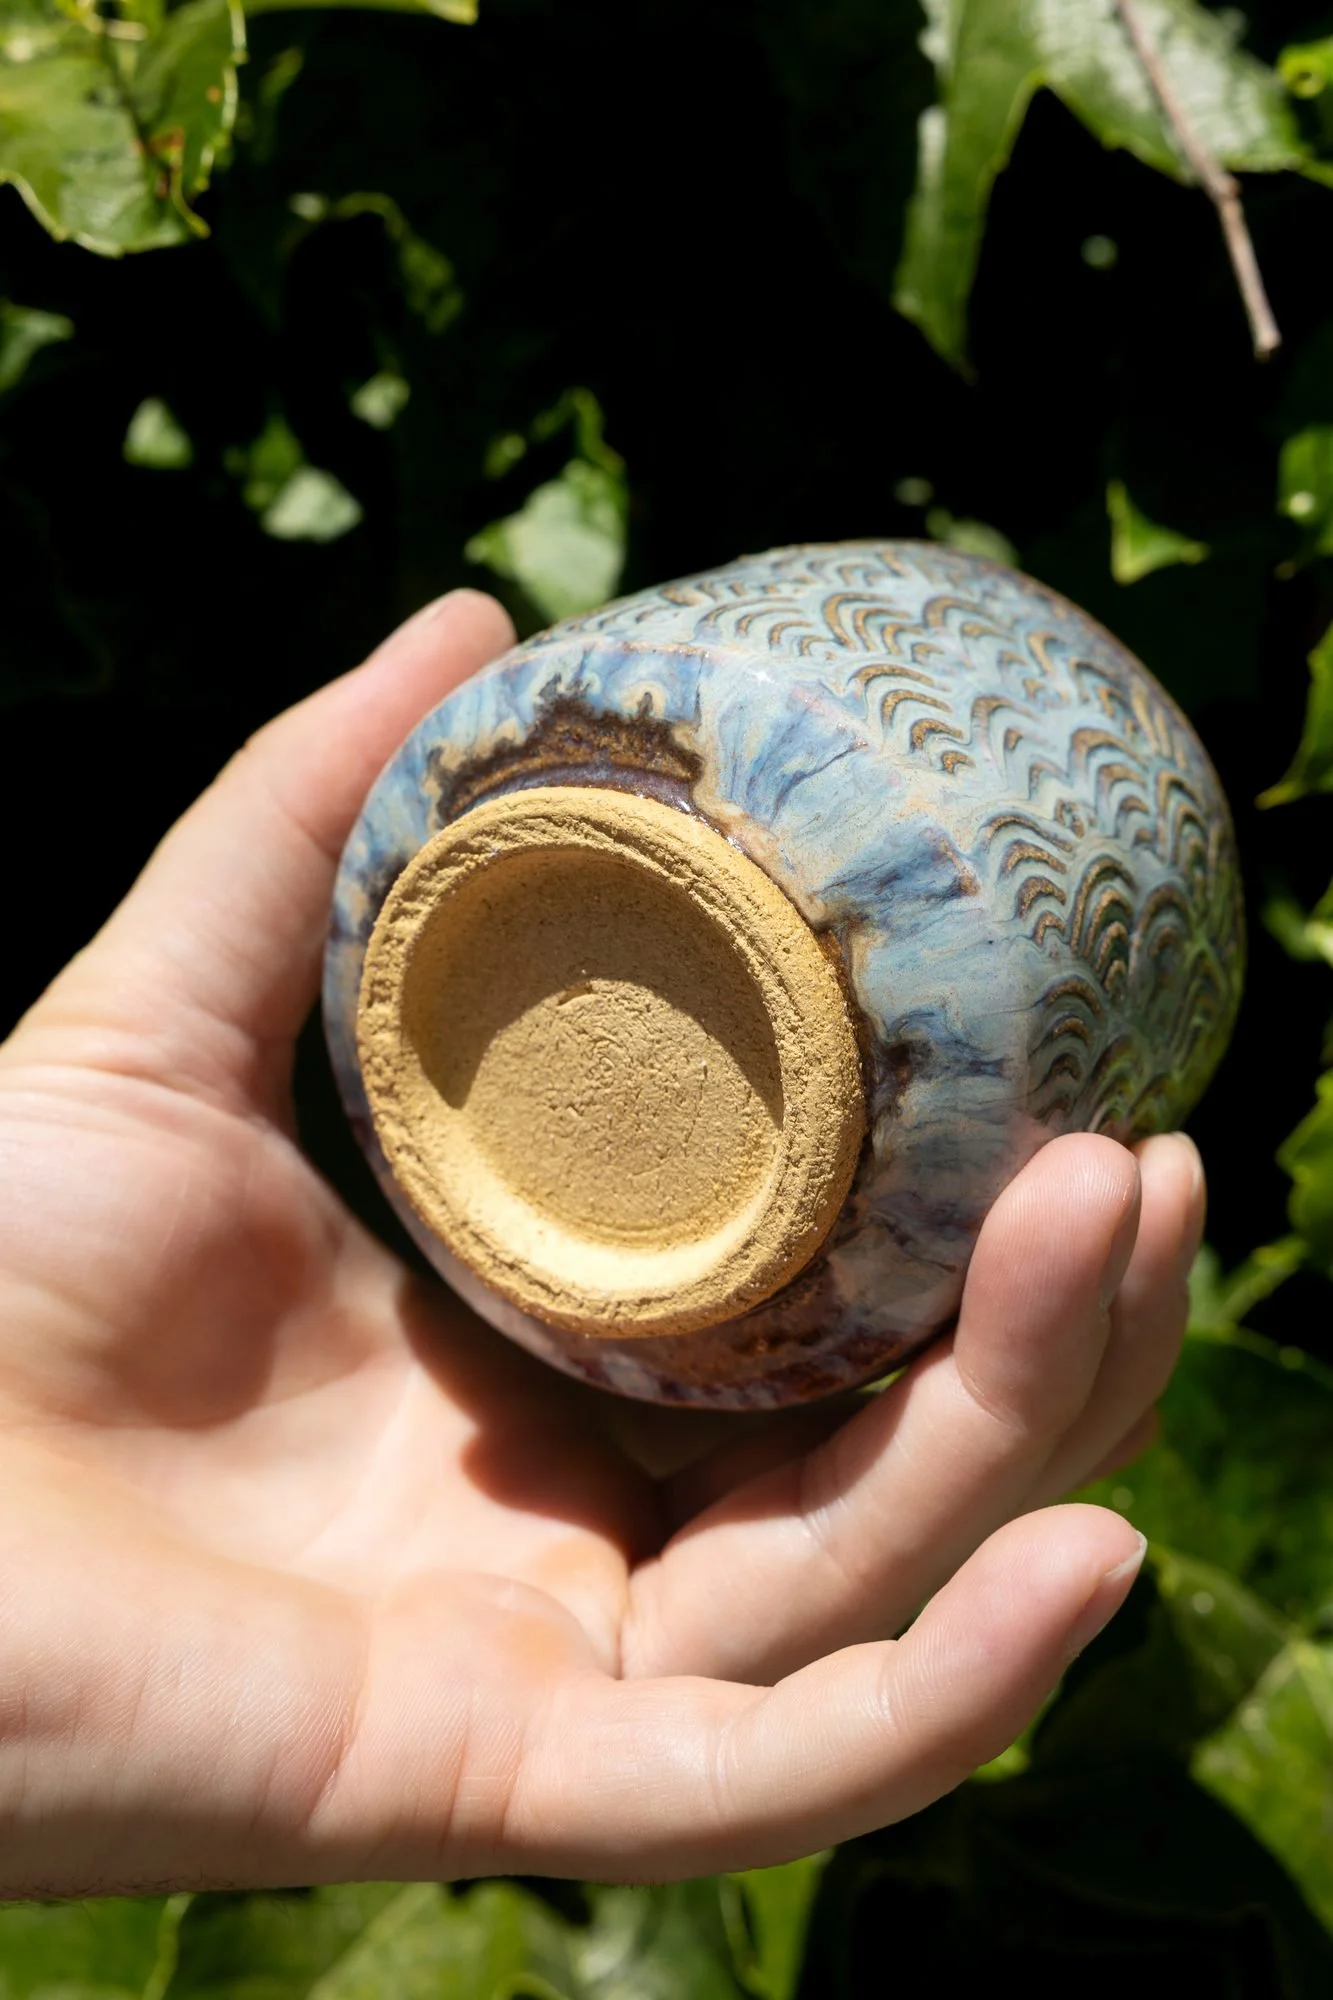
The second firing is the one that matters. For me that is cone 10, and I have written about why I fire to cone 10. Two things happen at once. The glaze melts into glass and bonds to the pot. And the clay body itself vitrifies, tightening up until it is dense and nearly non-porous. That second part is what makes a mug hold coffee for years without weeping or cracking.
This is the pot you can use. I run my own through the dishwasher. The bare foot ring will darken over the years from use and that is fine, that is fired stoneware doing what it does. If you want the practical details, I covered them in whether handmade pottery can go in the microwave and dishwasher.
If you are not sure whether a pot is leather hard or bone dry, hold it against your cheek. Leather hard clay feels cool because it is still giving up moisture. Bone dry clay feels like room temperature. Your hands are too warm and too calloused to tell the difference reliably. Your face is not.
Further reading: Digitalfire's reference pages on leather hard and bisque. When a glaze firing goes wrong, see common glaze problems and how to fix them.
Seven stages, and only one of them involves a wheel. Most of making pots is knowing what stage the clay is at and having the patience to leave it alone until it gets to the next one.
