Why Your Glaze Is Pinholing
Pinholes are not random. They are gas trying to escape through a glaze that has already started to seal, and you can work out why it happened.
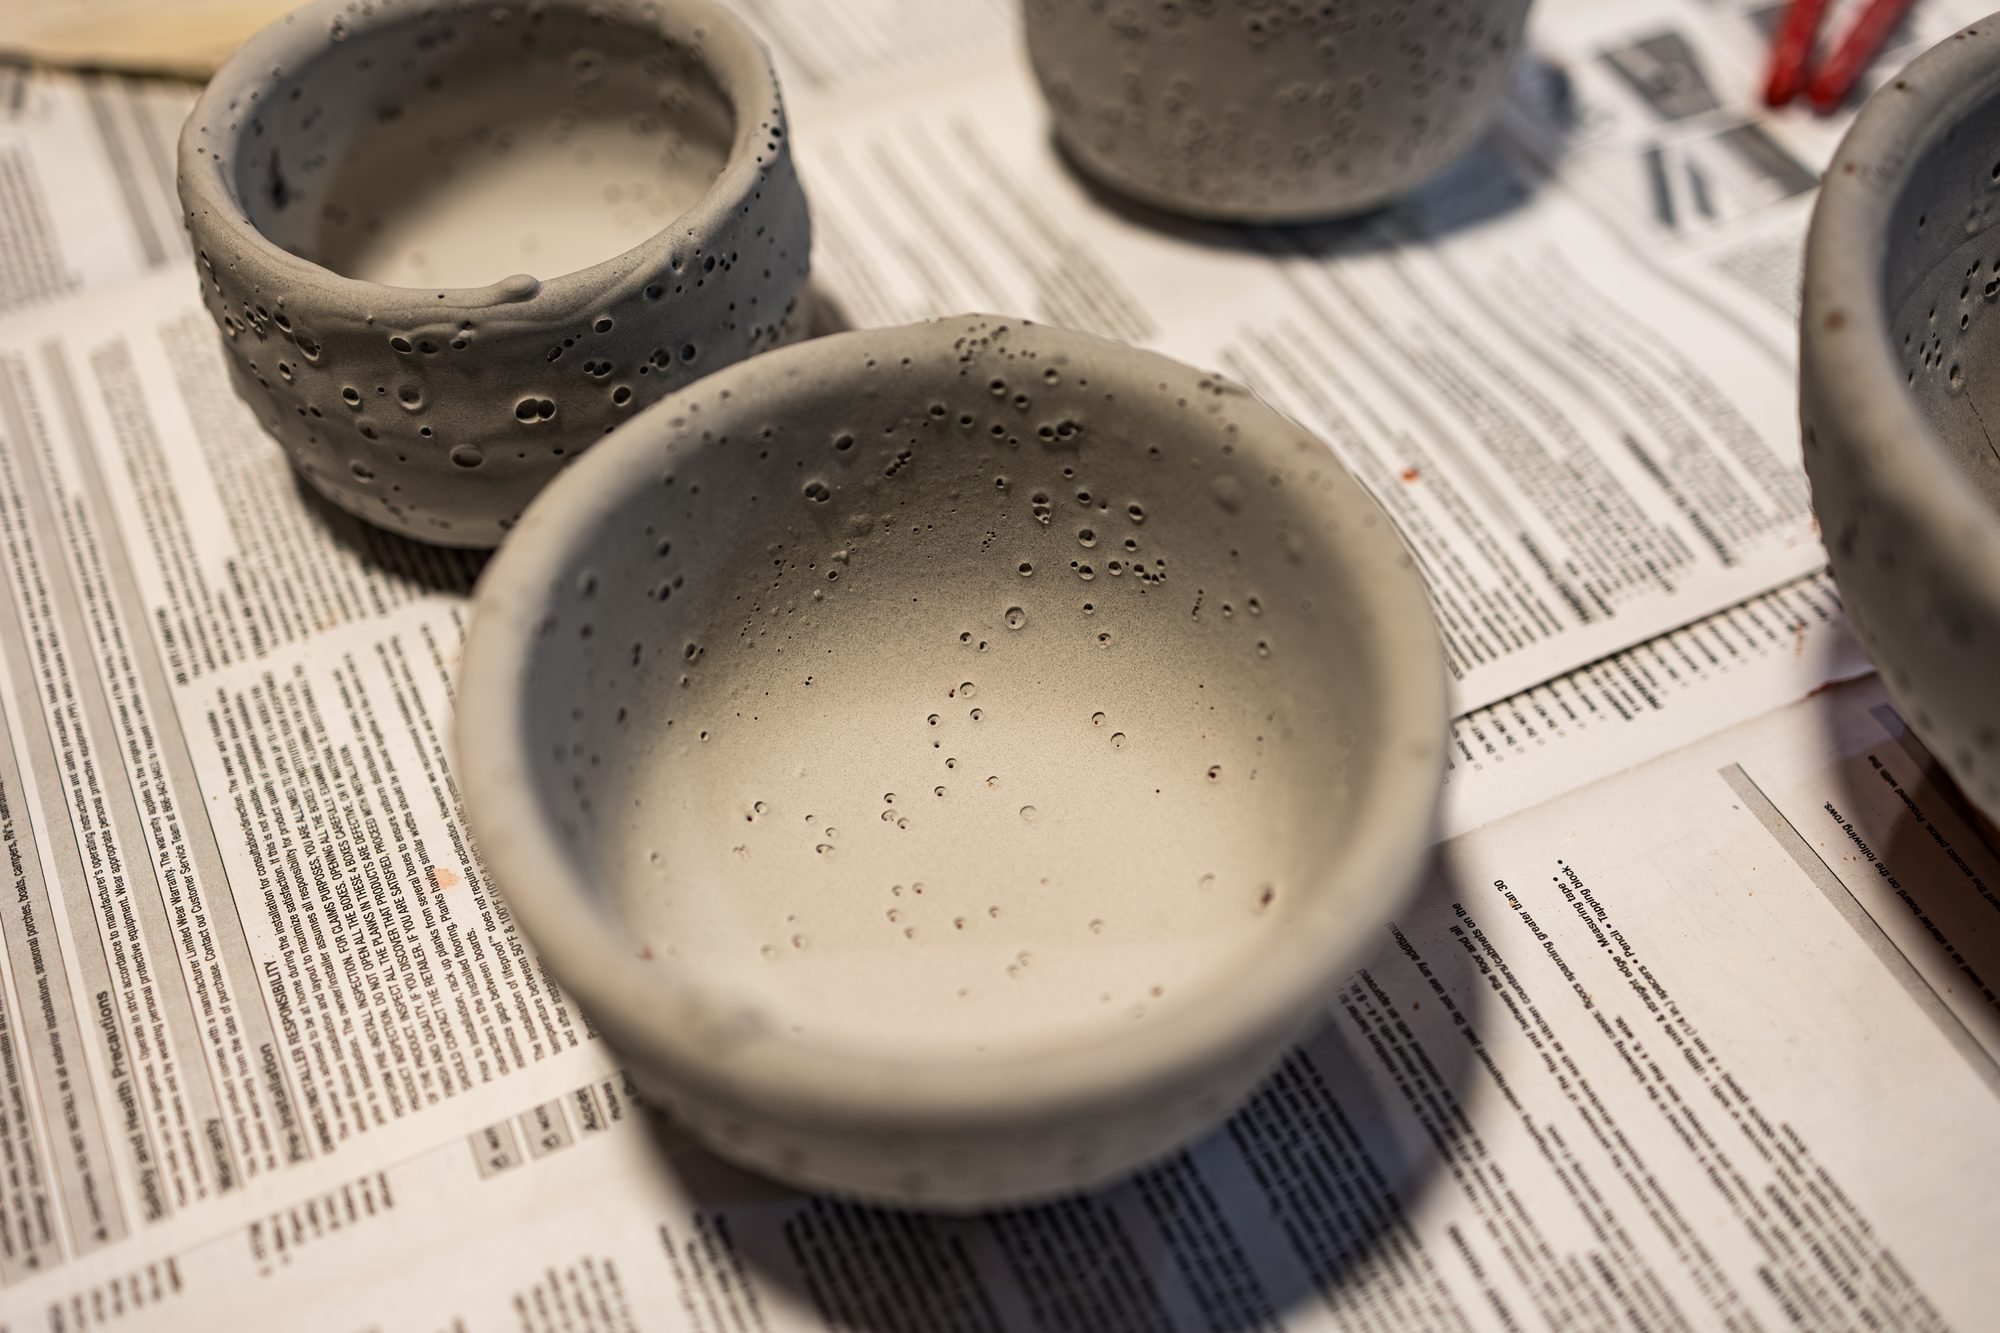
Pinholing happens when gases from the clay push through a glaze that is already melting. It usually comes from one of four places: clay body off gassing, glaze thickness, firing speed or surface tension. Change one variable at a time and write it down.
- Most burnout happens between roughly 1000 and 1600°F, so do not race through that range
- Thick glaze seals earlier and traps more bubbles, so measure specific gravity
- A short hold at peak temperature can let some glazes heal over small defects
What a pinhole actually is
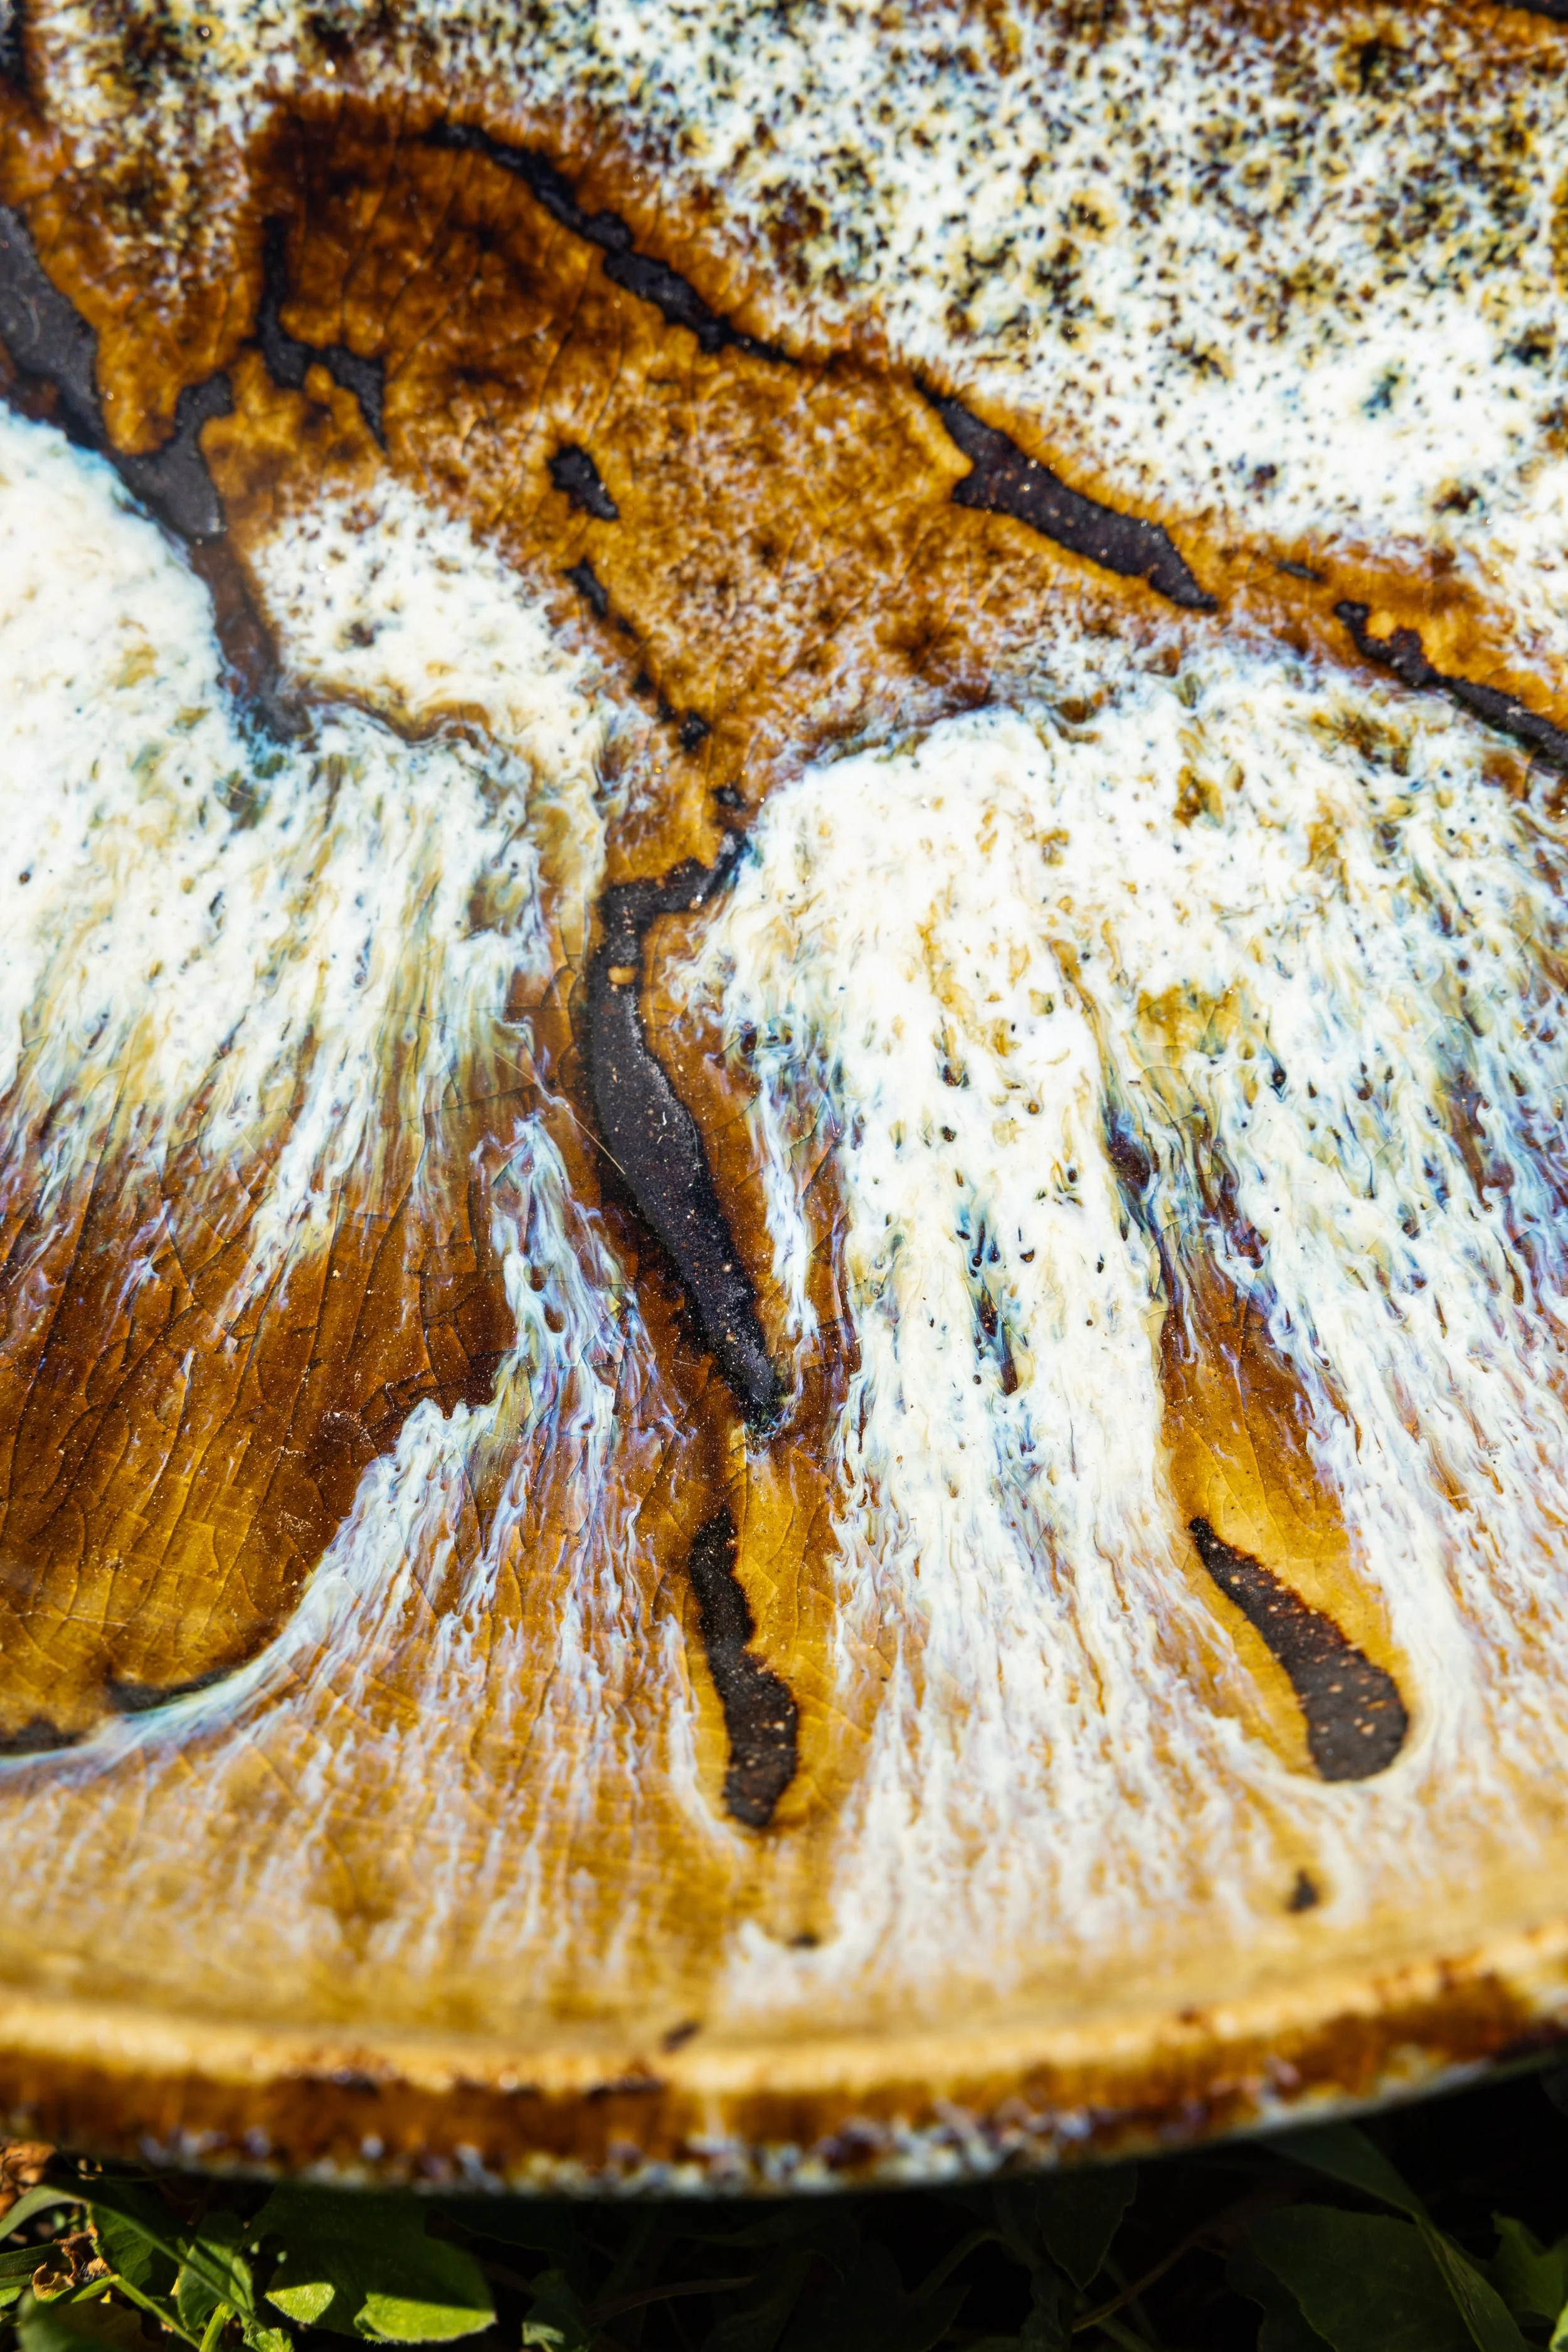
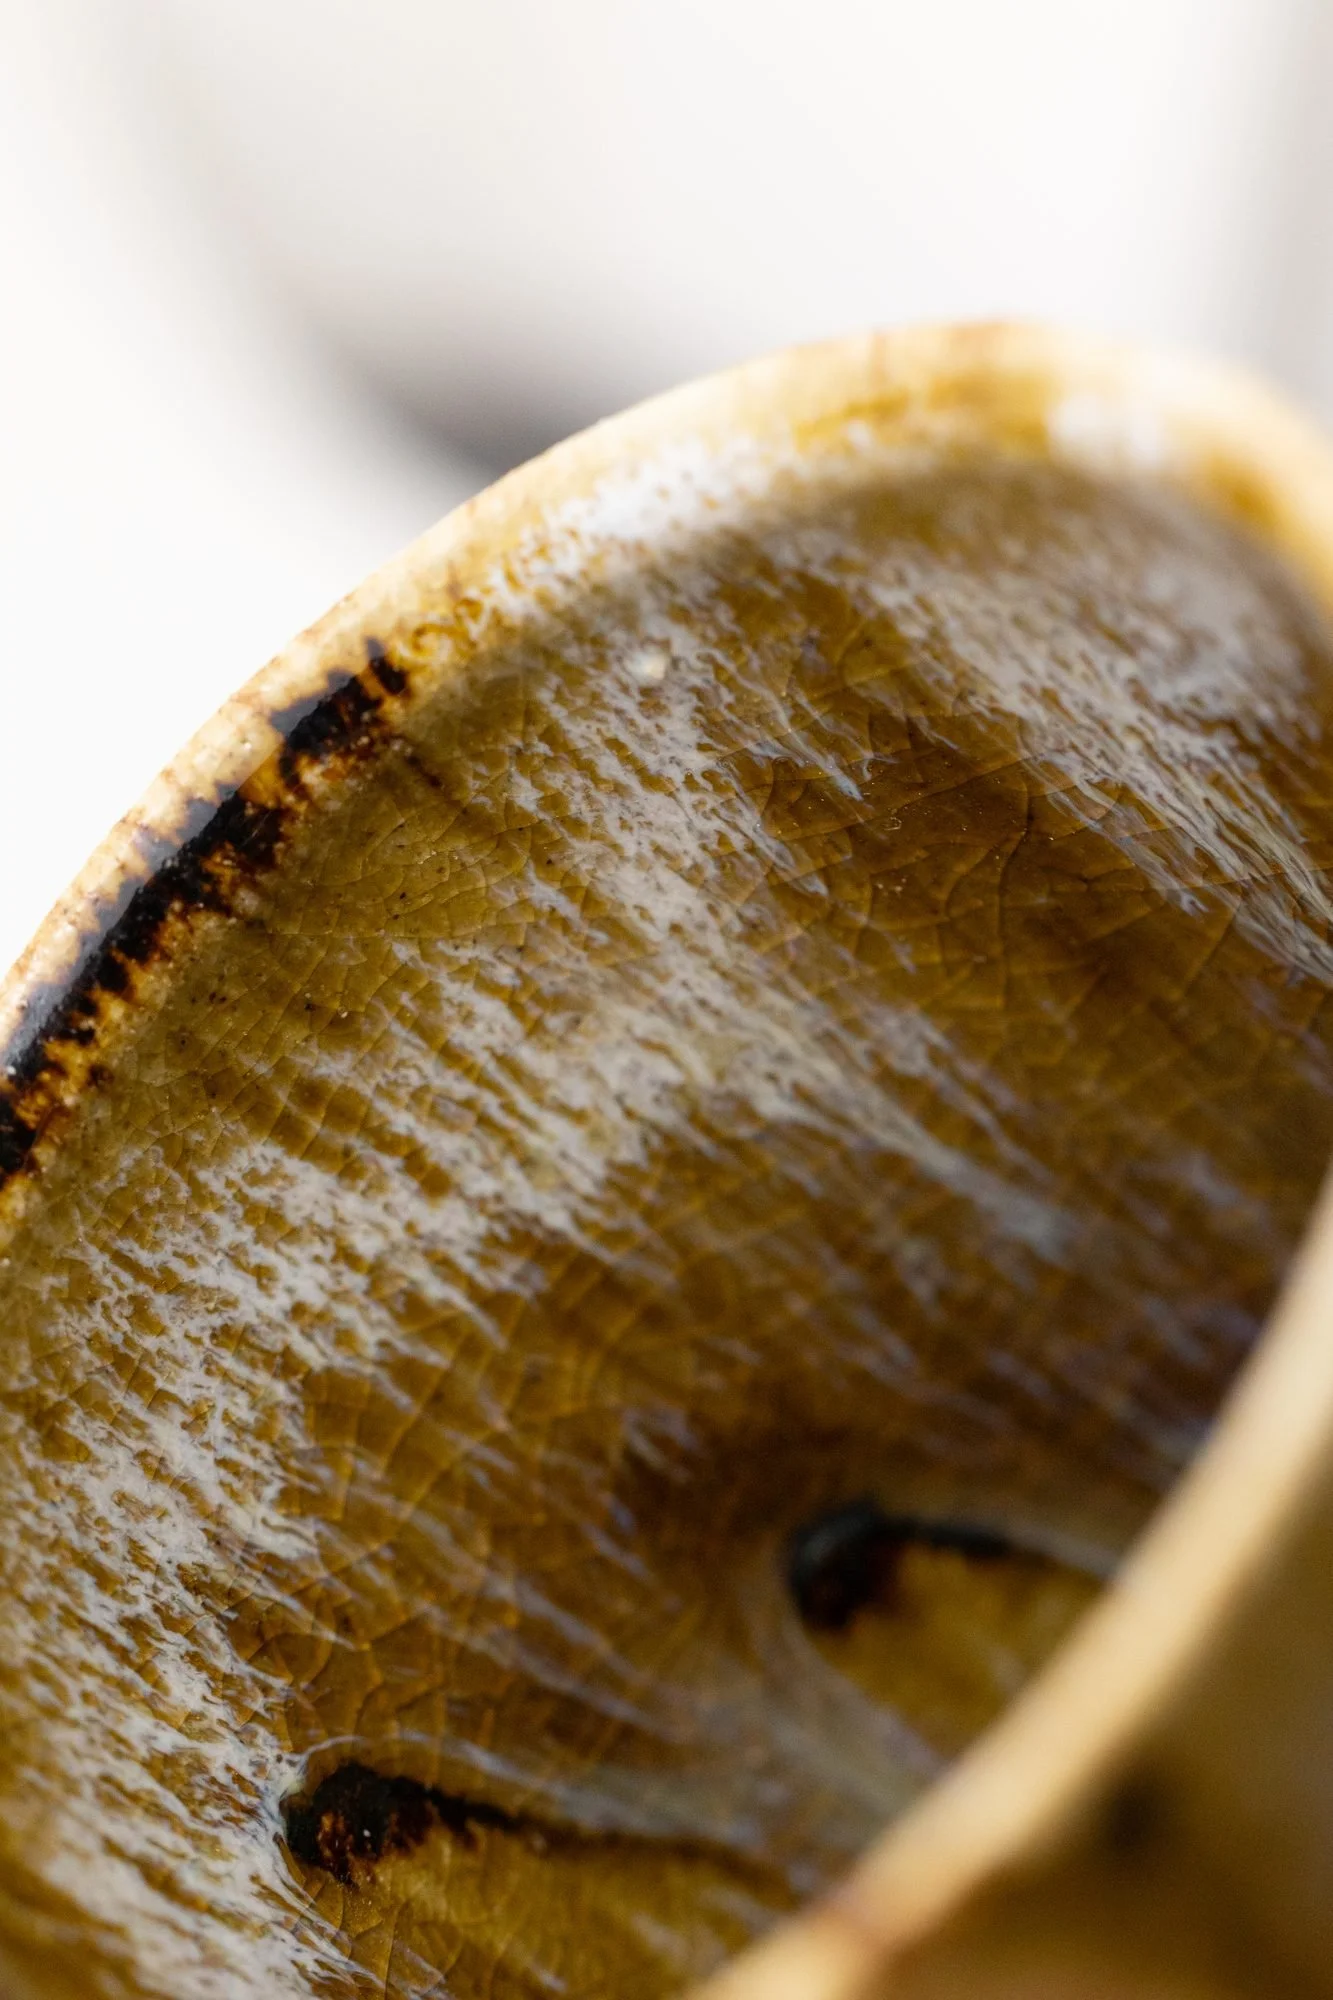
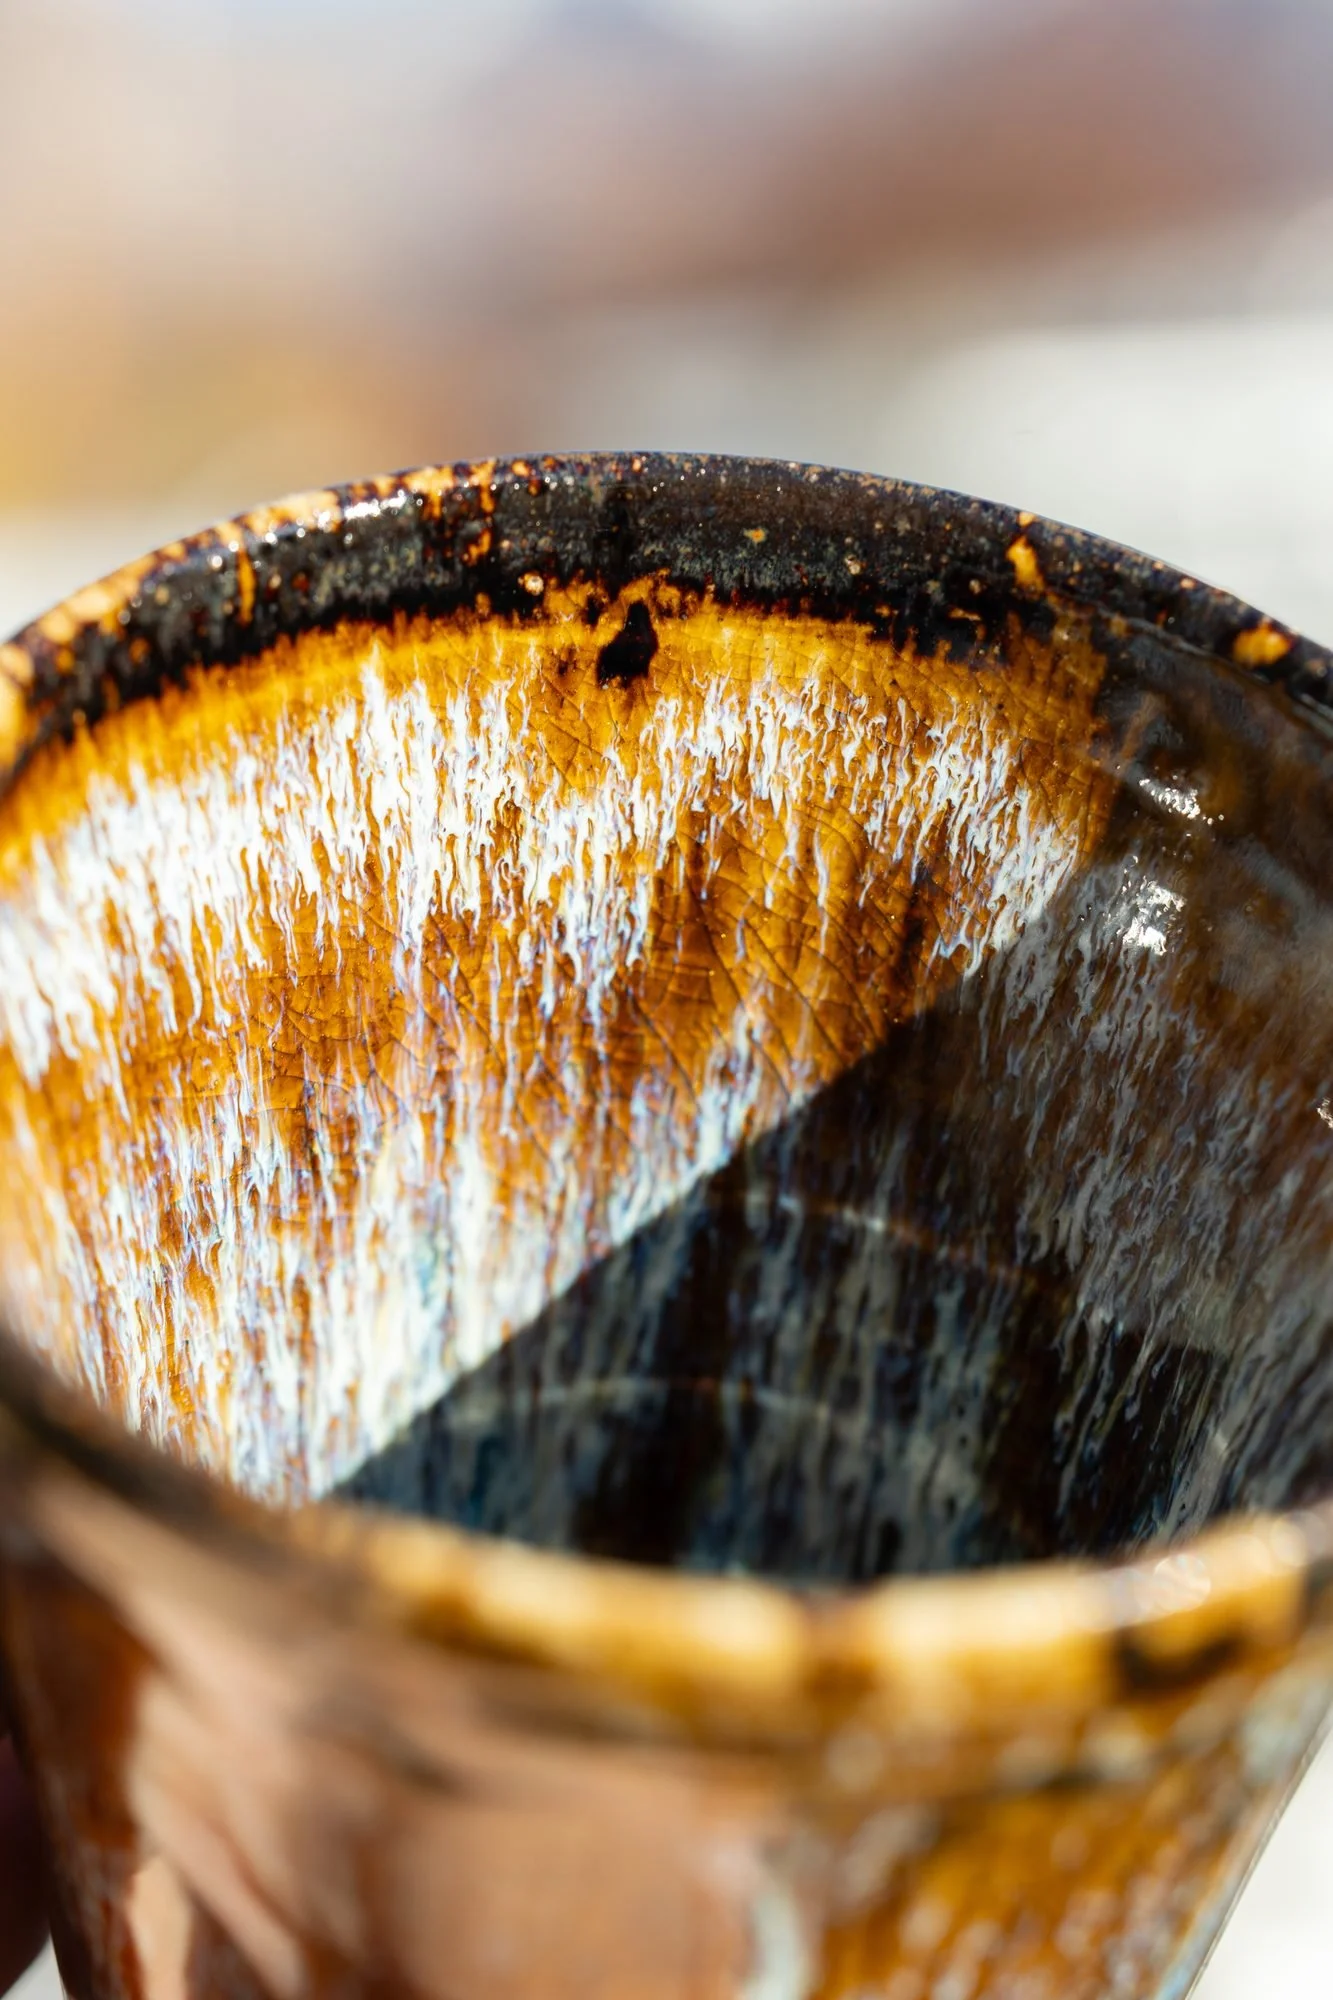
You see them after firing: tiny craters in what should have been a smooth surface. Sometimes they are scattered. Sometimes they cluster in thicker areas. Sometimes they only show up on one clay body and not another. They are the marks left by gases escaping through a glaze layer that was already starting to seal.
Most advice stops at "bisque higher." That can help, but it is not the whole picture.
1. The clay body
Clays contain organics, sulfur compounds and carbonates. During firing those materials burn out and release gases, mostly between roughly 1000°F and 1600°F. If your glaze starts melting and sealing over before those gases are finished, they push up through the soft glaze and leave tiny holes behind.
If you bisque too low, more of that burnout happens during the glaze firing. That is why people say bisque higher. A hotter bisque, for example cone 05 instead of 06, can reduce leftover organics. But if the glaze firing climbs too quickly through the burnout window, you can still trap gases.
2. Firing speed
If you race through 1000 to 1600°F in the glaze firing, you stack two events at once: the clay finishing its burnout and the glaze starting to soften. Slowing the climb in that range gives gases time to escape before the glaze seals over. A short hold in that window can help, not because holds are magic, but because they separate the timing of burnout and melting.
3. Glaze thickness
Thicker glaze layers seal earlier and trap more bubbles. If you are dipping heavier than you think, especially without measuring specific gravity, you may be applying more material than the firing schedule can support. Thin the glaze slightly. Measure it. Record it. If the pinholing drops, you have found a variable.
4. Surface tension and cooling
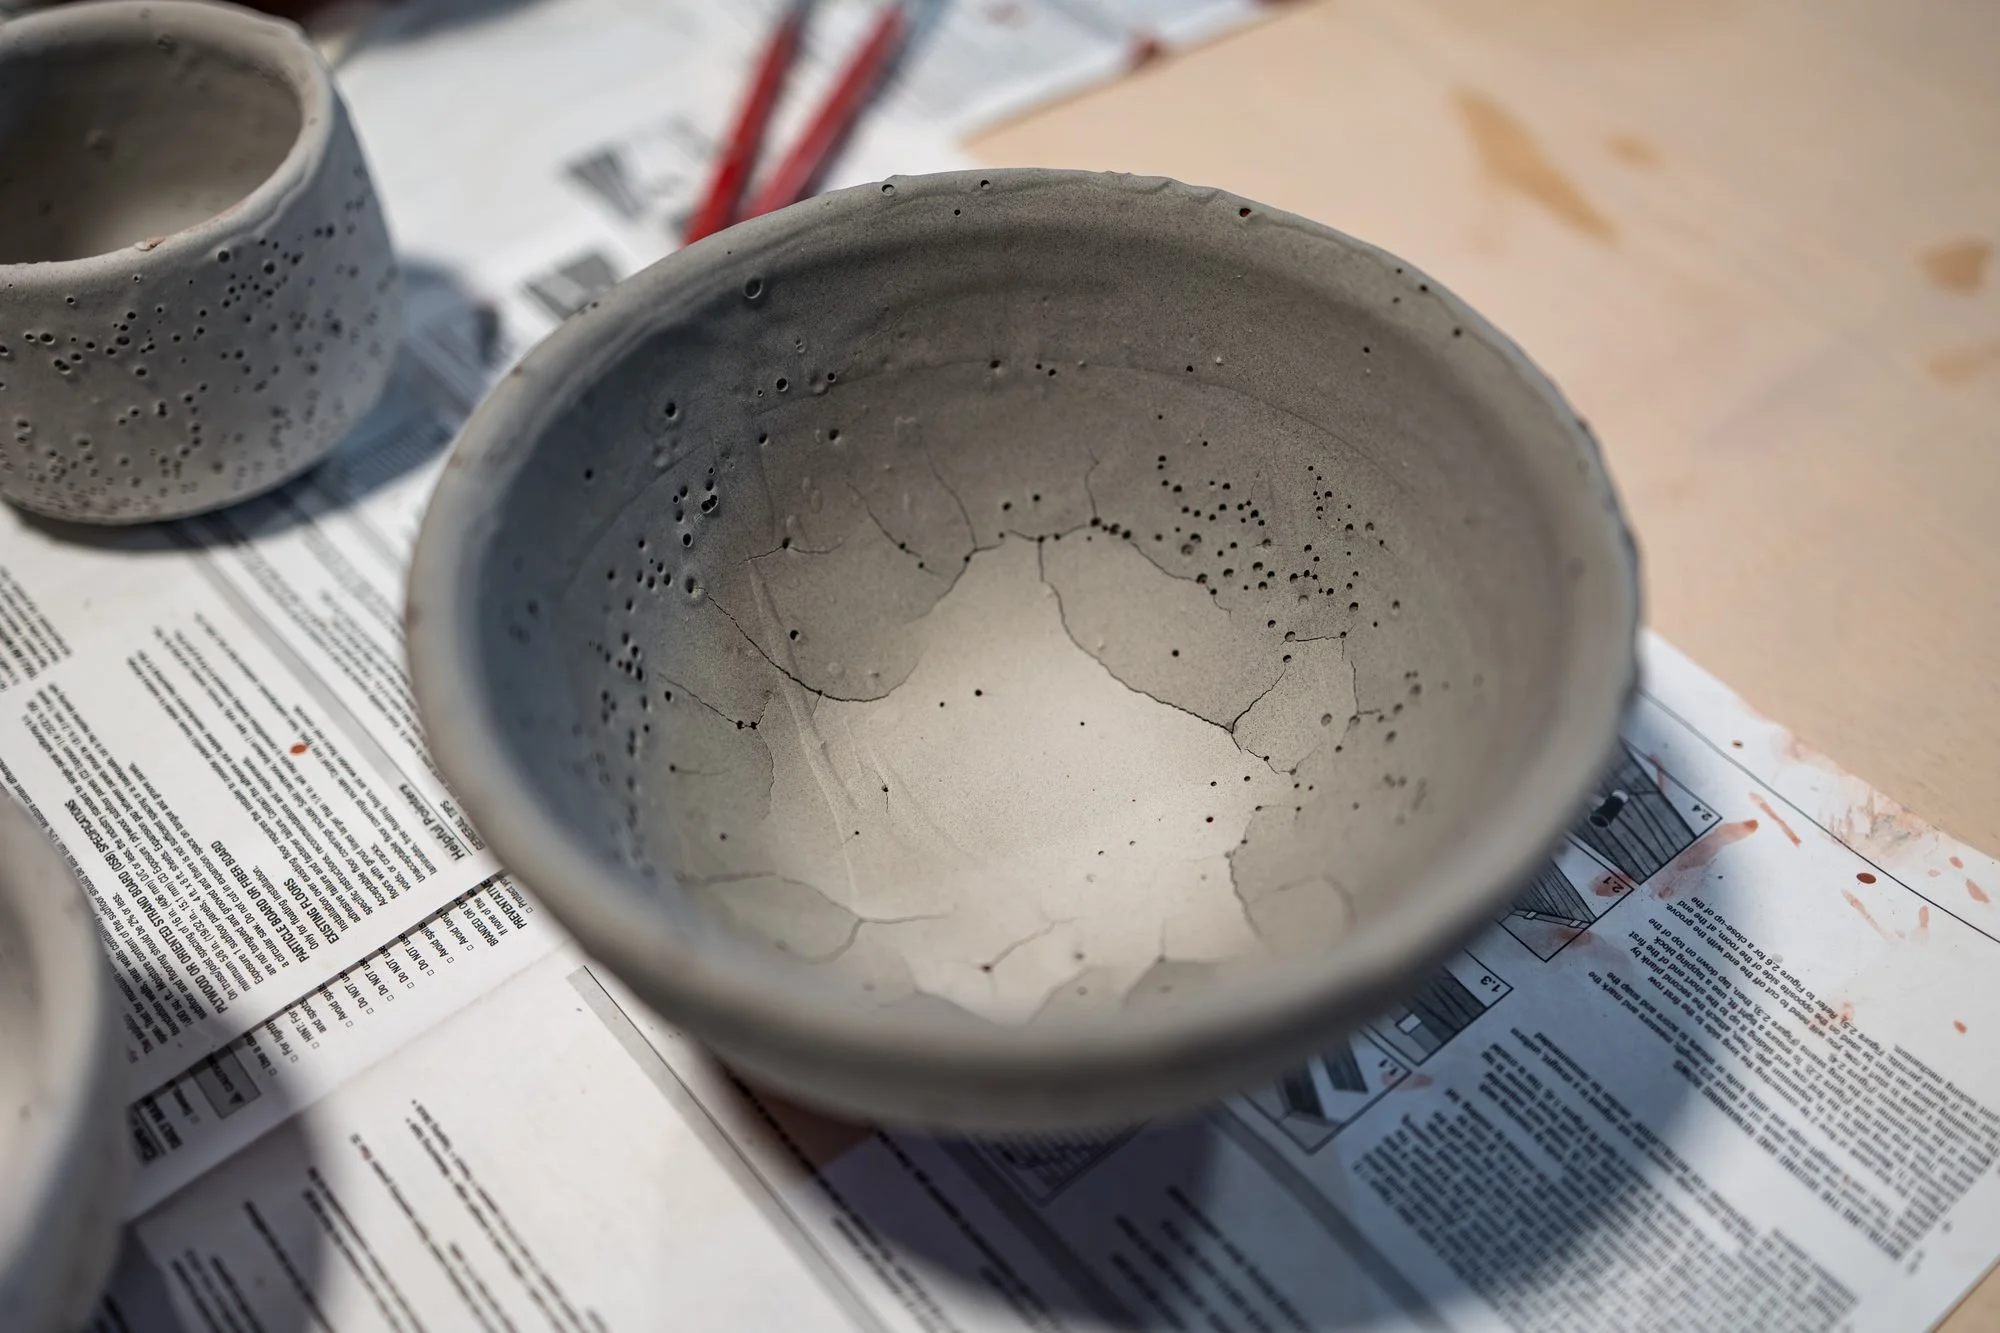
Some glazes are simply more likely to trap bubbles because of their chemistry. High clay content, high alumina or certain flux combinations can make the melt stiffer. A glaze that does not flow enough to heal over small bubbles will freeze those defects in place. Lowering clay content or adjusting the flux balance can improve healing, but that is chemistry, not guesswork.
Cooling matters too. A glaze that is pinholed at peak temperature can partly heal with a short hold at the top or a slightly slower early cool, which gives it time to smooth over before it stiffens.
Questions to ask
- Is my bisque high enough for this clay body?
- Am I climbing too fast through burnout?
- Is my glaze too thick?
- Does this glaze chemistry resist healing?
When I see pinholes in my own work, I do not call it character. It means the clay, the glaze and the schedule were not in sync. Cone 10 gives depth and maturity, but it also exposes shortcuts. If a surface does not mature cleanly, it does not leave the studio.
Change only one thing per firing when you chase pinholes, and put a labeled test piece from the same bucket in every load. If you change the bisque, the thickness and the schedule all at once, you will fix the problem without learning which change did it.
Further reading: Digitalfire's reference pages on pinholing.
Most glaze problems are not mysteries. They are systems problems, and systems can be fixed.
Part of my guide to common glaze problems and how to fix them. Also in the series: Crawling and shivering: why glazes fail · How to test for crazing and shivering.
